以上就是给各位分享带有通知徽章的AndroidTablayout标签,例如whatsApp,其中也会对通知里的标记有必要开吗进行解释,同时本文还将给你拓展android------AndroidX的T
以上就是给各位分享带有通知徽章的Android Tablayout标签,例如whatsApp,其中也会对通知里的标记有必要开吗进行解释,同时本文还将给你拓展android ------ AndroidX的 Tablayout(com.google.android.material.tabs.TabLayout) 的使用、Android ---------- TabLayout 实战 (一)、Android ExpandableLayout:一种可伸缩扩展的 Layout、Android Material Design TabLayout属性app:tabMode和app: tabGravity等相关知识,如果能碰巧解决你现在面临的问题,别忘了关注本站,现在开始吧!
本文目录一览:- 带有通知徽章的Android Tablayout标签,例如whatsApp(通知里的标记有必要开吗)
- android ------ AndroidX的 Tablayout(com.google.android.material.tabs.TabLayout) 的使用
- Android ---------- TabLayout 实战 (一)
- Android ExpandableLayout:一种可伸缩扩展的 Layout
- Android Material Design TabLayout属性app:tabMode和app: tabGravity
")
带有通知徽章的Android Tablayout标签,例如whatsApp(通知里的标记有必要开吗)
我想用android.support.design.widget.TabLayout实现通知徽章.我已尽最大努力实现它但失败了.
非常感谢任何帮助.
解决方法:
我的解决方案是使用https://github.com/jgilfelt/android-viewbadger并为每个选项卡设置自定义视图:
我的标签只有图标所以我使用了ImageView,但我相信你可以使用任何其他视图,请查看https://github.com/jgilfelt/android-viewbadger/blob/master/README.markdown:
private BadgeView badge;
Tab tab = tabLayout.getTabAt(position);
ImageView imageView = new ImageView(context);
tab.setCustomView(imageView);
badge = new BadgeView(context, imageView);
 的使用")
android ------ AndroidX的 Tablayout(com.google.android.material.tabs.TabLayout) 的使用
前面呢,有写过TabLayout的博客,最近开发用到了AndroidX来解决前面的问题,不要工具类设置下划线的问题了,来总结一下
Android--------TabLayout实现新闻客户端顶部导航栏
Android中Tablayout设置下划线宽度 和 dp和px之间进行相互转换
AndroidX效果图

首先添加依赖:
以前的是
implementation ''com.android.support:design:28.0.0''
换成
implementation "com.google.android.material:material:1.0.0" 现在的TabLayout有2种添加Item的方式
第一种和以前的差不多
<com.google.android.material.tabs.TabLayout
        android:id="@+id/tab_layout"
        android:layout_width="match_parent"
        android:layout_height="wrap_content"
        app:tabGravity="fill"
        app:tabMaxWidth="0dp"
        app:tabIndicatorColor="@color/colorAccent"
        app:tabSelectedTextColor="@color/colorPrimary"
        app:tabTextColor="@color/colorPrimary"
        app:tabIndicatorFullWidth="false"
        app:tabBackground="@color/transparent"
        app:tabRippleColor="@color/transparent"
        >

    </com.google.android.material.tabs.TabLayout>
    <View
        android:layout_width="match_parent"
        android:layout_height="0.5dp"
        android:background="#E4E4E4"
        ></View>

    <androidx.viewpager.widget.ViewPager
        android:id="@+id/viewPager"
        android:layout_width="match_parent"
        android:layout_height="match_parent" >

    </androidx.viewpager.widget.ViewPager>
Java代码
public class MainActivityB extends AppCompatActivity {

    static final int NUM_ITEMS = 4;
    private List<Fragment> fragmentList = new ArrayList<Fragment>();
    private String[] strings = new String[]{"A","B","C","D"};

    @Override
    protected void onCreate(Bundle savedInstanceState) {
        super.onCreate(savedInstanceState);
        setContentView(R.layout.activity_mainb);
        fragmentList.add(new FragmentA());
        fragmentList.add(new FragmentB());
        fragmentList.add(new FragmentC());
        fragmentList.add(new FragmentD());
        initView();
    }

    private void initView(){
        TabLayout tab_layout = findViewById(R.id.tab_layout);
        ViewPager viewPager = findViewById(R.id.viewPager);
        MyAdapter fragmentAdater = new  MyAdapter(getSupportFragmentManager());
        viewPager.setAdapter(fragmentAdater);
        tab_layout.setupWithViewPager(viewPager);
    }

    public class MyAdapter extends FragmentPagerAdapter {
        public MyAdapter(FragmentManager fm) {
            super(fm);
        }

        @Override
        public int getCount() {
            return NUM_ITEMS;
        }

        @Override
        public Fragment getItem(int position) {
            return fragmentList.get(position);
        }

        @Nullable
        @Override
        public CharSequence getPageTitle(int position) {
            return strings[position];
        }
    }
}
如果你不需要点击后的阴影动画效果,可以使用下面2个属性取消
app:tabBackground="@android:color/transparent"
app:tabRippleColor="@android:color/transparent"
看布局里面有一个这样的属性
tabIndicatorFullWidth (boolean)
默认为true ,是否使选择指示器的宽度适合选项卡项目的整个宽度(意思就是将选择指示器宽度将设置为最小宽度值,就是字体的宽度)
这样就解决了之前的问题了,
属性详细介绍请看文档:https://developer.android.google.cn/reference/com/google/android/material/tabs/TabItem
第二种写法
<com.google.android.material.tabs.TabLayout
        android:id="@+id/tab_layout"
        android:layout_width="match_parent"
        android:layout_height="wrap_content"
        app:tabGravity="fill"
        app:tabMaxWidth="0dp"
        app:tabIndicatorColor="@color/colorAccent"
        app:tabSelectedTextColor="@color/colorPrimary"
        app:tabTextColor="@color/colorPrimary"
        app:tabIndicatorFullWidth="false"
        >

        <com.google.android.material.tabs.TabItem
            android:id="@+id/tabItem1"
             android:layout_width="wrap_content"
             android:layout_height="wrap_content"
             android:text="A"
             />

         <com.google.android.material.tabs.TabItem
             android:id="@+id/tabItem2"
             android:layout_width="wrap_content"
             android:layout_height="wrap_content"
             android:text="B"
             />

         <com.google.android.material.tabs.TabItem
             android:layout_width="wrap_content"
             android:layout_height="wrap_content"
             android:text="C"
             />

         <com.google.android.material.tabs.TabItem
             android:text="D"
             android:layout_width="wrap_content"
             android:layout_height="wrap_content" />

    </com.google.android.material.tabs.TabLayout>
这种是TabLayout 增加了一个TabItem控件,直接把Item写在里面了
这种也是很方便的,需要添加一个TabLayout的选中回调
tab_layout.addOnTabSelectedListener(new TabLayout.OnTabSelectedListener() {
            @Override
            public void onTabSelected(TabLayout.Tab tab) {
                //选中某个tab
            }

            @Override
            public void onTabUnselected(TabLayout.Tab tab) {
                //当tab从选择到未选择
            }

            @Override
            public void onTabReselected(TabLayout.Tab tab) {
                //已经选中tab后的重复点击tab
            }
        });
其他属性
app:tabIndicatorColor :指示线的颜色
app:tabIndicatorHeight : 指示线的高度
app:tabIndicatorFullWidth="false" 指示线是否铺满宽度
app:tabSelectedTextColor : tab选中时的字体颜色
app:tabTextColor="@color/colorPrimary" :未选中字体颜色
app:tabBackground="color" : 整个tablayout颜色
app:tabMode="scrollable" : 默认是fixed,固定的;scrollable:可滚动的
我用两种方式实现了上面效果图,有需要代码的请star 谢谢
代码地址
参考的官方详细文档地址: https://developer.android.google.cn/reference/com/google/android/material/tabs/TabLayout
")
Android ---------- TabLayout 实战 (一)
1.效果图
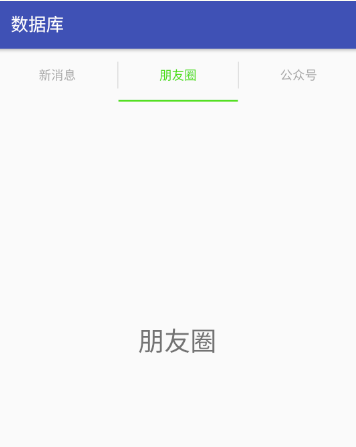
2.原理:TabLayout提供了一个水平的布局用来展示 Tabs
3.添加依赖: compile ''com.android.support:design:27.+ ‘
4.布局文件:
<android.support.design.widget.TabLayout

android:id="@+id/tablayout"

android:layout_width="match_parent"

android:layout_height="30dp"

app:tabTextAppearance="@style/MyTabLayoutTextAppearanceInverse"   // 设置标签的字体大小  在style文件里进行设置

app:tabIndicatorHeight="2dp"  // 设置便签下划线的高度(厚度)      不设置的话,默认大小就可以    设置为0dp就是不显示下划线

app:tabIndicatorColor="#007aff" // 设置标签下划线的颜色

app:tabSelectedTextColor="#007aff" // 设置选中标签的字体的颜色

app:tabTextColor="@android:color/darker_gray" /> //设置未选中标签的字体的颜色


<android.support.v4.view.ViewPager

     android:id="@+id/vpager"

   android:layout_width="match_parent"

   android:layout_height="200dp" />
5.控制器部分代码:
(一)
class TabAdapter extends FragmentPagerAdapter {

    public TabAdapter(FragmentManager fm) {
        super(fm);
    }

    @Override
    public Fragment getItem(int position) {
        return fragments.get(position);
    }

    @Override
    public int getCount() {
        return fragments.size();
    }
    //显示标签上的文字
    @Override
    public CharSequence getPageTitle(int position) {
        return tabs.get(position);
    }
}
(二)
public static class TabFrament extends Fragment {
        private Context context;
        private String content;

        public TabFrament() {
        }

        @SuppressLint("ValidFragment")
        public TabFrament(Context contexts, String content) {
            this.context = contexts;
            this.content = content;
        }

        @Nullable
        @Override
        public View onCreateView(LayoutInflater inflater, @Nullable ViewGroup container, @Nullable Bundle savedInstanceState) {
             TextView textView = new TextView(context);   //此处用Textview举个例子,可以布置任意布局,自定义布局,用View view = inflater.inflate()方法
             textView.setText(content);
             textView.setTextSize(30);
             textView.setGravity(Gravity.CENTER);
             return textView;

        }
    }
(三)
private void initData() {

    for(Map<String,String> map:list) {      // 从服务器获取的数据,已经处理成list
        tabs.add(map.get("tab"));       // tab标签
        fragments.add(new TabFrament(this,map.get("content"))); //viewpage 内容
    }
    tabLayout = (TabLayout) findViewById(R.id.tablayout);

    //设置TabLayout的模式
    tabLayout.setTabGravity(TabLayout.GRAVITY_CENTER);   //注:此条属性必须配合MODE_FIXED使用,不然不起作用
   //  GRAVITY_FILL  让每个标签平分TabLayout的全部宽度

    //  GRAVITY_CENTER  让每个标签显示自身宽度,然后所有标签居中显示
    tabLayout.setTabMode(TabLayout.MODE_SCROLLABLE);
  // MODE_FIXED  表示宽度始终是tablayout控件指定的宽度,如果标签过多,那么就无限挤压控件
  // MODE_SCROLLABLE 表示每个标签都保持自身宽度,一旦标签过多,给标题栏提供支持横向滑动的功能

    TabAdapter tabadapter=new TabAdapter(getSupportFragmentManager());
    vpager.setAdapter(tabadapter);

    vpager.setOffscreenPageLimit(3);   // 设置viewpager缓存页面个数,建议:有 n 个tab就缓存 n-1 个页面

   //关联ViewPager和TabLayout

tabLayout.setupWithViewPager(vpager); //设置分割线 标签之间的纵向分割线
LinearLayout linear = (LinearLayout)tabLayout.getChildAt(0);
linear.setShowDividers(LinearLayout.SHOW_DIVIDER_MIDDLE);
linear.setDividerDrawable(ContextCompat.getDrawable(this,R.drawable.divider));
//设置分割线间隔
linear.setDividerPadding(dip2px(15)); } (四)public int dip2px(int dip) {
float density = getResources().getDisplayMetrics().density;
return (int) (dip * density + 0.5);
}6.实践感悟
(1) ViewPager 的含义是单独的一个页面,如果要设置此页面滚动的话,不可在ViewPager的外部而应该在子布局的外围设置srollview;把每一个ViewPager当成独立的页面就好了。

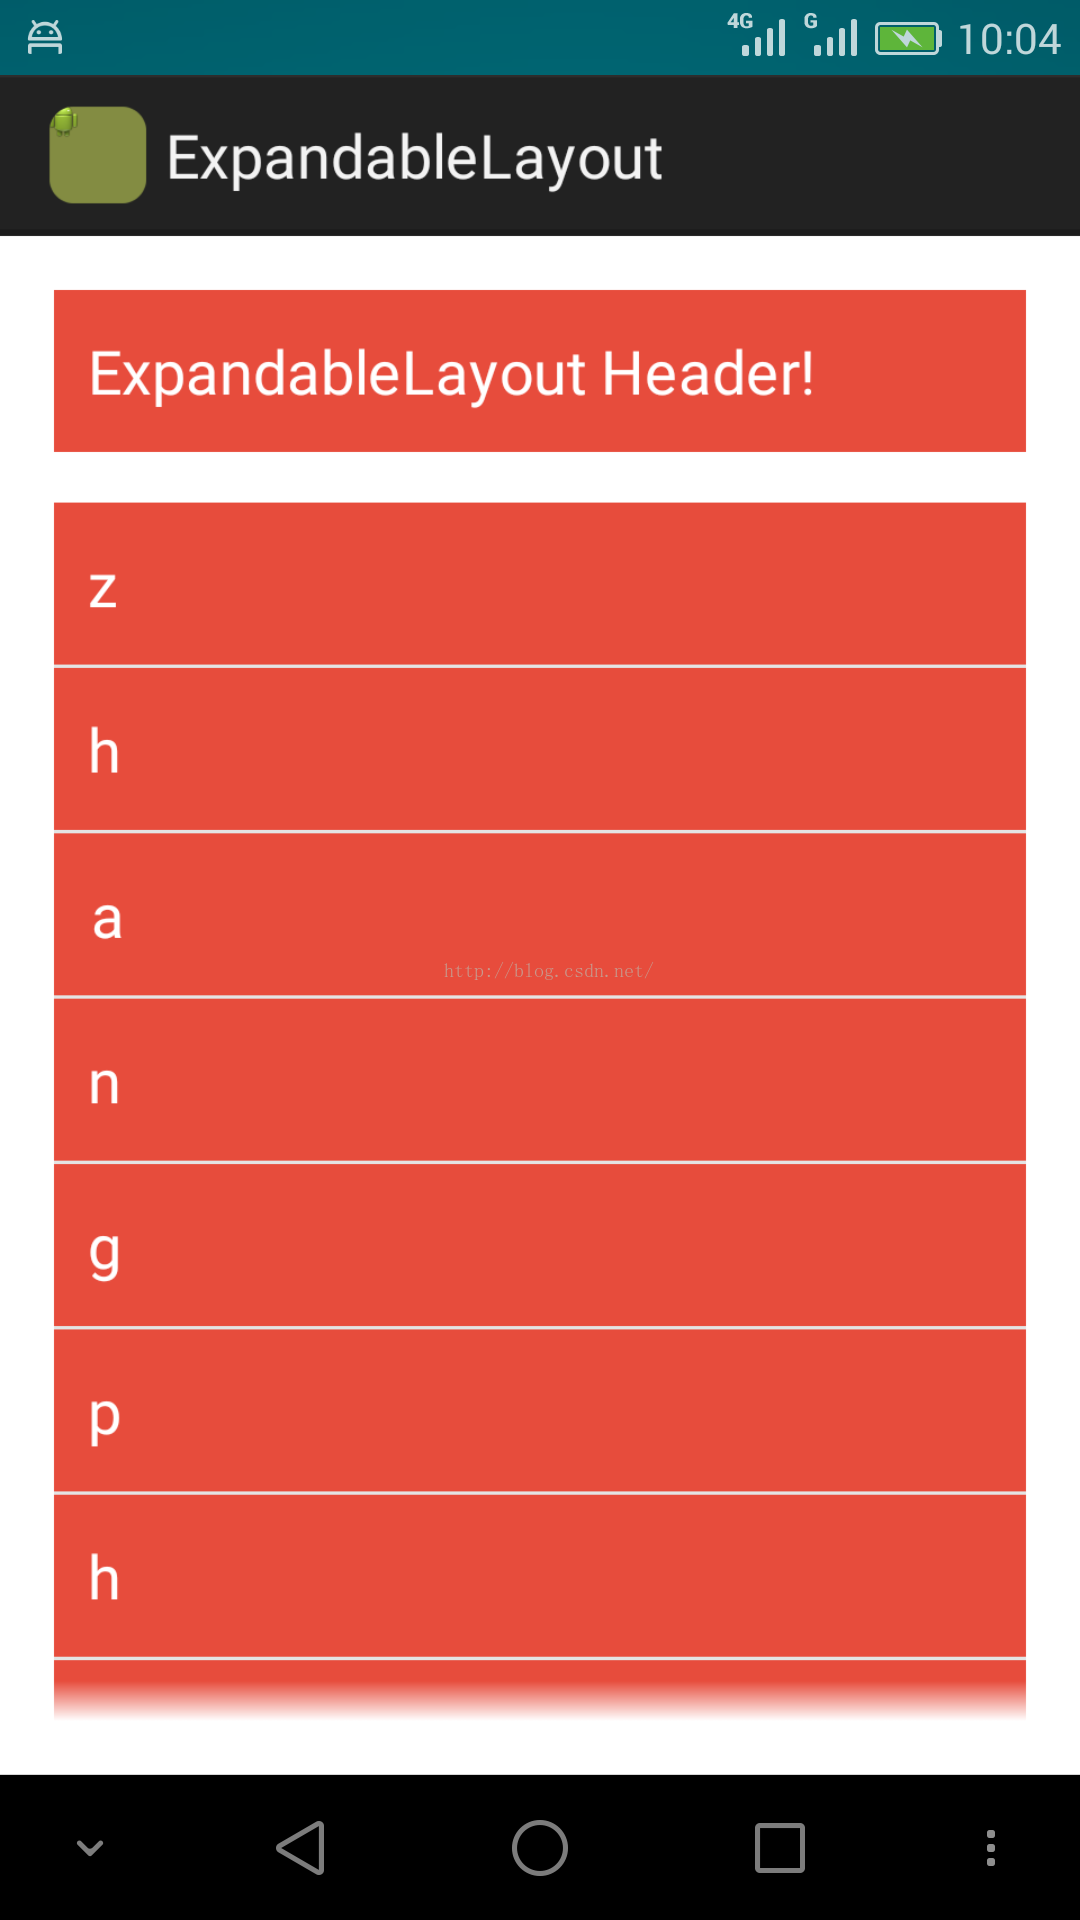
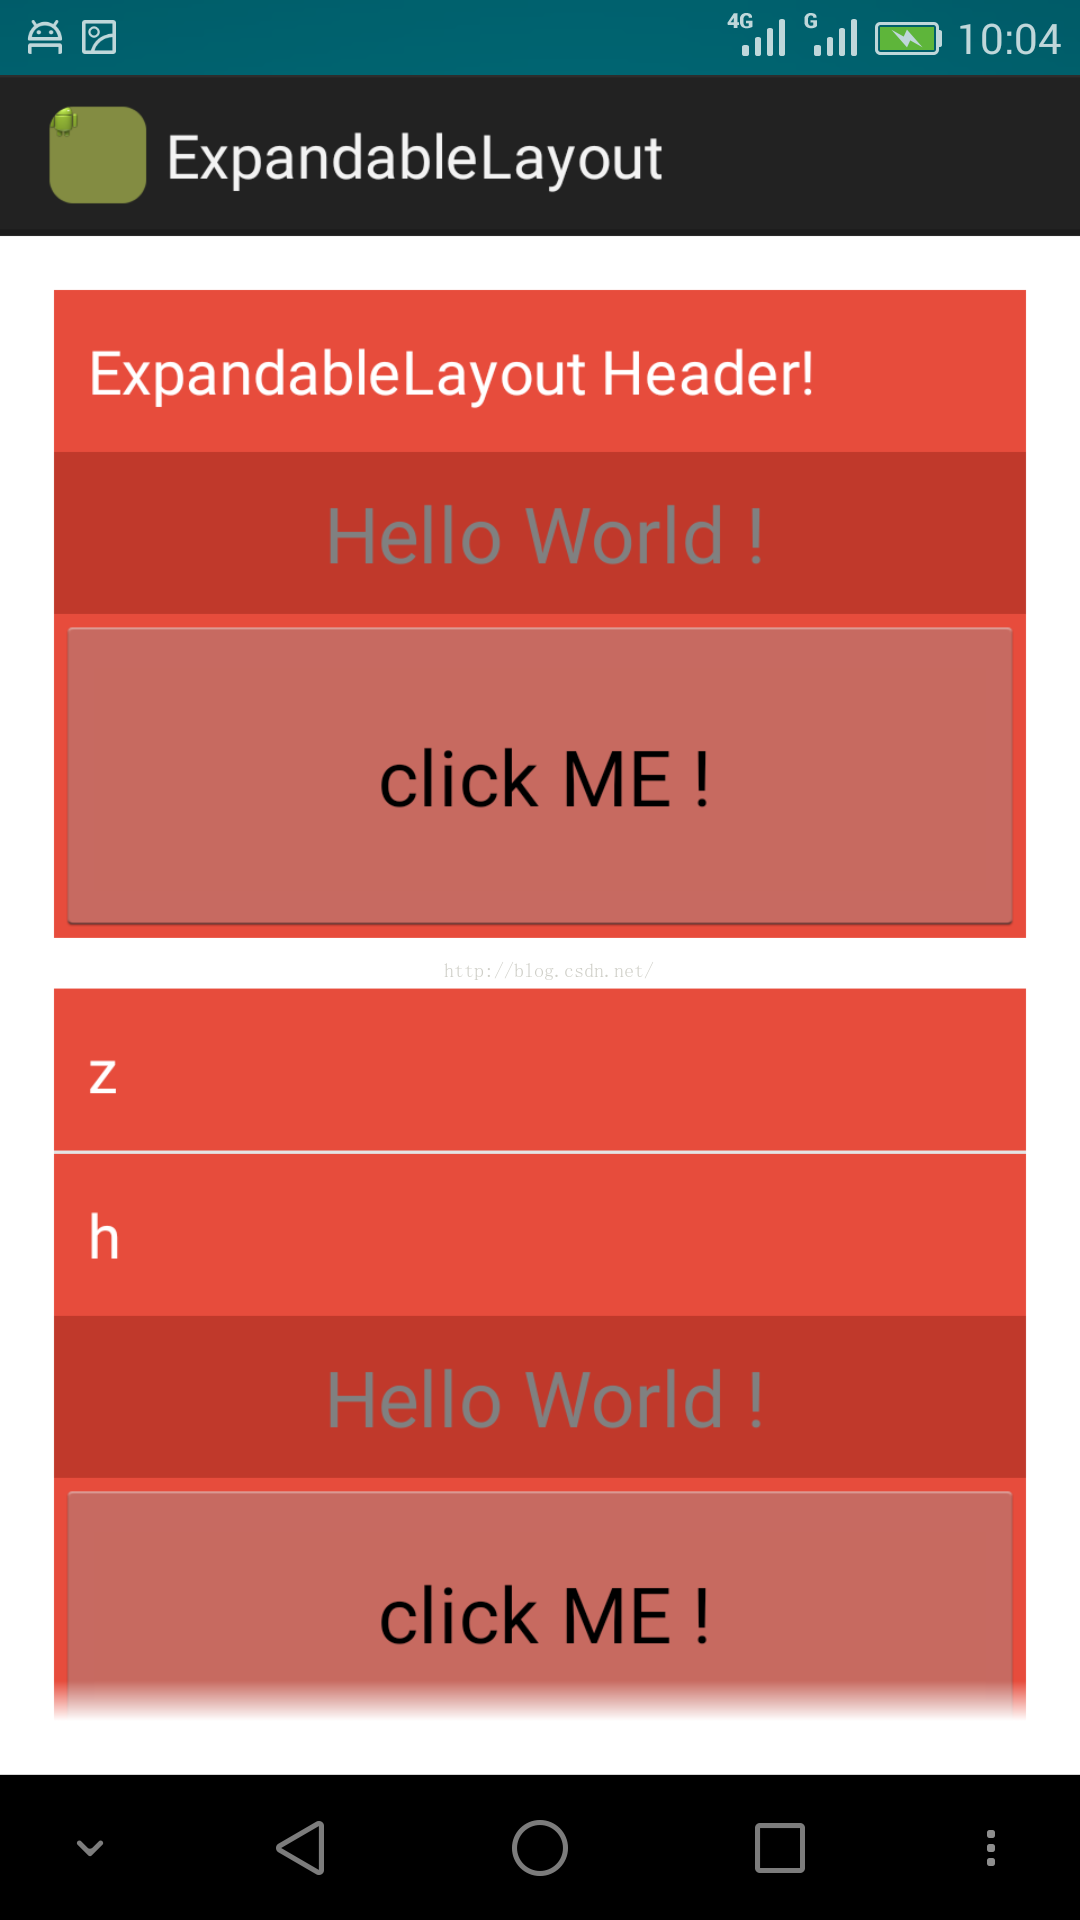
Android ExpandableLayout:一种可伸缩扩展的 Layout
Android ExpandableLayout:一种可伸缩扩展的 Layout
像这种设计场景,可以考虑(不一定非要如此)采用 Android ExpandableLayout,Android ExpandableLayout 是一个第三方开源的项目,旨在完成上述的设计和编程需求,可以实现一般的布局和 ListView 子 item 一级的伸缩扩展,其在 github 上的项目主页是:https://github.com/traex/ExpandableLayout 。
但是原项目直接导入有一些问题,我再次整理成可以顺利运行的项目,push 到 git 上,使用时候直接 clone 到本地即可运行。重新整理调整顺利后的项目链接地址:https://github.com/zhangphil/Android-ExpandableLayout
代码运行结果如图所示:

Android Material Design TabLayout属性app:tabMode和app: tabGravity
Android Material Design TabLayout属性app:tabMode和app: tabGravity
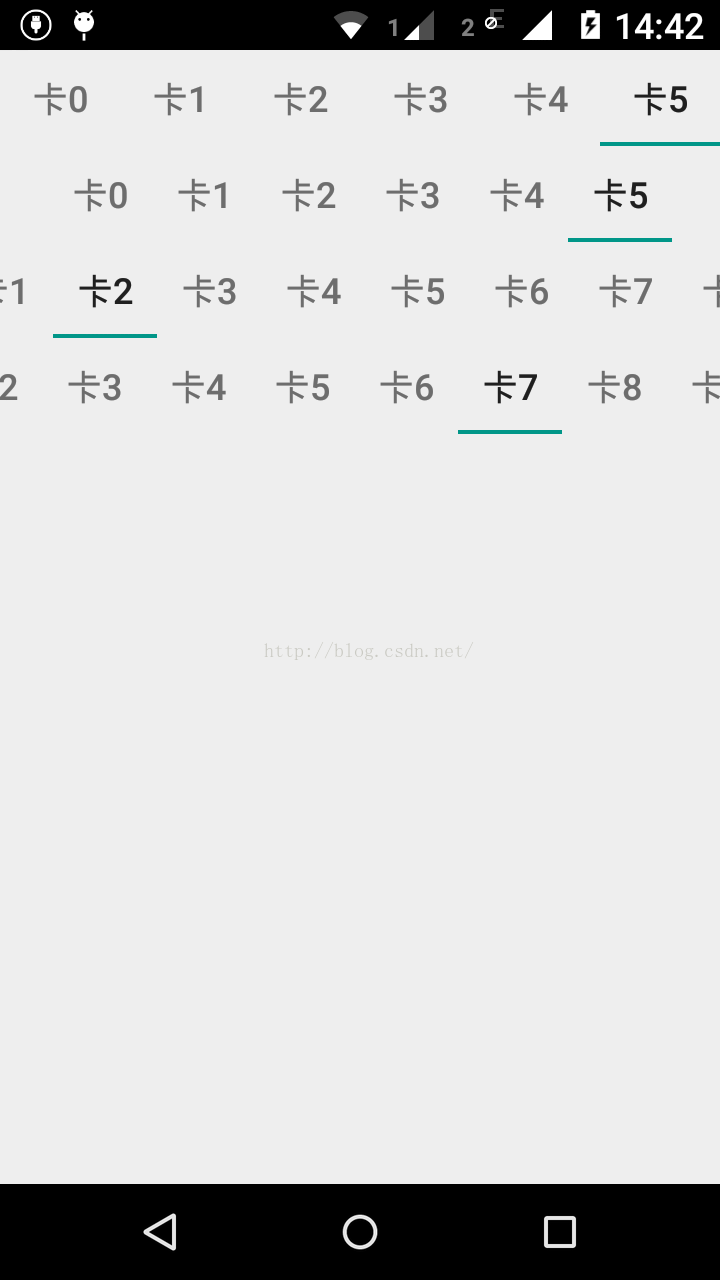
Android Material Design 中的TabLayout有两个比较有用的属性 app:tabMode、app:tabGravity,
(1)app:tabMode有两个值:fixed和scrollable。
(2)app:tabGravity有两个值:fill和center。
比较常用的是app:tabMode设置值scrollable,以及app:tabGravity设置值center。
比如,当app:tabMode设置值scrollable表示此TabLayout中当子view超出屏幕边界时候,将提供滑动以便滑出不可见的那些子view。
而app:tabGravity设置值center,在有些情况下,比如TabLayout中子view较少需要居中显示时候的情景。
现在给出一个例子加以说明。
测试的MainActivity.java:
package zhangphil.view;

import android.app.Activity;
import android.os.Bundle;
import android.support.design.widget.TabLayout;

public class MainActivity extends Activity {

	@Override
	protected void onCreate(Bundle savedInstanceState) {
		super.onCreate(savedInstanceState);
		setContentView(R.layout.activity_main);

		TabLayout tabLayout1 = (TabLayout) findViewById(R.id.tabLayout1);
		TabLayout tabLayout2 = (TabLayout) findViewById(R.id.tabLayout2);
		TabLayout tabLayout3 = (TabLayout) findViewById(R.id.tabLayout3);
		TabLayout tabLayout4 = (TabLayout) findViewById(R.id.tabLayout4);

		for (int i = 0; i < 6; i++) {
			tabLayout1.addTab(tabLayout1.newTab().setText("卡" + i));
			tabLayout2.addTab(tabLayout2.newTab().setText("卡" + i));
		}

		for (int i = 0; i < 10; i++) {
			tabLayout3.addTab(tabLayout3.newTab().setText("卡" + i));
			tabLayout4.addTab(tabLayout4.newTab().setText("卡" + i));
		}

	}
}
MainActivity.java需要的布局文件activity_main.xml文件:
<?xml version="1.0" encoding="utf-8"?>
<LinearLayout xmlns:android="http://schemas.android.com/apk/res/android"
    xmlns:app="http://schemas.android.com/apk/res-auto"
    android:layout_width="match_parent"
    android:layout_height="wrap_content"
    android:orientation="vertical" >

    <android.support.design.widget.TabLayout
        android:id="@+id/tabLayout1"
        android:layout_width="match_parent"
        android:layout_height="wrap_content"
        app:tabGravity="fill"
        app:tabMode="fixed" />

    <android.support.design.widget.TabLayout
        android:id="@+id/tabLayout2"
        android:layout_width="match_parent"
        android:layout_height="wrap_content"
        app:tabGravity="center"
        app:tabMode="fixed" />

    <android.support.design.widget.TabLayout
        android:id="@+id/tabLayout3"
        android:layout_width="match_parent"
        android:layout_height="wrap_content"
        app:tabGravity="fill"
        app:tabMode="scrollable" />

    <android.support.design.widget.TabLayout
        android:id="@+id/tabLayout4"
        android:layout_width="match_parent"
        android:layout_height="wrap_content"
        app:tabGravity="center"
        app:tabMode="scrollable" />

</LinearLayout>
效果如图所示:
今天关于带有通知徽章的Android Tablayout标签,例如whatsApp和通知里的标记有必要开吗的介绍到此结束,谢谢您的阅读,有关android ------ AndroidX的 Tablayout(com.google.android.material.tabs.TabLayout) 的使用、Android ---------- TabLayout 实战 (一)、Android ExpandableLayout:一种可伸缩扩展的 Layout、Android Material Design TabLayout属性app:tabMode和app: tabGravity等更多相关知识的信息可以在本站进行查询。
本文标签:


