对于想了解使用PythonSelenium自动连接我的Gmail帐户的读者,本文将是一篇不可错过的文章,我们将详细介绍seleniumpythonchrome,并且为您提供关于(selenium+py
对于想了解使用Python Selenium自动连接我的Gmail帐户的读者,本文将是一篇不可错过的文章,我们将详细介绍selenium python chrome,并且为您提供关于(selenium+python)_UI 自动化 01_Mac 下 selenium 环境搭建、OP模型下的Python+selenium自动化、Python + selenium自动化环境搭建的完整步骤、Python Selenium自动化测试PO设计模式实战的有价值信息。
本文目录一览:- 使用Python Selenium自动连接我的Gmail帐户(selenium python chrome)
- (selenium+python)_UI 自动化 01_Mac 下 selenium 环境搭建
- OP模型下的Python+selenium自动化
- Python + selenium自动化环境搭建的完整步骤
- Python Selenium自动化测试PO设计模式实战
")
使用Python Selenium自动连接我的Gmail帐户(selenium python chrome)
我正在尝试使用Python中的Selenium用我的GMail帐户自动登录,但出现此错误:
selenium.common.exceptions.ElementNotVisibleException: Message: Element is not currently visible and so may not be interacted with我的代码如下所示:
#!/usr/bin/python# coding: utf8import scrapyfrom selenium import webdriverfrom scrapy.selector import Selectorfrom selenium.webdriver.common.action_chains import ActionChainsfrom scrapy.contrib.spiders import CrawlSpiderfrom scrapy.selector import HtmlXPathSelectorfrom scrapy.contrib.linkextractors.sgml import SgmlLinkExtractorfrom scrapy.contrib.spiders import CrawlSpider, Rulefrom scrapy.http import Request, FormRequestfrom scrapy import logfrom scrapy.exceptions import DropItemfrom scrapy import signalsfrom selenium.webdriver.common.by import Byimport scrapyfrom scrapy import signalsfrom scrapy.http import TextResponse from scrapy.xlib.pydispatch import dispatcherfrom selenium import webdriverfrom selenium.webdriver.common.keys import Keysclass googleplay(CrawlSpider): name = "selenium" flag = True def __init__(self): self.driver = webdriver.Firefox() self.driver.get(''http://gmail.com'') action = webdriver.ActionChains(self.driver) #User name input field identification and data entered usernametext = self.driver.find_element_by_name(''Email'') usernametext.send_keys("myemailaddress@gmail.com") #put your actual username self.driver.find_element_by_name(''signIn'').click() time.sleep(2) #Password input field identification and data entered passwordtext = self.driver.find_element_by_name(''Passwd'') passwordtext.send_keys("password") #put your actual password key = self.driver.find_element_by_name(''signIn'') print "----------------------" key.click() print "----------------------" start_urls = ["https://www.mywebsite.com"] def parse(self, reponse): #Loading the gmail URL print "toto"我该如何解决我的问题?
答案1
小编典典尝试更改网址。使用https://accounts.google.com/ServiceLogin?service=mail#identifier代替http://gmail.com。
确保使用原始电子邮件和密码。并更改self.driver.find_element_by_name到self.driver.find_element_by_id每个元素。
您的代码将是:
#!/usr/bin/python# coding: utf8import scrapyimport timefrom selenium import webdriverfrom scrapy.selector import Selectorfrom selenium.webdriver.common.action_chains import ActionChainsfrom scrapy.contrib.spiders import CrawlSpiderfrom scrapy.selector import HtmlXPathSelectorfrom scrapy.contrib.linkextractors.sgml import SgmlLinkExtractorfrom scrapy.contrib.spiders import CrawlSpider, Rulefrom scrapy.http import Request, FormRequestfrom scrapy import logfrom scrapy.exceptions import DropItemfrom scrapy import signalsfrom selenium.webdriver.common.by import Byfrom scrapy import signalsfrom scrapy.http import TextResponse from scrapy.xlib.pydispatch import dispatcherfrom selenium import webdriverfrom selenium.webdriver.common.keys import Keysclass googleplay(CrawlSpider): name = "selenium" flag = True def __init__(self): self.driver = webdriver.Firefox() self.driver.get(''http://gmail.com'') action = webdriver.ActionChains(self.driver) #User name input field identification and data entered usernametext = self.driver.find_element_by_name(''Email'') usernametext.send_keys("myemail@gmail.com") #put your actual username self.driver.find_element_by_name(''signIn'').click() #Password input field identification and data entered passwordtext = self.driver.find_element_by_id(''Passwd'') passwordtext.send_keys("mypassword") #put your actual password self.driver.find_element_by_id(''signIn'').click() print "----------------------" #key.click() print "----------------------" start_urls = ["https://www.mywebsite.com"] def parse(self, reponse): #Loading the gmail URL print "toto"_UI 自动化 01_Mac 下 selenium 环境搭建")
(selenium+python)_UI 自动化 01_Mac 下 selenium 环境搭建
前言
Selenium 是一个用于 Web 网页 UI 自动化测试的开源框架,可以驱动浏览器模拟用户操作。支持多种平台 (Windows、Mac OS、Linux) 和多种浏览器 (IE、Firefox、Chrome、Safari),可以用多种语言 (Java,Ruby,Python,Perl,PHP,C#) 编写测试用例。
selenium+python 环境搭建
python 环境安装
mac 上安装 python 环境可参考:Mac 版 - python 环境配置(一):Python 下载安装
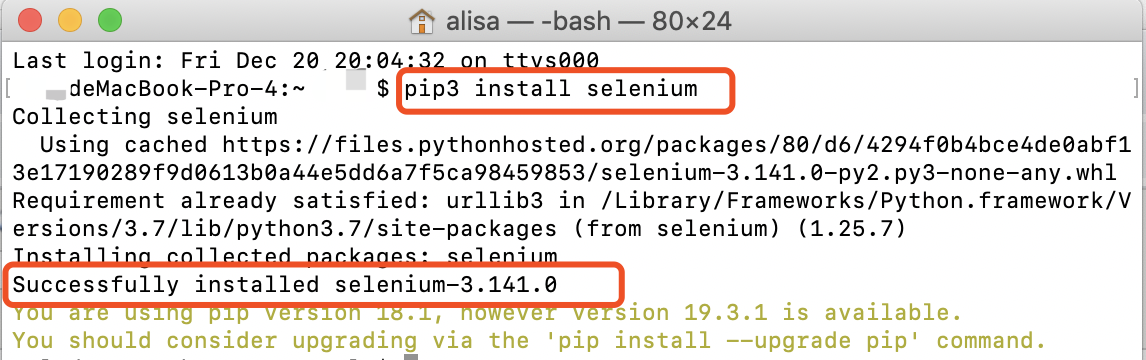
安装 selenium
打开终端 ->pip 安装(安装命令:pip3 install selenium)
安装浏览器驱动
安装 Chrome 浏览器驱动 ChromeDriver
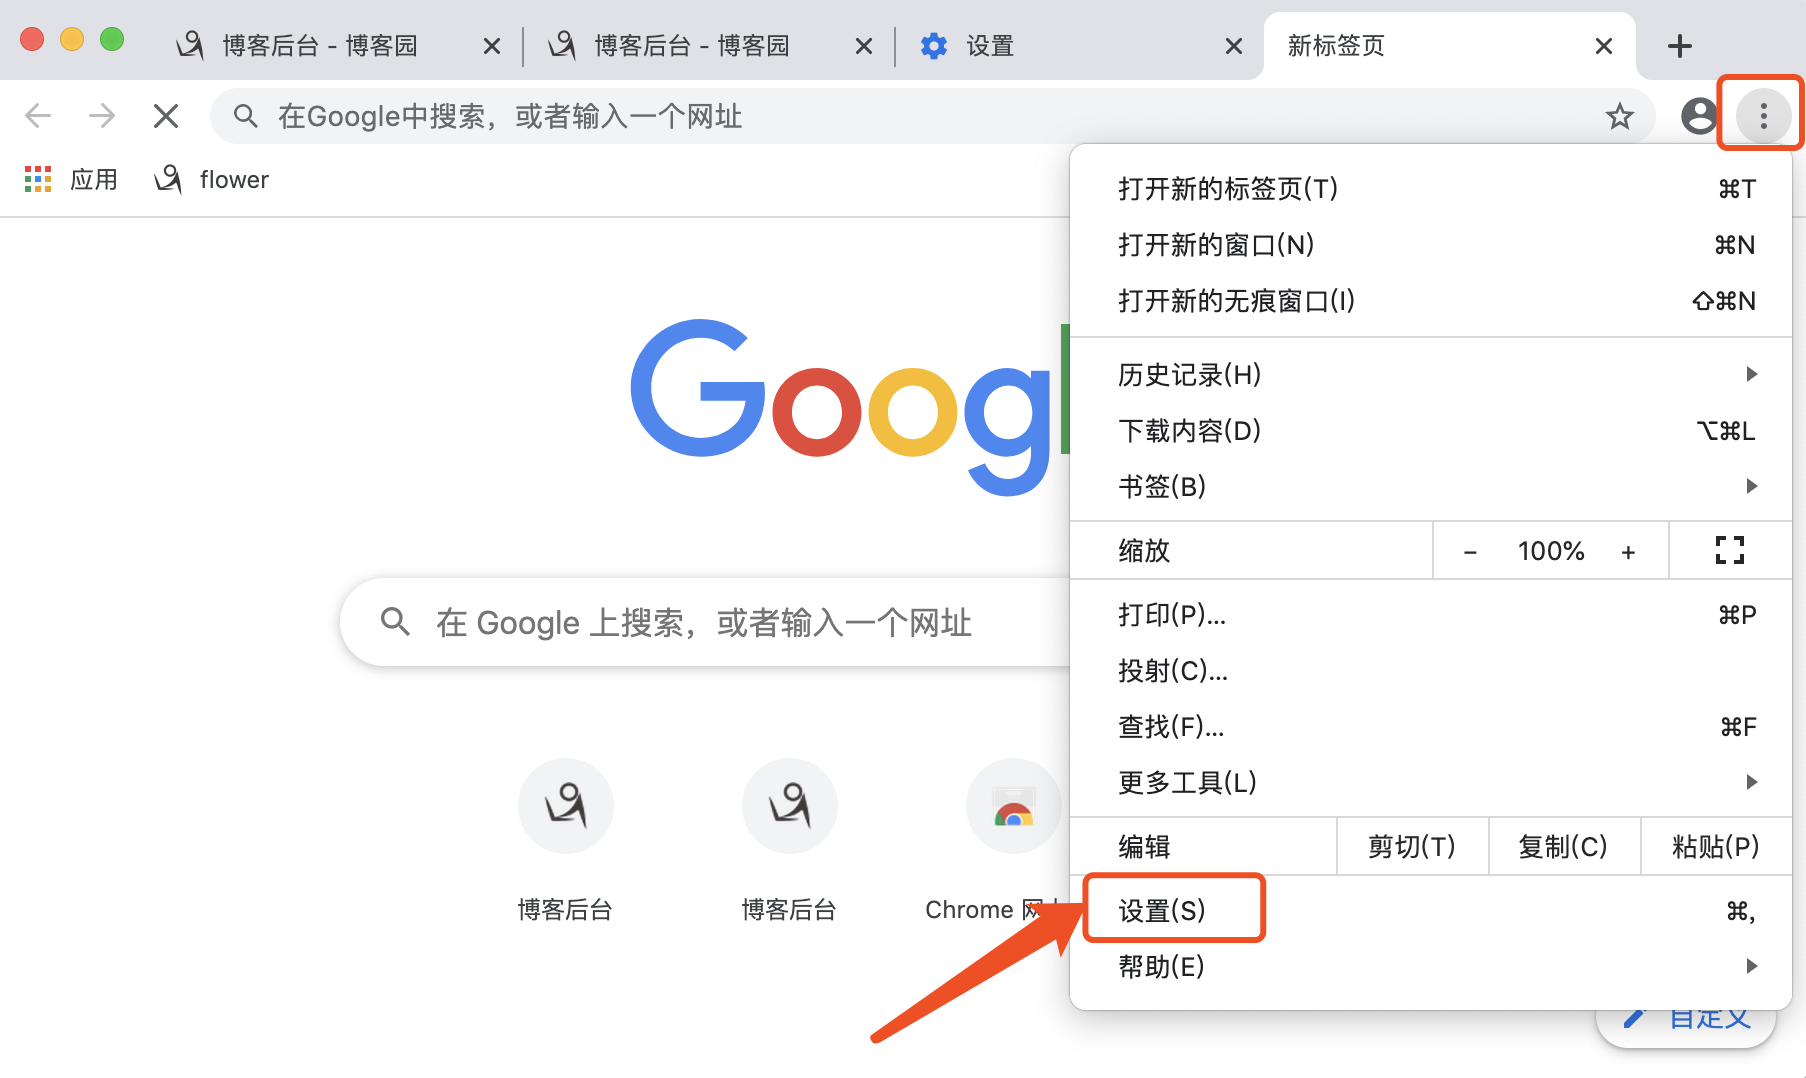
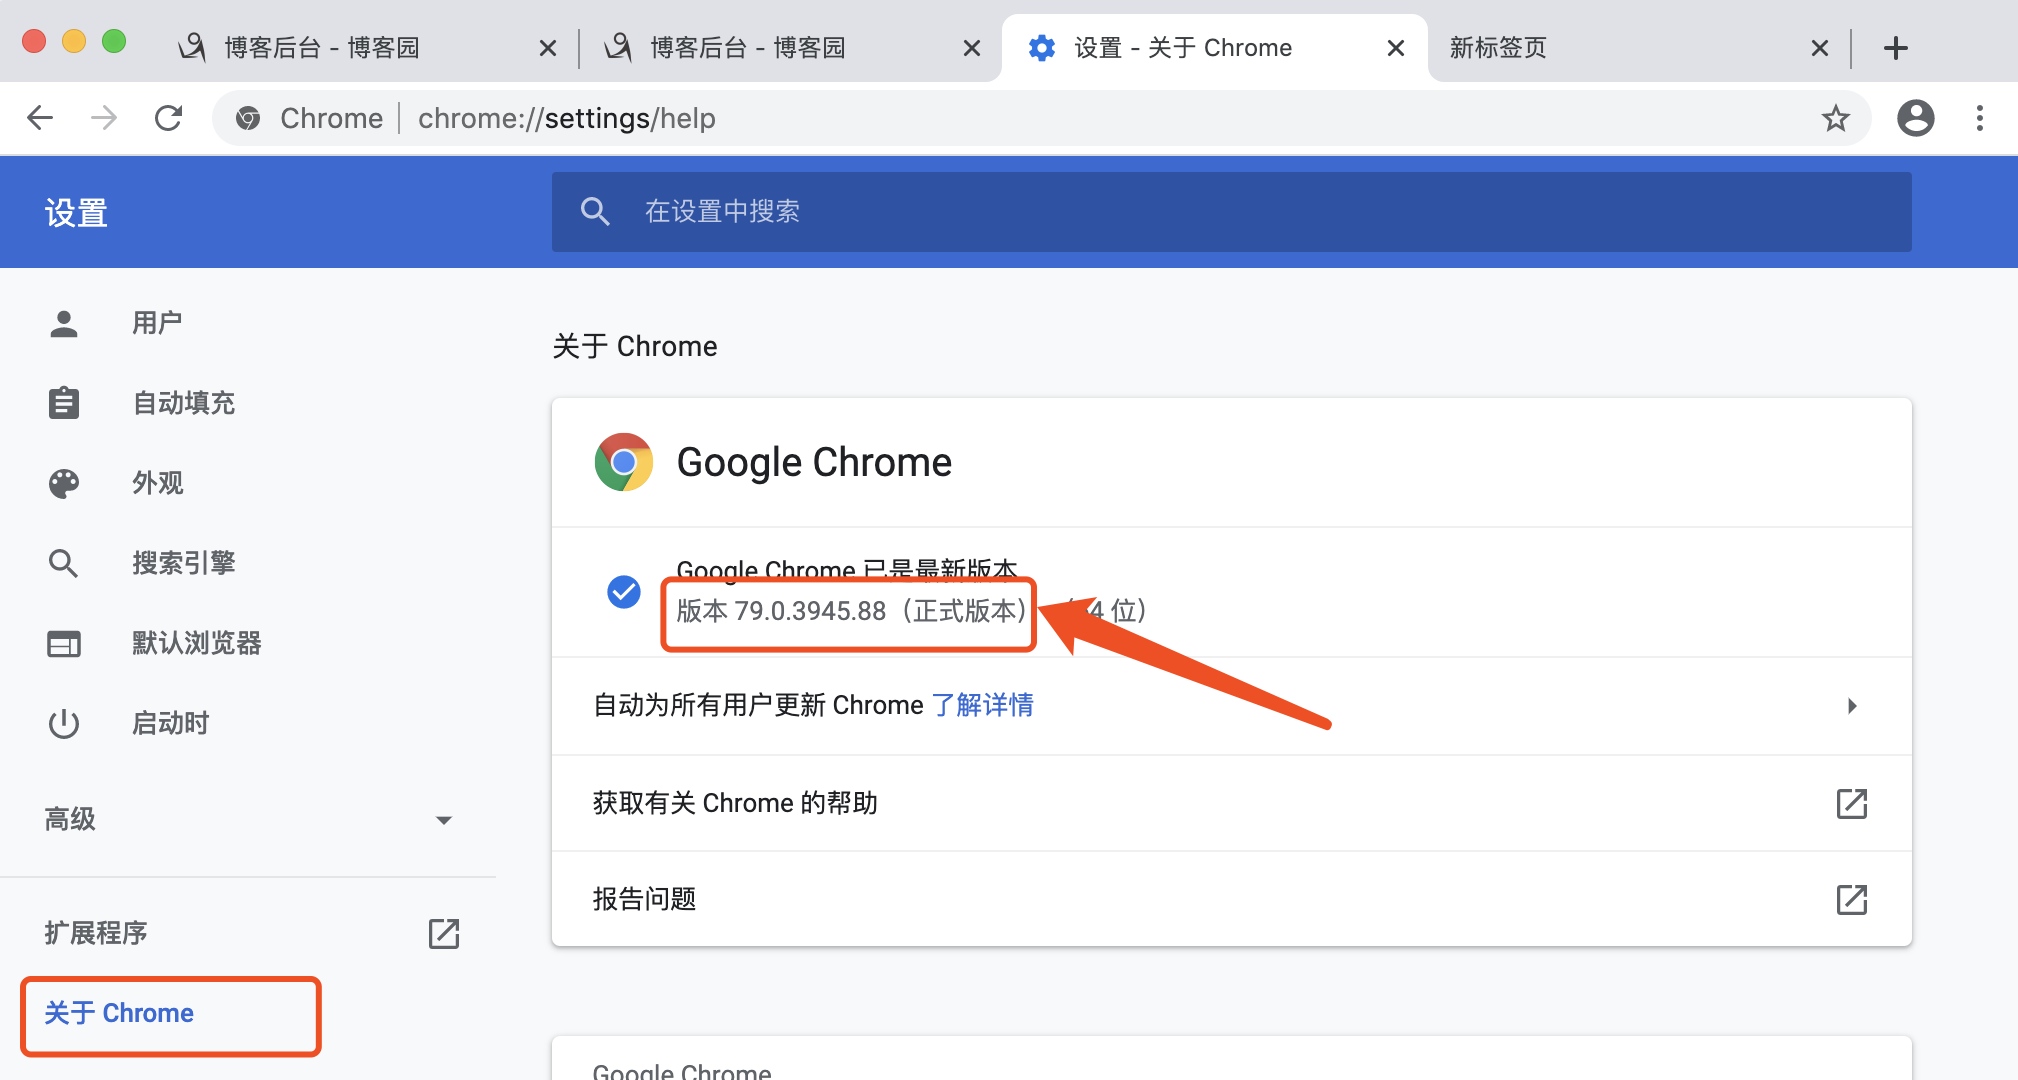
1. 查看 Chrome 版本
设置 -> 关于 Chrome
2. 查找 Chrome 和 ChromeDriver 的对应关系
Chrome 和 ChromeDriver 的对应关系可参考:https://www.cnblogs.com/mini-monkey/p/12088721.html
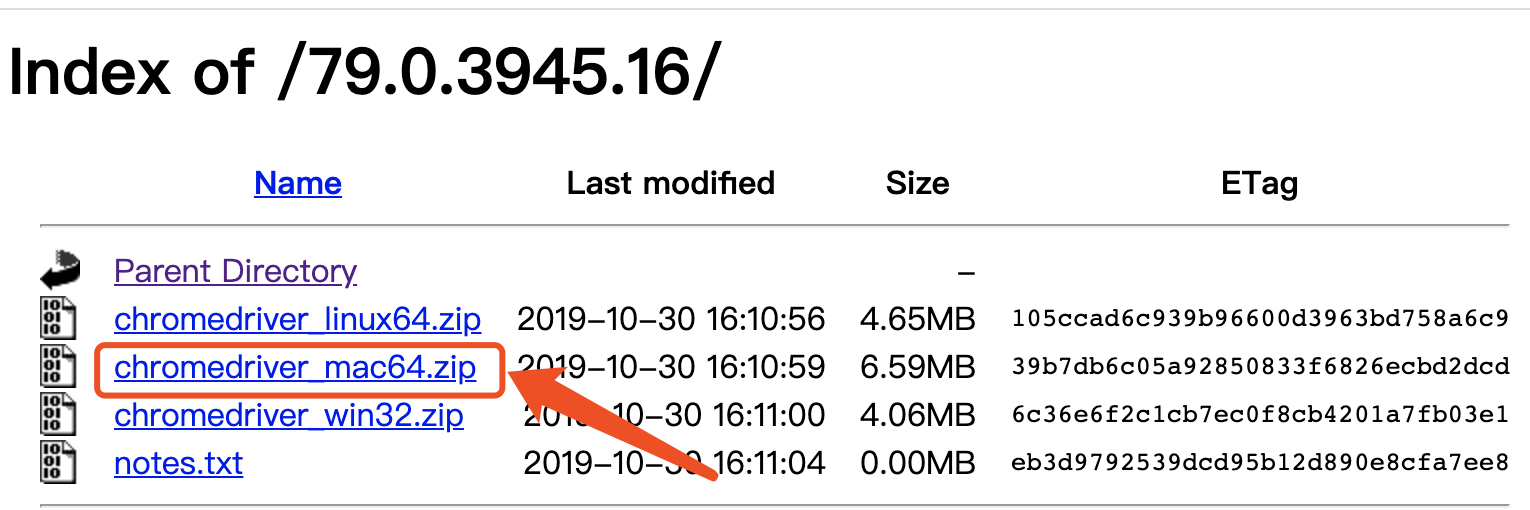
3. 下载对应 ChromeDriver
ChromeDriver 下载地址:http://chromedriver.storage.googleapis.com/index.html
小编 1 中查看到的 chrome 版本为 79,故下载 ChromeDriver 79 版本
4. ChromeDriver 环境配置
进入 /usr/local/bin 目录(由于 Mac 该目录是隐藏的,所以可通过快捷键 command+shift+g 打开)
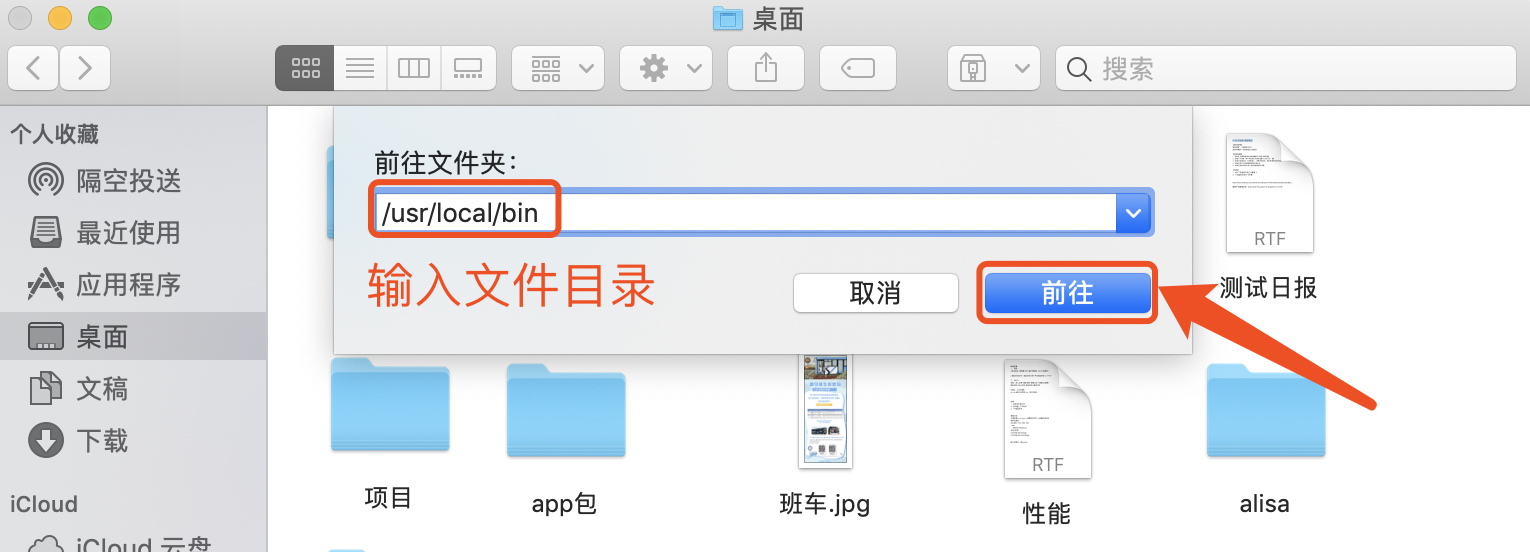
将解压的 ChromeDriver 拖拽到 bin 文件夹中
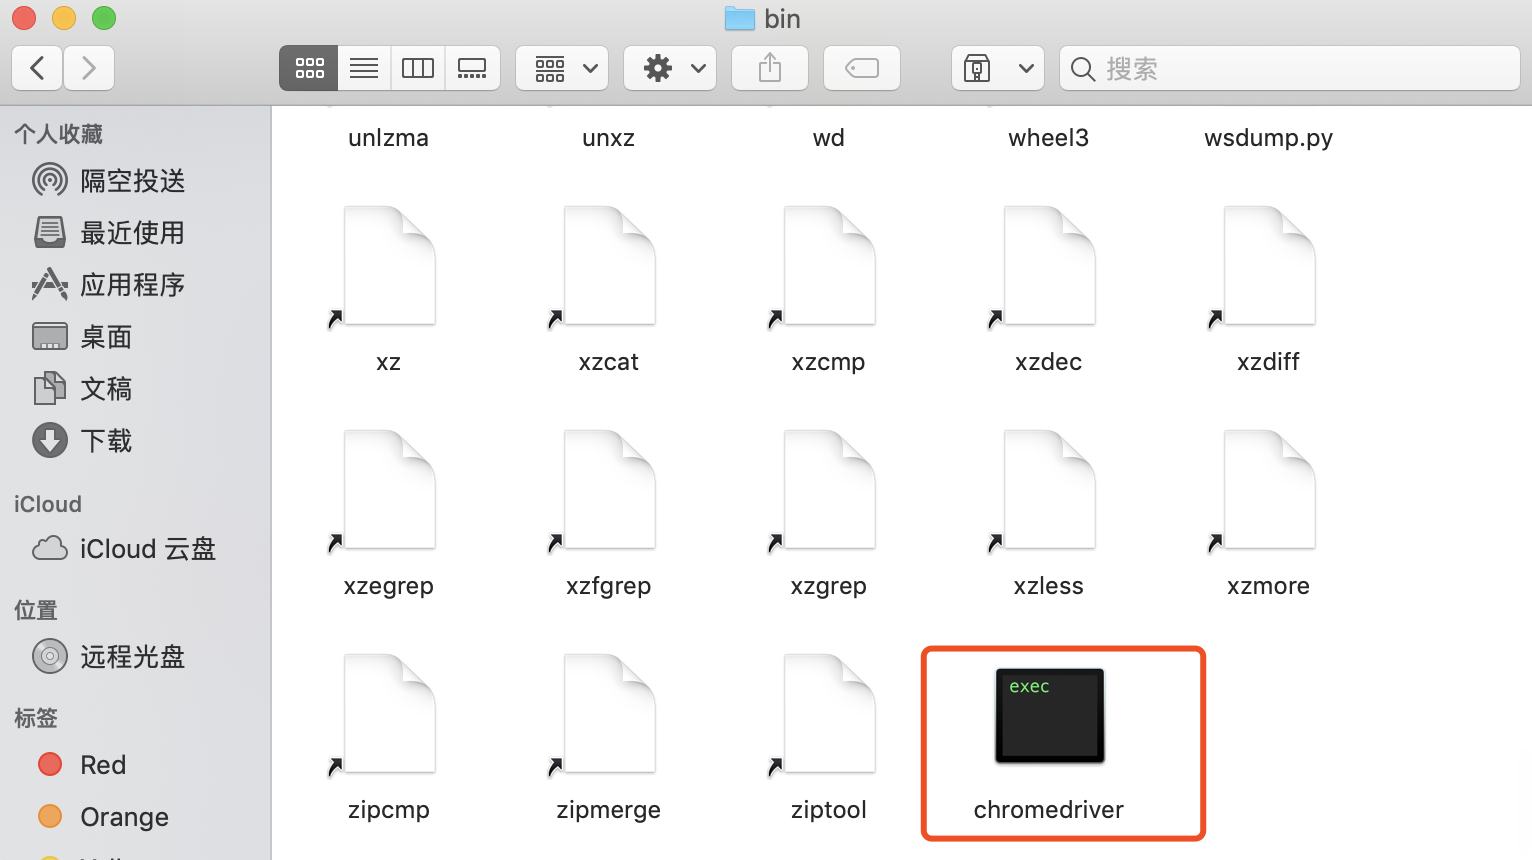
查看 ChromeDriver 版本:chromedriver --version

备注:输出 ChromeDriver 版本即安装成功
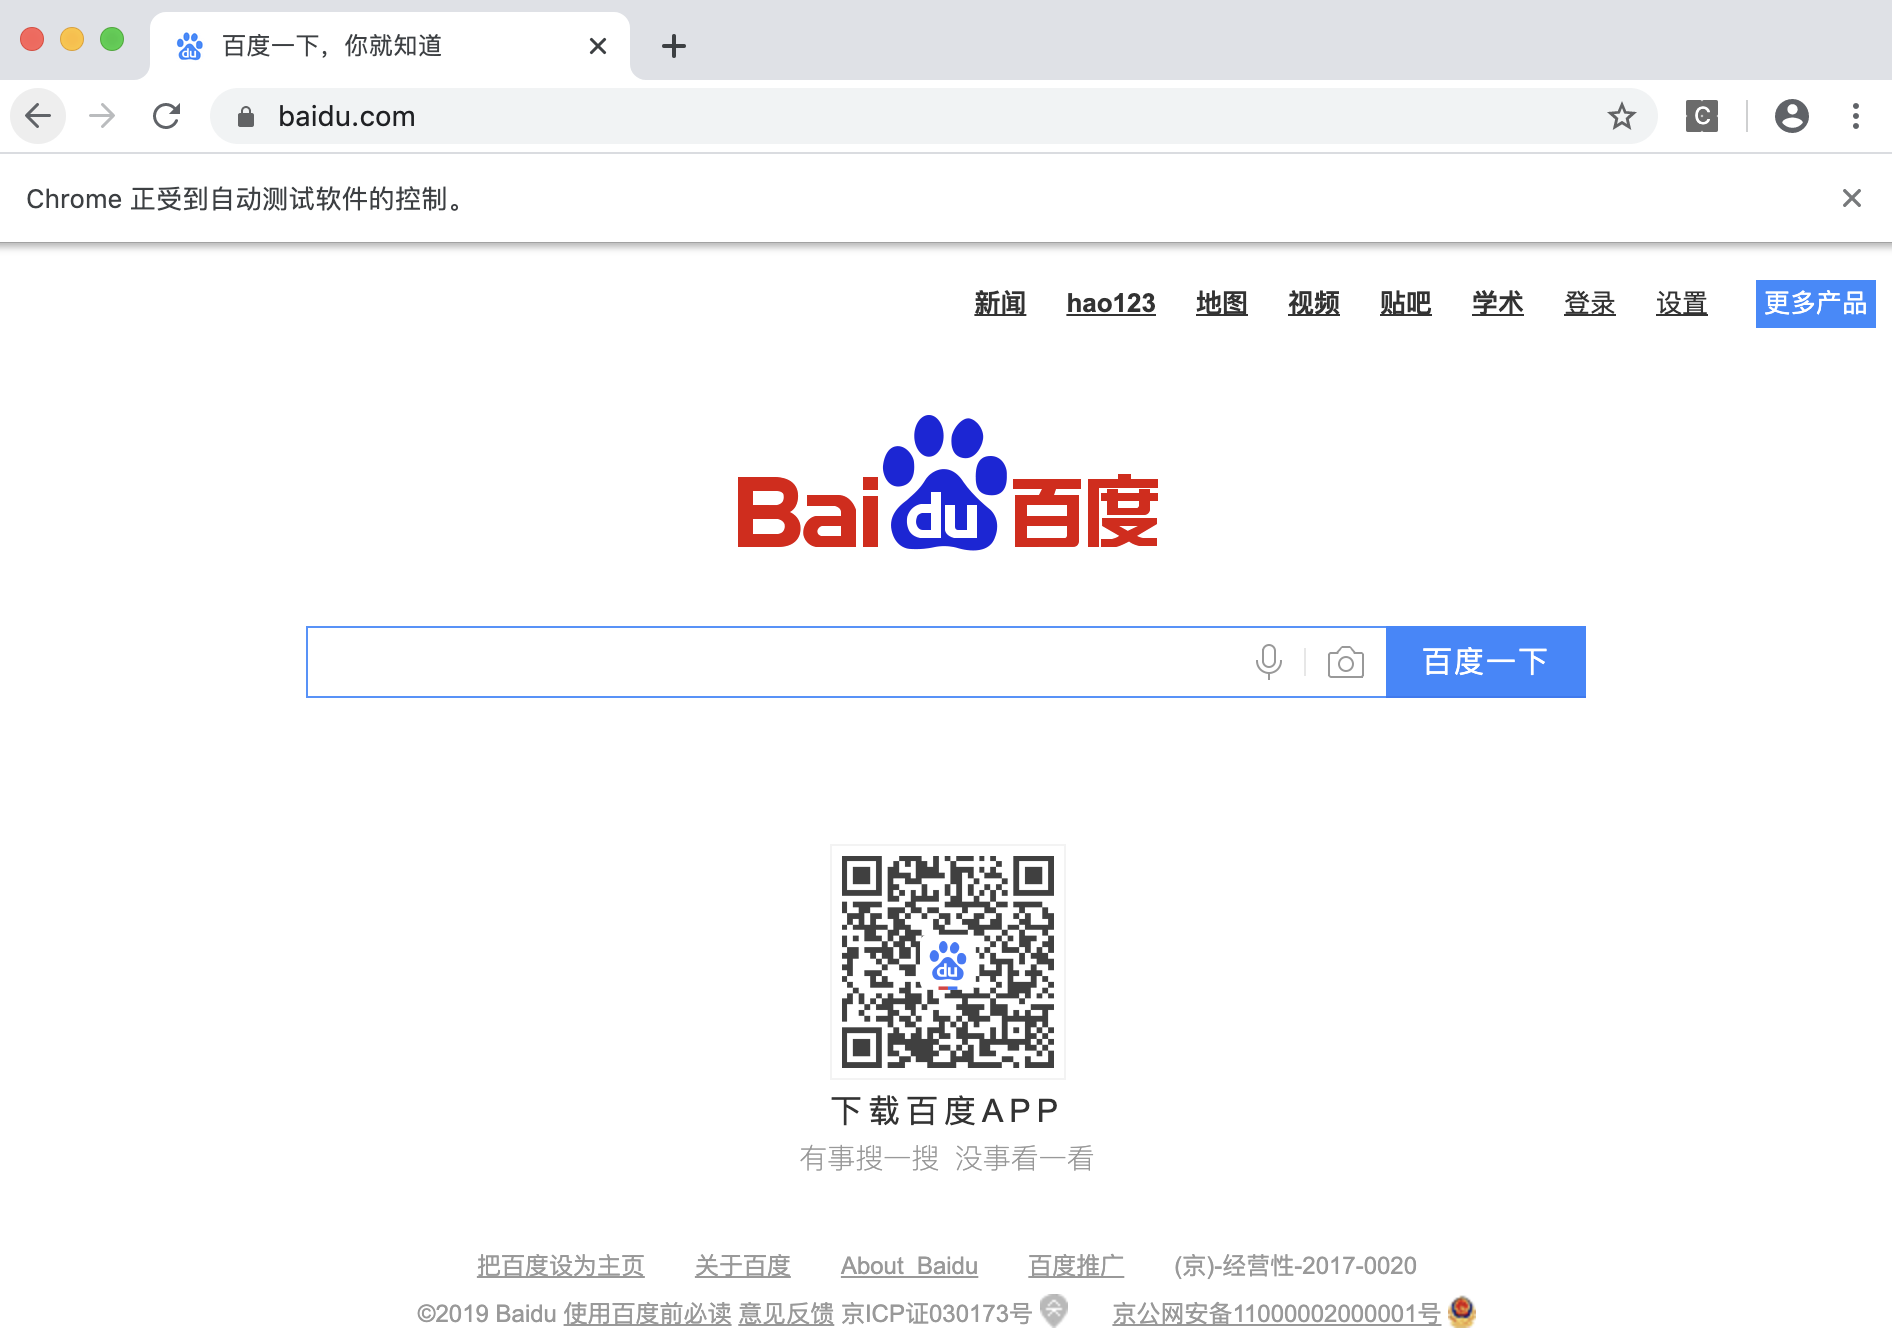
5. 编写脚本启动 Chrome 浏览器
1 # 启动Chrome
2 from selenium import webdriver
3
4 driver = webdriver.Chrome()
5 driver.get(''http://www.baidu.com/'')  # 打开百度
运行脚本,打开百度页

OP模型下的Python+selenium自动化
读取配置文件
 1 import configparser
 2
 3 class ReadIni():
 4
 5     def __init__(self,file_name=None,node=None):
 6         if file_name == None:
 7             file_name =‘C:\\Users\\mi\\Desktop\\Seleniumpython_pycharm\\imooc_seleniumyttt\\config\\LocalElement.ini‘
 8         if node == None:
 9             self.node = "RegisterElement"
10         else:
11             self.node = node
12         self.cf = self.load_ini(file_name)
13
14     def load_ini(self,file_name):
15         cf = configparser.ConfigParser()
16         cf.read(file_name)
17         return cf
18
19     def get_value(self,key):
20         data = self.cf.get(self.node,key)
21         return data
22 # 获取value的值
23 if __name__ == ‘__main__‘:
24     read_init = ReadIni()
25     print(read_init.get_value(‘user_name‘))
26
27
28 # cf.read(r"C:\Users\mi\Desktop\Seleniumpython_pycharm\config\LocalElement.ini")
29 # cf.get(‘RegisterElement‘,‘user_email‘)
封装查找元素方法
 1 from imooc_selenium.util.read_ini import ReadIni
 2
 3
 4 class FindElement():
 5
 6     def __init__(self,driver):
 7         self.driver = driver
 8
 9     def get_element(self,key):
10         read_int = ReadIni()
11         data = read_int.get_value(key)
12         by = data.split(‘>‘)[0]
13         value = data.split(‘>‘)[1]
14         try:
15             if by == ‘id‘:
16                 return self.driver.find_element_by_id(value)
17             elif by == ‘name‘:
18                 return self.driver.find_element_by_name(value)
19             elif by == ‘className‘:
20                 return self.driver.find_element_by_class_name(value)
21             else:
22                 return self.driver.find_element_by_xpath(value)
23         except:
24             return None
封装页面基本元素
 1 from PO.base.find_element import FindElement
 2
 3
 4 class RegisterPage():
 5
 6     def __init__(self,driver):
 7         self.fd = FindElement(driver)
 8
 9     # 获取邮箱元素
10     def get_email_element(self):
11         return self.fd.get_element("user_email")
12
13     def get_username_element(self):
14         return self.fd.get_element("user_name")
15
16     def get_password_element(self):
17         return self.fd.get_element("password")
18
19     def get_code_element(self):
20         return self.fd.get_element("code_text")
21
22     def get_button_element(self):
23         return self.fd.get_element("register_button")
24
25     def get_email_error_element(self):
26         return self.fd.get_element("user_email_error")
27
28     def get_name_error_element(self):
29         return self.fd.get_element("user_name_error")
30
31     def get_password_error_element(self):
32         return self.fd.get_element("password_error")
33
34     def get_code_error_element(self):
35         return self.fd.get_element("code_text_error")
封装对一个页面元素的单个操作
 1 from PO.page.register_page import RegisterPage
 2
 3
 4 class RegisterHandle():
 5
 6     def __init__(self,driver):
 7         self.register_p = RegisterPage(driver)
 8
 9     # 输入邮箱
10     def send_user_email(self,email):
11         self.register_p.get_email_element().send_keys(email)
12     # 输入用户名
13     def send_user_name(self,username):
14         self.register_p.get_username_element().send_keys(username)
15
16     # 输入密码
17     def send_user_password(self,password):
18         self.register_p.get_password_element().send_keys(password)
19
20     # 输入验证码
21     def send_user_code(self,code):
22         self.register_p.get_code_element().send_keys(code)
23
24     # 获取文字信息
25     def get_user_text(self,info,user_info):
26         if info == ‘email_error‘:
27             text = self.register_p.get_email_error_element().get_attribute(‘value‘)
28         elif info == ‘name_error‘:
29             text = self.register_p.get_name_error_element().get_attribute(‘value‘)
30         elif info == ‘password_error‘:
31             text = self.register_p.get_password_element().get_attribute(‘value‘)
32         else:
33             text = self.register_p.get_code_error_element().get_attribute(‘value‘)
34         return text
35
36     # 点击注册按钮
37     def click_register_button(self):
38         self.register_p.get_button_element().click()
39
40     # 获取注册按钮文字
41     def get_register_text(self):
42         return self.register_p.get_button_element().text
封装对一个页面元素的多个操作
 1 from PO.handle.register_handle import RegisterHandle
 2
 3
 4
 5 class RegisterBusiness():
 6
 7
 8     def __init__(self,driver):
 9         self.register_h  = RegisterHandle(driver)
10     # 执行操作
11
12     def user_base(self,email,name,password,code):
13         self.register_h.send_user_email(email)
14         self.register_h.send_user_name(name)
15         self.register_h.send_user_password(password)
16         self.register_h.send_user_code(code)
17         self.register_h.click_register_button()
18
19     def register_success(self):
20         if self.register_h.get_register_text() == None:
21             return True
22         else:
23             return False
24
25
26     def login_email_error(self,code):
27         self.user_base(email,code)
28         if self.register_h.get_user_text(‘email_error‘,"请输入有效的电子邮件地址")==None:
29             print("邮箱检验不成功")
30             return True
31         else:
32             return False
33
34     def login_name_error(self,code):
35         self.user_base(email,code)
36         if self.register_h.get_user_text(‘user_name_error‘,"字符长度必须大于等于4,一个中文字算2个字符")==None:
37             print("用户名检验不成功")
38             return True
39         else:
40             return False
41
42     # 密码错误
43     def login_password_error(self,code):
44         self.user_base(email,code)
45         if self.register_h.get_user_text(‘password_error‘,"最少需要输入 5 个字符")==None:
46             print("密码检验不成功")
47             return True
48         else:
49             return False
50
51     # 验证码错误
52     def login_code_error(self,code):
53         self.user_base(email,code)
54         if self.register_h.get_user_text(‘code_text_error‘,"验证码错误") == None:
55             print("验证码检验不成功")
56             return True
57         else:
58             return False
封装自动化测试用例
 1 from PO.business.register_business import RegisterBusiness
 2 from selenium import webdriver
 3
 4 class FirstCase():
 5     def __init__(self):
 6         driver = webdriver.Chrome()
 7         driver.get(‘http://www.5itest.cn/register‘)
 8         self.login = RegisterBusiness(driver)
 9
10     def test_login_email_error(self):
11         email_error = self.login.login_email_error(‘34‘,‘user111‘,‘1111111‘,‘test1‘)
12         if email_error == True:
13             print("注册成功了,此条case执行失败")
14
15     def test_login_username_error(self):
16         name_error = self.login.login_email_error(‘34‘,‘test1‘)
17         if name_error == True:
18             print("注册成功了,此条case执行失败")
19
20     def test_login_code_error(self):
21         code_error = self.login.login_email_error(‘34‘,‘test1‘)
22         if code_error == True:
23             print("注册成功了,此条case执行失败")
24
25     def test_login_password_error(self):
26         password_error = self.login.login_email_error(‘34‘,‘test1‘)
27         if password_error == True:
28             print("注册成功了,此条case执行失败")
29
30     def test_login_success(self):
31         success= self.login.user_base(‘34‘,‘test1‘)
32         if self.login.register_success() == True:
33             print("注册成功")
34
35 def main():
36     fisrt = FirstCase()
37     fisrt.test_login_code_error()
38     fisrt.test_login_email_error()
39     fisrt.test_login_password_error()
40     fisrt.test_login_username_error()
41     # fisrt.test_login_success()
42
43 if __name__ == ‘__main__‘:
44     main()

Python + selenium自动化环境搭建的完整步骤
这篇文章主要给大家介绍了关于
前言
本文主要介绍了关于Python+selenium自动化环境搭建的相关内容,分享出来供大家参考学习,下面话不多说了,来一起看看详细的介绍吧
Python +selenium+googledriver
小白的血泪安装使,不停的总结写心得是理解透彻的毕竟之路
立即学习“Python免费学习笔记(深入)”;
一,python的安装:
首先去Python的官网下载安装包
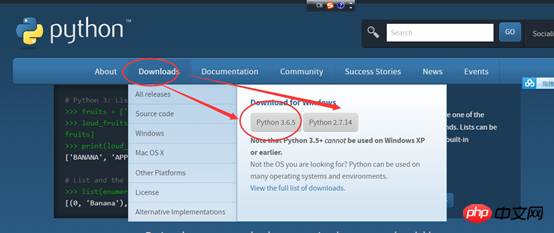
2、下载完成后如下图所示

3、双击exe文件进行安装,如下图,并按照圈中区域进行设置,切记要勾选打钩的框,然后再点击Customize installation进入到下一步:
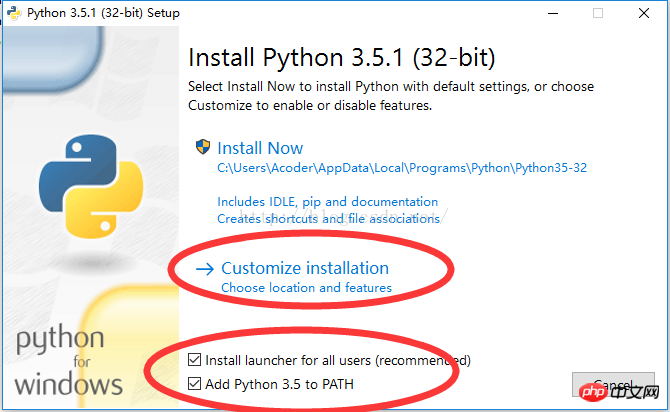

4、对于上图中,可以通过Browse进行自定义安装路径,也可以直接点击Install进行安装,点击install后便可以完成安装了。
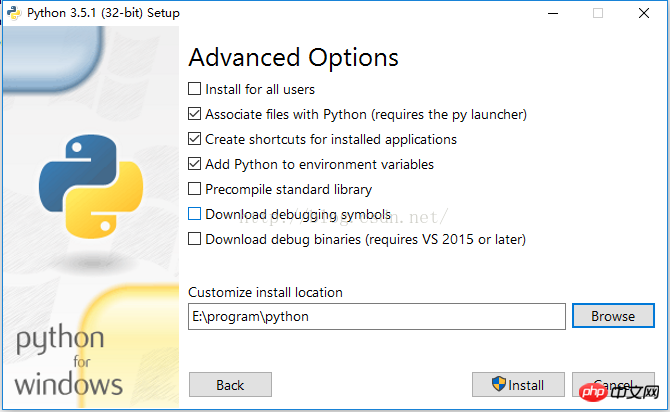
5.配置环境变量:在path中配置当前,你Python.exe程序的安装路径,注意:只要这个程序的安装路径,不要把这个文件的名字也填上,用半角分号隔开。
如果后期要使用pip的话,也需要把pip.exe的安装路径配到path中也就是说你最少要配置两次,pip用着比较方便
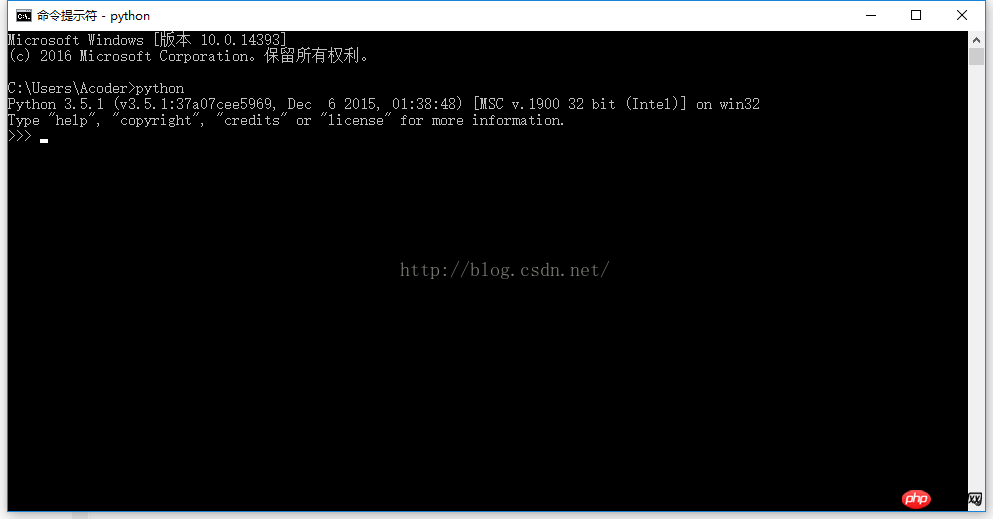
6、为了检查我们的python是否安装成功,可以在命令窗口中输入python进行查询,如显示下图一的信息则表示成功了,如显示第二张图的信息则表示出错了。

二,接下来安装pycharm
1、首先从网站下载pycharm:点击打开链接(链接为:http://www.jetbrains.com/pycharm/download/),这里给大家推荐一个PyCharm 2017.3 汉化专业破解版(附汉化包+破解方法),点击这里下载,进入之后如下图,根据自己电脑的操作系统进行选择,对于windows系统选择图中红色圈中的区域。
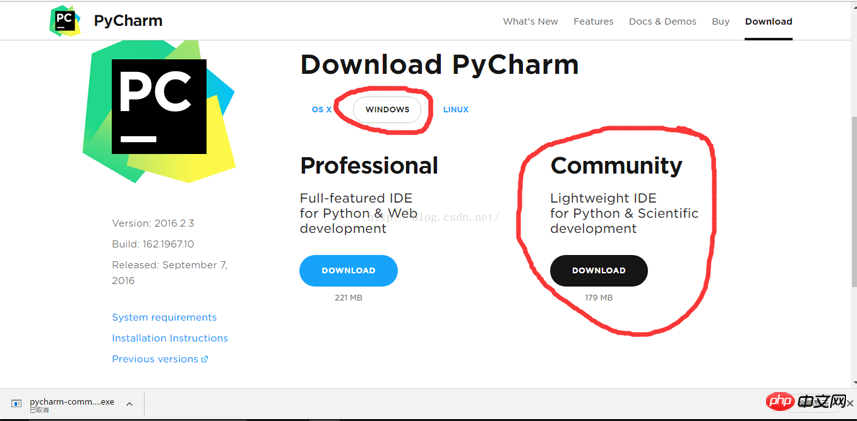
2、下载完成之后如下图:
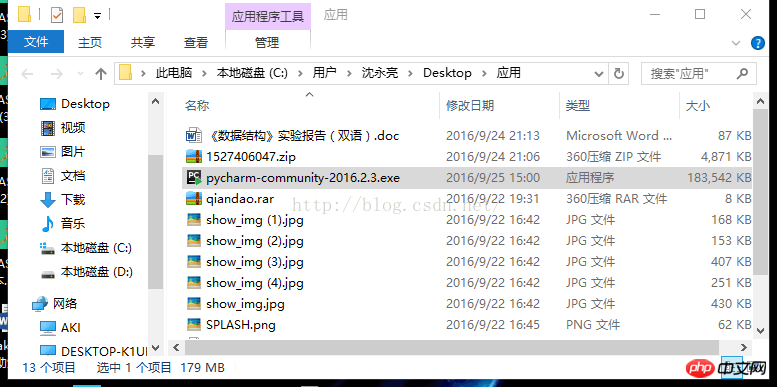
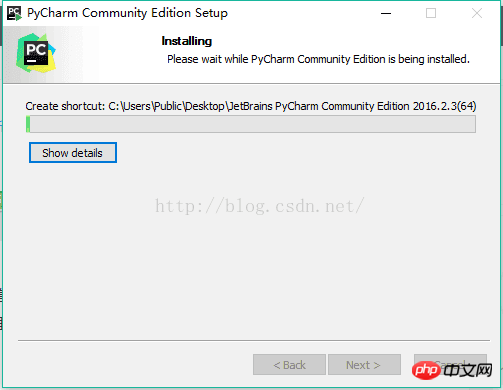
3、直接双击下载好的exe文件进行安装,安装截图如下:
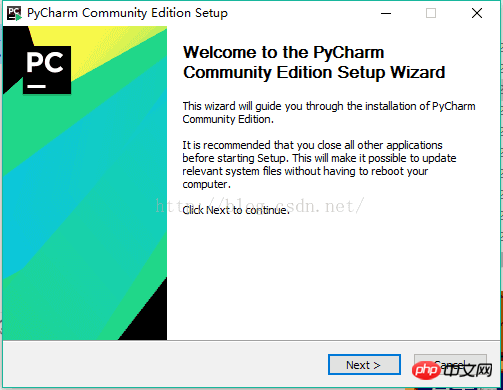
点击Next进入下一步:
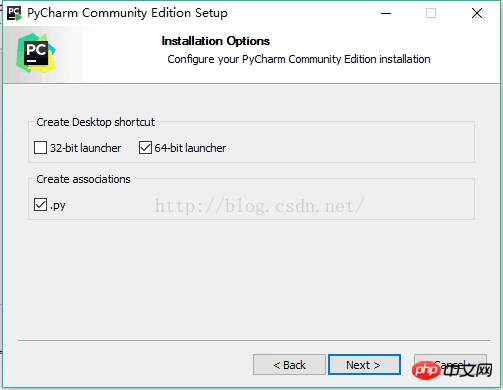
点击Next进入下一步:
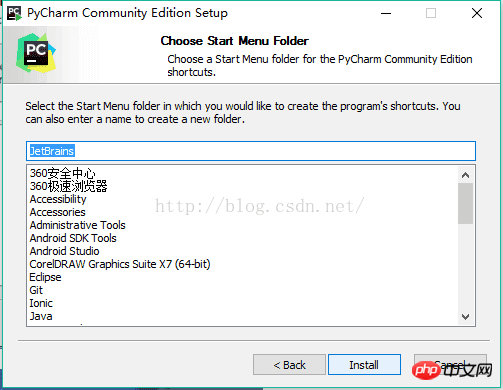
点击Install进行安装:
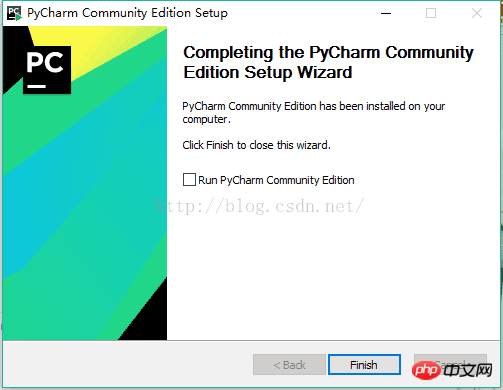
安装完成后出现下图界面,点级Finish结束安装:
下面我们来创建自己的第一个程序:
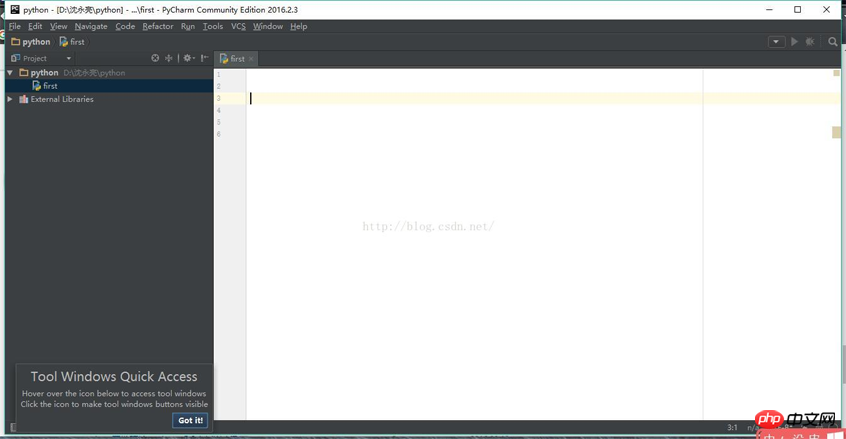
1、单击桌面上的pycharm图标,进入到pycharm中,如下图所示:
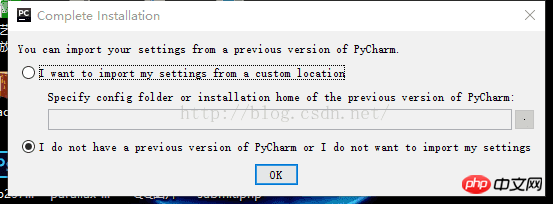
2、我们选择第二个,然后点击Ok:
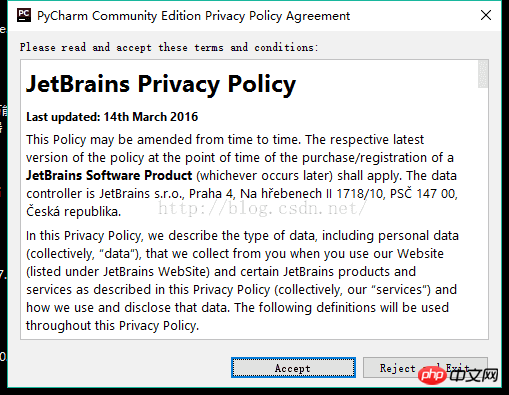
3、点击上图中的Accept进入下一步:
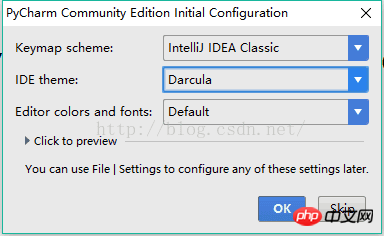
4、点击上图中的ok进入下一步:
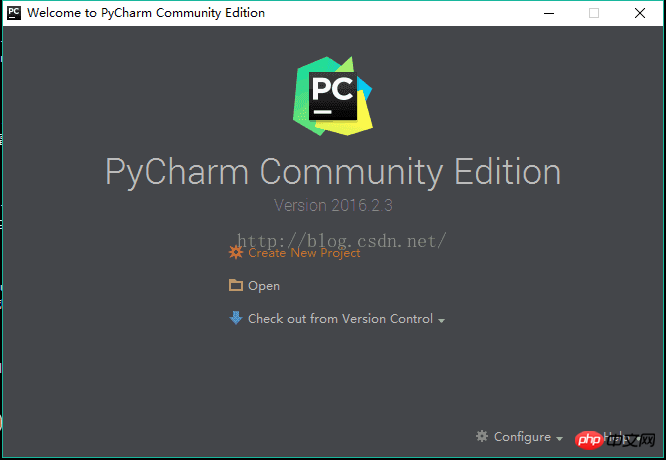
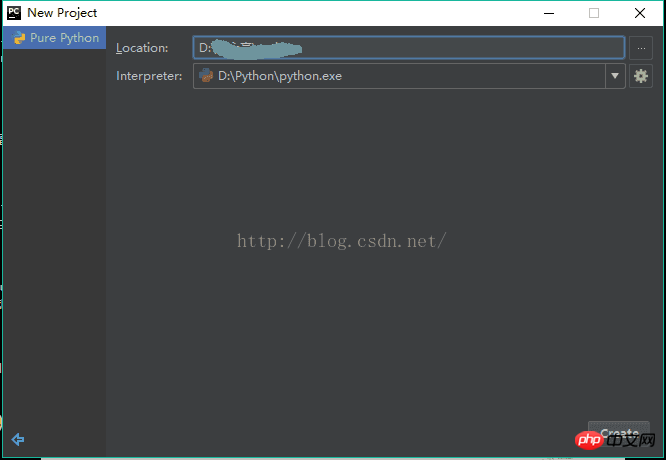
5、点击Create New Project,进入如下图的界面,图中的Location是选择你安装的python的位置,选择好后,点击create。
6、在进入的界面如下图,鼠标右击图中箭头指向的地方,然后最后选择python file,在弹出的框中填写文件名(任意填写)。
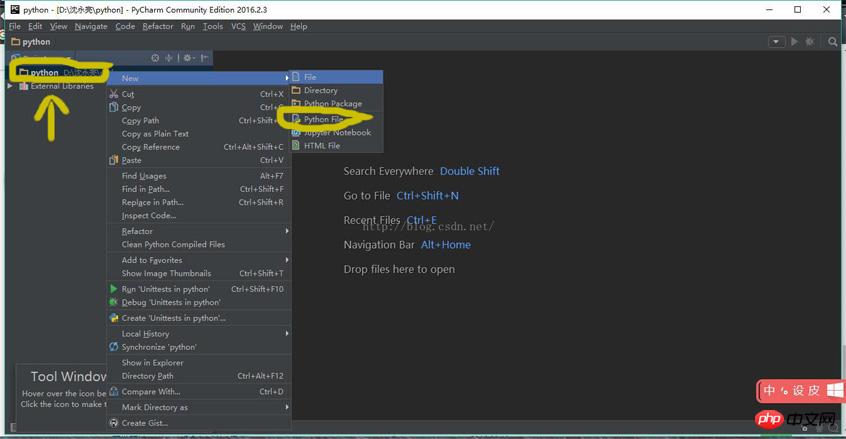
7、文件创建成功后便进入如下的界面,便可以编写自己的程序了,当然如果你对这个界面不满意的话,可以自己设置背景,这里我就不详细说明了(自行百度即可)。
注意:要有破解版的:
由于最新jetbrains发布了IntelliJ IDEA 15. PyCharm5.PhpStorm10.WebStorm 11等各个版本,但是改变了注册方法。原先的注册码包括注册机都已经不能使用了。
现在有个比较简单的注册方法.注册时选择“License server”输入“http://15.idea.lanyus.com/”点击“OK”即可快速激活JetBrains系列产品
使用最新的更新路径:
http://idea.lanyus.com
二,安装request模块,和webdriver
查看Python的安装路径下面F:\Python\Scripts 有没有pip.exe
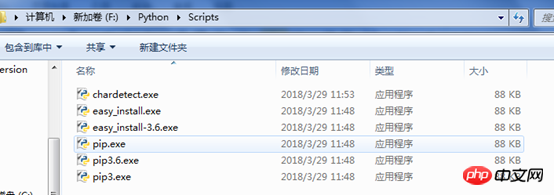
注:pip是安装管理工具,如果pip版本太低,可使用上面的命令对pip升级,如果没有pip则需要安装pip,或者直接用外部下载包安装。
可以使用:F:\Python\Scripts>easy_install.exe pip(更新pip)
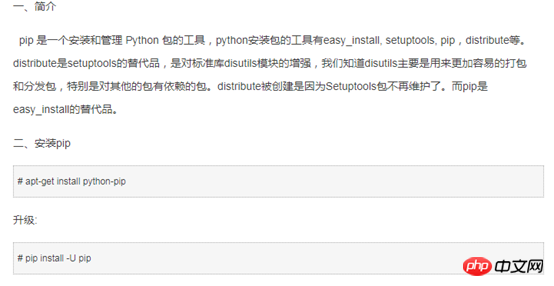
安装selenium:
(1)使用cmd命令窗口,切换到你Python的安装路径下面,F:\Python\Scripts的pip程序路径下。
(2) 输入:pipinstall-Uselenium
(3) 检查selenium是否安装好,在IDE中import selenium,没报错就是导好了
三,安装谷歌的驱动:
下载与你当前版本匹配的谷歌驱动:一定要与当前版本匹配的
如果不匹配的可能出现这个错:
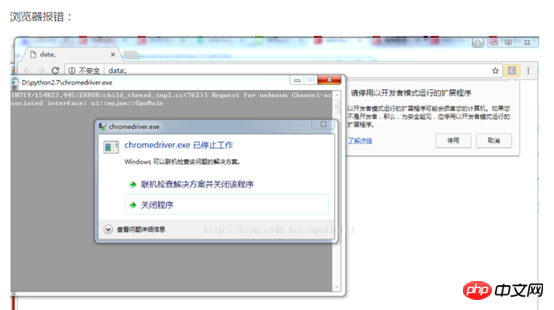
放到你谷歌的安装路径下面:C:\ProgramFiles (x86)\Google\Chrome\Application
这样基本上就可以了。
在环境变量中配置这个驱动程序的路径。
(环境变量时系统其自动调用启动一些程序的寻找路径。)
四:会出现这样的提示:去掉这个提示
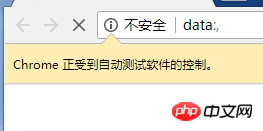
安装这个:

2.或者配置一下
还有可能报这个错:
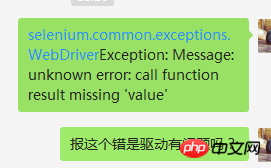
是谷歌驱动和浏览器不匹配
以上就是Python + selenium自动化环境搭建的完整步骤的详细内容,更多请关注php中文网其它相关文章!

Python Selenium自动化测试PO设计模式实战
Page Object设计模式是自动化测试非常重要的一环,很多新入门自动化测试难以理解,先来看官网对PO说明:
1、设计原则
- The public methods represent the services that the page offers
- Try not to expose the internals of the page
- Generally don't make assertions
- Methods return other PageObjects
- Need not represent an entire page
- Different results for the same action are modelled as different methods
翻译如下:
公共方法表示页面提供的服务
不要暴露页面的细节
Page设计中不要出现断言,应该写在测试用例类中
方法应该返回其它的Page对象
不要去代表整个page
不同的结果返回不同的方法,不同的模式
从字面理解还是比较困难,我们继续看官网例子,官网例子为java
public class LoginPage {    private final WebDriver driver;    public LoginPage(WebDriver driver) {        this.driver = driver;        // Check that we're on the right page.
        if (!"Login".equals(driver.getTitle())) {            // Alternatively, we Could navigate to the login page, perhaps logging out first
            throw new IllegalStateException("This is not the login page");
        }
    }    // The login page contains several HTML elements that will be represented as WebElements.    // The locators for these elements should only be defined once.
        By usernameLocator = By.id("username");
        By passwordLocator = By.id("passwd");
        By loginButtonLocator = By.id("login");    // The login page allows the user to type their username into the username field
    public LoginPage typeUsername(String username) {        // This is the only place that "kNows" how to enter a username        driver.findElement(usernameLocator).sendKeys(username);        // Return the current page object as this action doesn't navigate to a page represented by another PageObject
        return this;
    }    // The login page allows the user to type their password into the password field
    public LoginPage typePassword(String password) {        // This is the only place that "kNows" how to enter a password        driver.findElement(passwordLocator).sendKeys(password);        // Return the current page object as this action doesn't navigate to a page represented by another PageObject
        return this;
    }    // The login page allows the user to submit the login form
    public HomePage submitLogin() {        // This is the only place that submits the login form and expects the destination to be the home page.        // A seperate method should be created for the instance of clicking login whilst expecting a login failure.         driver.findElement(loginButtonLocator).submit();        // Return a new page object representing the destination. Should the login page ever        // go somewhere else (for example, a legal disclaimer) then changing the method signature        // for this method will mean that all tests that rely on this behavIoUr won't compile.
        return new HomePage(driver);
    }    // The login page allows the user to submit the login form kNowing that an invalid username and / or password were entered
    public LoginPage submitLoginExpectingFailure() {        // This is the only place that submits the login form and expects the destination to be the login page due to login failure.        driver.findElement(loginButtonLocator).submit();        // Return a new page object representing the destination. Should the user ever be navigated to the home page after submiting a login with credentials
        // expected to fail login, the script will fail when it attempts to instantiate the LoginPage PageObject.
        return new LoginPage(driver);
    }    // Conceptually, the login page offers the user the service of being able to "log into"    // the application using a user name and password.
    public HomePage loginAs(String username, String password) {        // The PageObject methods that enter username, password & submit login have already defined and should not be repeated here.        typeUsername(username);
        typePassword(password);        return submitLogin();
    }
}
以上学习依然费劲,下面我们以登录为例,用PageObject模式开发脚本:
login.py 登录类Page
#_*_coding:utf-8_*_#大牛测试#qq:2574674466#2574674466@qq.comclass loginPage(base):
  #对用户名元素封装
    def username(self):        return self.by_id("nloginname")    #对密码元素封装
    def passwd(self):        return  self.by_id("npwd")    #对登录按钮封装
    def btn(self):        return  self.by_id("nsubmit")    #对登录方法封装
    def LoginIn(self,username,passwd):
        self.username().send_keys(username)
        self.passwd().send_keys(passwd)
        self.btn().click()
base.py 基类封装,
#_*_coding:utf-8_*_#大牛测试#qq:2574674466#2574674466@qq.comclass base():    def __init__(self,driver):
        self.driver = driver     #id定位
    def by_id(self,element):        return  self.driver.find_element_by_id(element)    #name定位
    def by_name(self,element):        return self.driver.find_element_by_name(element)    #xpath定位
    def by_xpath(self,element):        return  self.driver.find_element_by_xpath(element)
loginTest.py 登录测试类
#_*_coding:utf-8_*_#大牛测试#qq:2574674466#2574674466@qq.comclass logingTest(unittest.TestCase):    def setUp(self):      #初始化
        self.driver = webdriver.Chrome(path)    def test_01(self):
        lo=loginPage(self.driver)
        l=lo.LoginIn("","")    def tearDown(self):      #执行完成后退出       self.driver.quit()if __name__ == '__main__':
     unittest.main()
关于使用Python Selenium自动连接我的Gmail帐户和selenium python chrome的问题我们已经讲解完毕,感谢您的阅读,如果还想了解更多关于(selenium+python)_UI 自动化 01_Mac 下 selenium 环境搭建、OP模型下的Python+selenium自动化、Python + selenium自动化环境搭建的完整步骤、Python Selenium自动化测试PO设计模式实战等相关内容,可以在本站寻找。
本文标签:


