在这篇文章中,我们将带领您了解CSSCustomJQueryui-dialog的全貌,同时,我们还将为您介绍有关ASP.NETjQuery实例16通过控件CustomValidator验证RadioB
在这篇文章中,我们将带领您了解CSS Custom JQuery ui-dialog的全貌,同时,我们还将为您介绍有关ASP.NET jQuery 实例16 通过控件CustomValidator验证RadioButtonList_jquery、bgiframe与jQuery UI 1.8.9 Dialog和jQuery 1.5、jquery blockUI 扩展插件 Dialog、jQuery EasyUI API 中文文档 - Dialog对话框_jquery的知识,以帮助您更好地理解这个主题。
本文目录一览:- CSS Custom JQuery ui-dialog
- ASP.NET jQuery 实例16 通过控件CustomValidator验证RadioButtonList_jquery
- bgiframe与jQuery UI 1.8.9 Dialog和jQuery 1.5
- jquery blockUI 扩展插件 Dialog
- jQuery EasyUI API 中文文档 - Dialog对话框_jquery

CSS Custom JQuery ui-dialog
我需要在
JQuery ui对话框周围添加一个2像素的边框.
任何人都可以帮忙修改一下吗?
谢谢
解决方法
更改.ui-widget-content的CSS规则:
.ui-widget-content {
    border: 2px solid #DDD;
}
最不具侵入性的方法是将该规则添加到您网站的样式表中(例如,不要更改jQuery UI CSS文件),并确保首先加载jQuery UI CSS文件.

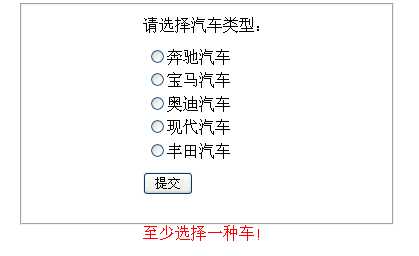
ASP.NET jQuery 实例16 通过控件CustomValidator验证RadioButtonList_jquery
界面代码:
脚本代码: