如果您对SpringBoot(Reactive)-bootJar与服务提供者接口(SPI)和springboot服务之间的调用感兴趣,那么这篇文章一定是您不可错过的。我们将详细讲解SpringBoot
如果您对Spring Boot (Reactive) - bootJar 与服务提供者接口 (SPI)和springboot服务之间的调用感兴趣,那么这篇文章一定是您不可错过的。我们将详细讲解Spring Boot (Reactive) - bootJar 与服务提供者接口 (SPI)的各种细节,并对springboot服务之间的调用进行深入的分析,此外还有关于"通过 Maven 在 SpringBoot 中配置活动配置文件" - Configure active profile in SpringBoot via Maven、10. Eureka 编写服务提供者?java版SpringCloud+SpringBoot+uniapp+vue b2b2c 微服务商城 微服务电商 直播带货源码、Could not transfer artifact org.springframework.boot:spring-boot-starter-parent:pom:2.2.1.RELEASE...、Java-Springboot - 集成 spring-security 简单示例 (Version-springboot-2-1-3-RELEASE的实用技巧。
本文目录一览:- Spring Boot (Reactive) - bootJar 与服务提供者接口 (SPI)(springboot服务之间的调用)
- "通过 Maven 在 SpringBoot 中配置活动配置文件" - Configure active profile in SpringBoot via Maven
- 10. Eureka 编写服务提供者?java版SpringCloud+SpringBoot+uniapp+vue b2b2c 微服务商城 微服务电商 直播带货源码
- Could not transfer artifact org.springframework.boot:spring-boot-starter-parent:pom:2.2.1.RELEASE...
- Java-Springboot - 集成 spring-security 简单示例 (Version-springboot-2-1-3-RELEASE
 - bootJar 与服务提供者接口 (SPI)(springboot服务之间的调用)")
Spring Boot (Reactive) - bootJar 与服务提供者接口 (SPI)(springboot服务之间的调用)
如何解决Spring Boot (Reactive) - bootJar 与服务提供者接口 (SPI)?
我使用带有 Netty 和 Gradle 的 Reactive Spring Boot 作为构建系统。为了构建生产的可执行文件,我使用带有 launchScript() 的任务 bootJar。
我还使用各种 twelvemonkeys 的插件进行 ImageIO 处理。当我从 IntelliJ 运行应用程序时一切正常,但是当我使用 bootJar 构建它时 - 这些插件不起作用 - 就像它们没有安装一样。
我打开了Spring制作的jar,所有插件jar都在里面。
在 twelvemonkeys 的手册上,他们说:
推荐的使用插件的方法是通过 Maven 依赖项或类似的方式将 JAR 按原样包含在您的项目中。使用库不需要重新打包,不推荐使用。
但是,如果您想创建一个“胖”的 JAR,或者想以其他方式 出于某种原因重新打包 JAR,重要的是要记住 ImageIO 自动发现插件依赖于服务 提供者接口 (SPI) 机制。简而言之,每个 JAR 包含一个 特殊文件夹,名为 meta-inf/services 包含一个或多个文件, 通常 javax.imageio.spi.ImageReaderSpi 和 javax.imageio.spi.ImageWriterSpi。这些文件同名存在 在每个 JAR 中,所以如果您只是将所有内容解压缩到一个文件夹中,或者 创建一个 JAR,文件将被覆盖并且行为未指定 (很可能你最终会安装一个插件)。
所以这里有几个问题:
-
bootJar任务是创建了一个 fatJar 还是其他什么? - 由
bootJar创建的 jar 是否能够使用 SPI 发现插件,如上述评论中所述? - 如果它能够做到这一点 - 为什么它不起作用以及可以从哪些地方开始调查? (也许是这个配置问题?)
- 如果它没有能力 - shadowJar 是解决该问题的唯一方法吗?
解决方法
暂无找到可以解决该程序问题的有效方法,小编努力寻找整理中!
如果你已经找到好的解决方法,欢迎将解决方案带上本链接一起发送给小编。
小编邮箱:dio#foxmail.com (将#修改为@)

"通过 Maven 在 SpringBoot 中配置活动配置文件" - Configure active profile in SpringBoot via Maven
问题:
"I''m trying to set an active profile in Spring Boot application using Maven 3.<\/i> 我正在尝试使用 Maven 3 在 Spring Boot 应用程序中设置活动配置文件。<\/b>
In my pom.xml I set default active profile<\/strong> and property spring.profiles.active<\/strong> to development<\/strong> :<\/i> 在我的 pom.xml 中,我将默认活动配置文件 <\/strong> 和属性 spring.profiles.active 设置 <\/strong> 为 development<\/strong> :<\/b><\/p>
<profiles>
    <profile>
        <id>development</id>
        <properties>
            <spring.profiles.active>development</spring.profiles.active>
        </properties>
        <activation>
            <activeByDefault>true</activeByDefault>
        </activation>
    </profile>
</profiles>
解决方案:
参考: https://stackoom.com/en/question/2rrnY
10. Eureka 编写服务提供者?java版SpringCloud+SpringBoot+uniapp+vue b2b2c 微服务商城 微服务电商 直播带货源码
本节主要讲解如何使用 Eureka 编写服务提供者。
1)创建项目注册到 Eureka
注册中心已经创建并且启动好了,接下来我们实现将一个服务提供者 eureka-client-user-service 注册到 Eureka 中,并提供一个接口给其他服务调用。
首先还是创建一个 Maven 项目,然后在 pom.xml 中增加相关依赖,代码如下所示。
<!-- Spring Boot -->
<parent>
    <groupId>org.springframework.boot</groupId>
    <artifactId>spring-boot-starter-parent</artifactId>
    <version>2.0.6.RELEASE</version>
    <relativePath />
</parent>

<dependencies>
    <dependency>
        <groupId>org.springframework.boot</groupId>
        <artifactId>spring-boot-starter-web</artifactId>
    </dependency>

    <!-- eureka -->
    <dependency>
        <groupId>org.springframework.cloud</groupId>
        <artifactId>spring-cloud-starter-netflix-eureka-client</artifactId>
    </dependency>
</dependencies>

<!-- Spring Cloud -->
<dependencyManagement>
    <dependencies>
        <dependency>
            <groupId>org.springframework.cloud</groupId>
            <artifactId>spring-cloud-dependencies</artifactId>
            <version>Finchley.SR2</version>
            <type>pom</type>
            <scope>import</scope>
        </dependency>
    </dependencies>
</dependencyManagement>
创建一个启动类 App,代码如下所示。
@SpringBootApplication
@EnableDiscoveryClient
public class App {

    public static void main(String[] args) {
        SpringApplication.run(App.class, args);
    }
}
启动类的方法与之前没有多大区别,只是注解换成 @EnableDiscoveryClient,表示当前服务是一个 Eureka 的客户端。
接下来在 src/main/resources 下面创建一个 application.properties 属性文件,增加下面的配置:
spring.application.name= eureka-client-user-service
server.port=8081
eureka.client.serviceUrl.defaultZone=http://localhost:8761/eureka/
# 采用IP注册
eureka.instance.preferIpAddress=true
# 定义实例ID格式
eureka.instance.instance-id=${spring.application.name}:${spring.cloud.client.ip-address}:${server.port}
eureka.client.serviceUrl.defaultZone 的地址就是我们之前启动的 Eureka 服务的地址,在启动的时候需要将自身的信息注册到 Eureka 中去。
执行 App 启动服务,我们可以看到控制台中有输出注册信息的日志:
DiscoveryClient_EUREKA-CLIENT-USER-SERVICE/eureka-client-user-service:192.168.31.245:8081 - registration status: 204我们可以进一步检查服务是否注册成功。回到之前打开的 Eureka 的 Web 控制台,刷新页面,就可以看到新注册的服务信息了。
2)编写提供接口
创建一个 Controller,提供一个接口给其他服务查询,代码如下所示。
@RestController
public class UserController {
    @GetMapping("/user/hello")
    public String hello() {
        return “hello”;
    }
}
重启服务,访问 http://localhost:8081/user/hello (http://localhost%EF%BC%9A8081/user/hello),如果能看到我们返回的 Hello 字符串,就证明接口提供成功了。
推荐布式微服务商城

Could not transfer artifact org.springframework.boot:spring-boot-starter-parent:pom:2.2.1.RELEASE...
在使用 SpringBoot 项目时报错 Could not transfer artifact org.springframework.boot:spring-boot-starter-parent:pom:1.5.21.RELEASE from/to default from/to default (http://maven.aliyun.com/nexus/content/groups/public): Access denied to: http://maven.aliyun.com/nexus/content/groups/public/org/springframework/boot/spring-boot-starter-parent/1.5.21.RELEASE/spring-boot-starter-parent-1.5.21.RELEASE.pom , ReasonPhrase:Forbidden. and ''parent.relativePath'' points at no local POM @ line 5, column 13
报错意思是无法去仓库 http://maven.aliyun.com/nexus/content/groups/public 下载 spring-boot-starter-parent:pom:1.5.21.RELEASEjar 包。
解决思路 1:换本地 maven 仓库地址,有可能新导入项目或新建项目导致 maven 设置 setting 文件为自带,及仓库为.m 仓库。换为自安装的 maven setting 和仓库。
结果:失败。结果分析:下载出错,跟换仓库没关。
解决思路 2:换镜像地址,网上大多这种解决方法,换个地方下载 jar 包
结果:失败。结果分析:多个镜像也下载失败,跟镜像没关,远程仓库肯定不缺这种 springboot 必须的 jar 包。
解决思路 3:换 jar 包版本
结果:失败。结果分析:跟版本没关,springboot 必须包,远程仓库肯定有
解决思路 4:删除代理。
结果:成功。结果分析:下载失败,跟网络有关,太久没动 setting 文件,没想到设置了代理,导致联网下载出错。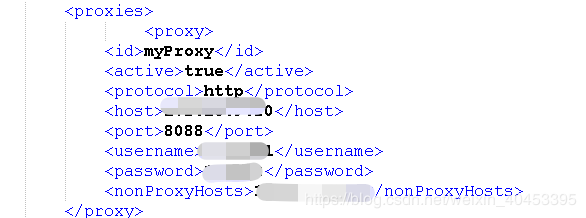
把设置的代理注解掉即可成功下载 jar 包。

Java-Springboot - 集成 spring-security 简单示例 (Version-springboot-2-1-3-RELEASE
- 使用 Idea 的 Spring Initializr 或者 SpringBoot 官网下载 quickstart
添加依赖
1
2
3
4<dependency>
<groupId>org.springframework.boot</groupId>
<artifactId>spring-boot-starter-security</artifactId>
</dependency>新建控制器
1
2
3
4
5
6
7
8
9
import org.springframework.web.bind.annotation.GetMapping;
import org.springframework.web.bind.annotation.RestController;
@RestController
public class UserController {
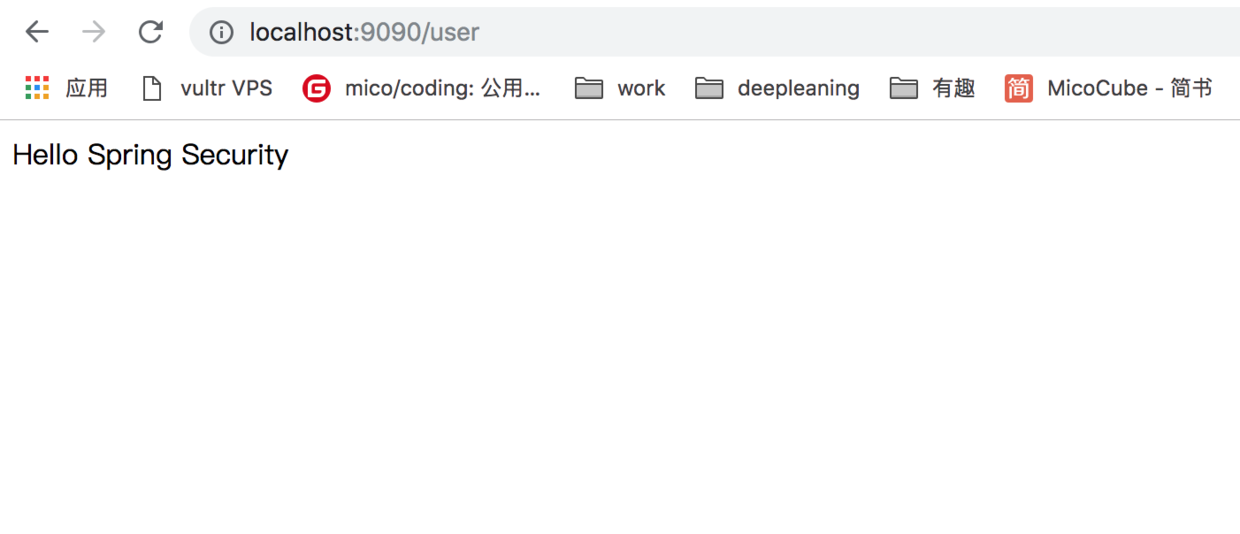
@GetMapping("/user")
public String getUsers() {
return "Hello Spring Security";
}
}logback.xml
1
2
3
4
5
6
7
8
9
10
11
12
13
14
15
16
17
18
19
20
21
22
<?xml version="1.0" encoding="UTF-8"?>
<configuration>
<appender name="FILE" class="ch.qos.logback.core.FileAppender">
<file> 大专栏 Java-Springboot-集成spring-security简单示例(Version-springboot-2-1-3-RELEASE/data/www/file/logs/springboot.log</file>
<encoder>
<pattern>%date %d{HH: mm:ss.SSS} %level [%thread] %logger{10} [%file:%line] %msg%n</pattern>
</encoder>
</appender>
<appender name="STDOUT" class="ch.qos.logback.core.ConsoleAppender">
<encoder>
<pattern>%date %d{HH: mm:ss.SSS} %level [%thread] %logger{10} [%file:%line] %msg%n</pattern>
</encoder>
</appender>
<root level="debug">
<appender-ref ref="FILE" />
<appender-ref ref="STDOUT" />
</root>
</configuration>application.properties
1
2
3
# Server Domain-Port
server.address=127.0.0.1
server.port=9090启动 SpringBootApplication,springboot 已经和 spring-security 集成了,如果直接访问
http://localhost:9090/user会跳到登陆页面,这是 spring-security 自带的,但是我们并没有创建任何用户啊,spring-security 有个默认的用户名user,密码在控制台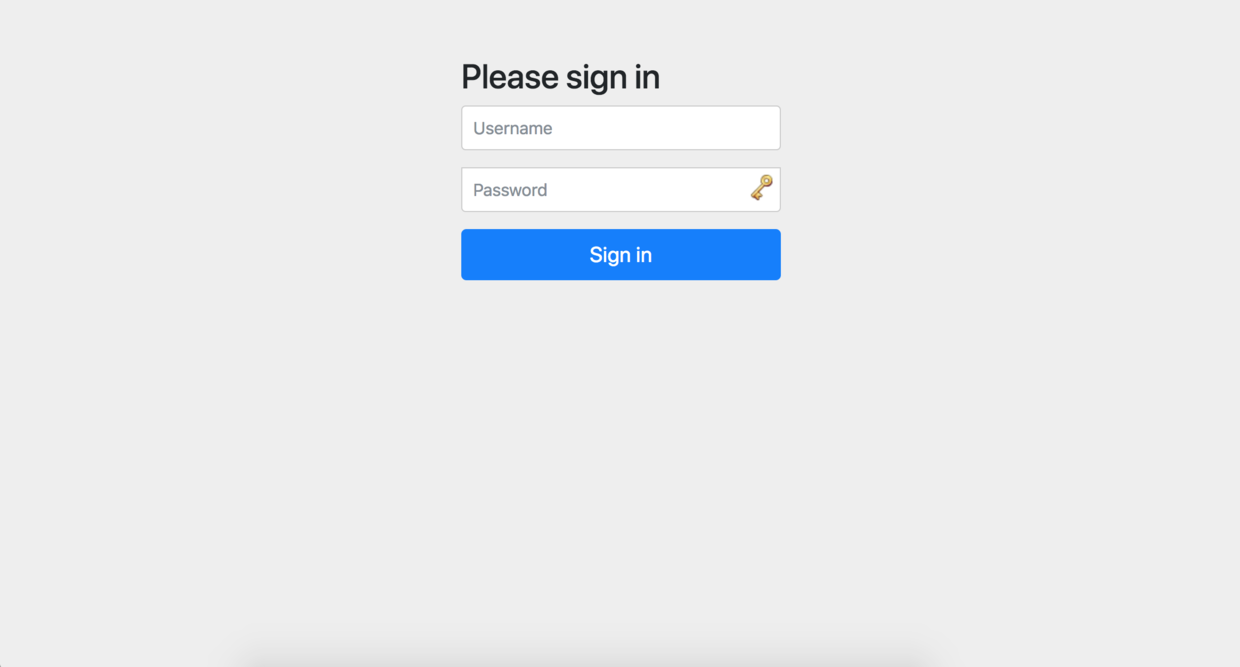
默认密码在控制信息里,在控制台信息里搜索
Using generated,当然你的程序生成的密码肯定和我的不一样1Using generated security password: 6ae529ee-2281-4b66-8f30-b1ba0e7fec97使用用户名和密码登陆后:
源码
关于Spring Boot (Reactive) - bootJar 与服务提供者接口 (SPI)和springboot服务之间的调用的介绍现已完结,谢谢您的耐心阅读,如果想了解更多关于"通过 Maven 在 SpringBoot 中配置活动配置文件" - Configure active profile in SpringBoot via Maven、10. Eureka 编写服务提供者?java版SpringCloud+SpringBoot+uniapp+vue b2b2c 微服务商城 微服务电商 直播带货源码、Could not transfer artifact org.springframework.boot:spring-boot-starter-parent:pom:2.2.1.RELEASE...、Java-Springboot - 集成 spring-security 简单示例 (Version-springboot-2-1-3-RELEASE的相关知识,请在本站寻找。
本文标签:


