在这篇文章中,我们将带领您了解mac系统,php-fpm加入开机启动项的全貌,包括php-fpm启动的相关情况。同时,我们还将为您介绍有关flutter填坑之旅(环境搭建篇--mac系统)、iOS8企
在这篇文章中,我们将带领您了解mac系统,php-fpm加入开机启动项的全貌,包括php-fpm 启动的相关情况。同时,我们还将为您介绍有关flutter填坑之旅(环境搭建篇--mac系统)、iOS8企业项目实战---windows系统下安装虚拟机-mac系统、Mac系统 - 升级node版本、MAC系统 -java开发环境搭建的知识,以帮助您更好地理解这个主题。
本文目录一览:- mac系统,php-fpm加入开机启动项(php-fpm 启动)
- flutter填坑之旅(环境搭建篇--mac系统)
- iOS8企业项目实战---windows系统下安装虚拟机-mac系统
- Mac系统 - 升级node版本
- MAC系统 -java开发环境搭建
")
mac系统,php-fpm加入开机启动项(php-fpm 启动)
这篇文章介绍的内容是关于mac系统,php-fpm加入开机启动项,有着一定的参考价值,现在分享给大家,有需要的朋友可以参考一下
寻找php-fpm的路径
whereis php-fpm
如果找不到,可以尝试使用:
find / -name php-fpm
一般默认的路径就是:
/usr/sbin/php-fpm
修改php-fpm.conf配置文件
默认位置是:
立即学习“PHP免费学习笔记(深入)”;
/private/etc/php-fpm.conf
如果不存在的话,就看看是不是存在
/private/etc/php-fpm.conf.default
然后 COPY 一份:
sudo cp /private/etc/php-fpm.conf.default /private/etc/php-fpm.conf
修改php-fpm的配置文件的项目『daemonize』
daemonize = yes
把前面的分号去掉。
加入启动项
在~/Library/LaunchAgents目录,新建 org.php.php-fpm.plist 文件:
<?xml version="1.0" encoding="UTF-8"?>
<!DOCTYPE plist PUBLIC "-//Apple//DTD PLIST 1.0//EN" "http://www.apple.com/DTDs/PropertyList-1.0.dtd">
<plist version="1.0">
<dict>
    <key>Label</key>
    <string>php-fpm</string>
    <key>Program</key>
    <string>/usr/sbin/php-fpm</string>
    <key>KeepAlive</key><true/>
</dict>
</plist>注意:xml文件中的php-fpm的路径,是通过上面的命令得到的。
sudo chown root:owner ~/Library/LaunchAgents/org.php.php-fpm.plist
sudo chmod +x ~/Library/LaunchAgents/org.php.php-fpm.plist
launchctl load -w ~/Library/LaunchAgents/org.php.php-fpm.plist
执行完以上命令,需要重新启动,看是否生效。
当重启不生效的死活,可以用这个调试命令,来看看是否加载了启动项:
launchctl list | grep php
关于上述启动文件的目录,/Library/LaunchAgents,还有个关联位置:/Library/LaunchDaemons/。当没有生效的时候,可以查看一下这个plist文件,不如换个位置试试。mac系统中,有几个类似的位置,功效是不同的。在本例中,建议大家使用~/Library/LaunchAgents/。
LaunchDaemons和LaunchAgents功能区别对比:
LaunchDaemons是用户未登陆前就启动的服务(守护进程)。
LaunchAgents是用户登陆后启动的服务(守护进程)。
相关推荐:
php-fpm 平滑重启 开启 关闭
php-fpm重启
Nginx和php安装及配置二之安装和配置php-fpm
以上就是mac系统,php-fpm加入开机启动项的详细内容,更多请关注php中文网其它相关文章!
")
flutter填坑之旅(环境搭建篇--mac系统)
上次配置过Mac到flutter环境,但是由于最近系统更新了,什么都没了又得从新配置,发现自己竟然好多都忘记了,看来还是得把它记下来才行
在Mac上安装并运行Flutter 最低要求:
- 操作系统:macOS(64-bit)
- 磁盘空间:700MB(不包括Xcode或者Android Studio的磁盘空间)
- 工具:Flutter 依赖 这些命令行工具
bash curl git 2.x mkdir rm unzip which(可以使用检测一下没有都安装上免得后期出问题)
mac安装git可以参考https://www.jianshu.com/p/7edb6b838a2e
一、设置 Flutter 镜像
配置flutter国内镜像
// 直接到用户目录 下 运行 open -e .bash_profile 在文件中增加如下
export PUB_HOSTED_URL=https://pub.flutter-io.cn
export FLUTTER_STORAGE_BASE_URL=https://storage.flutter-io.cn
注意这个镜像地址不能保证永远可以用,得随时关注Useing Flutter in China这个官网
二、获取Flutter SDK
2.1 下载flutter sdk
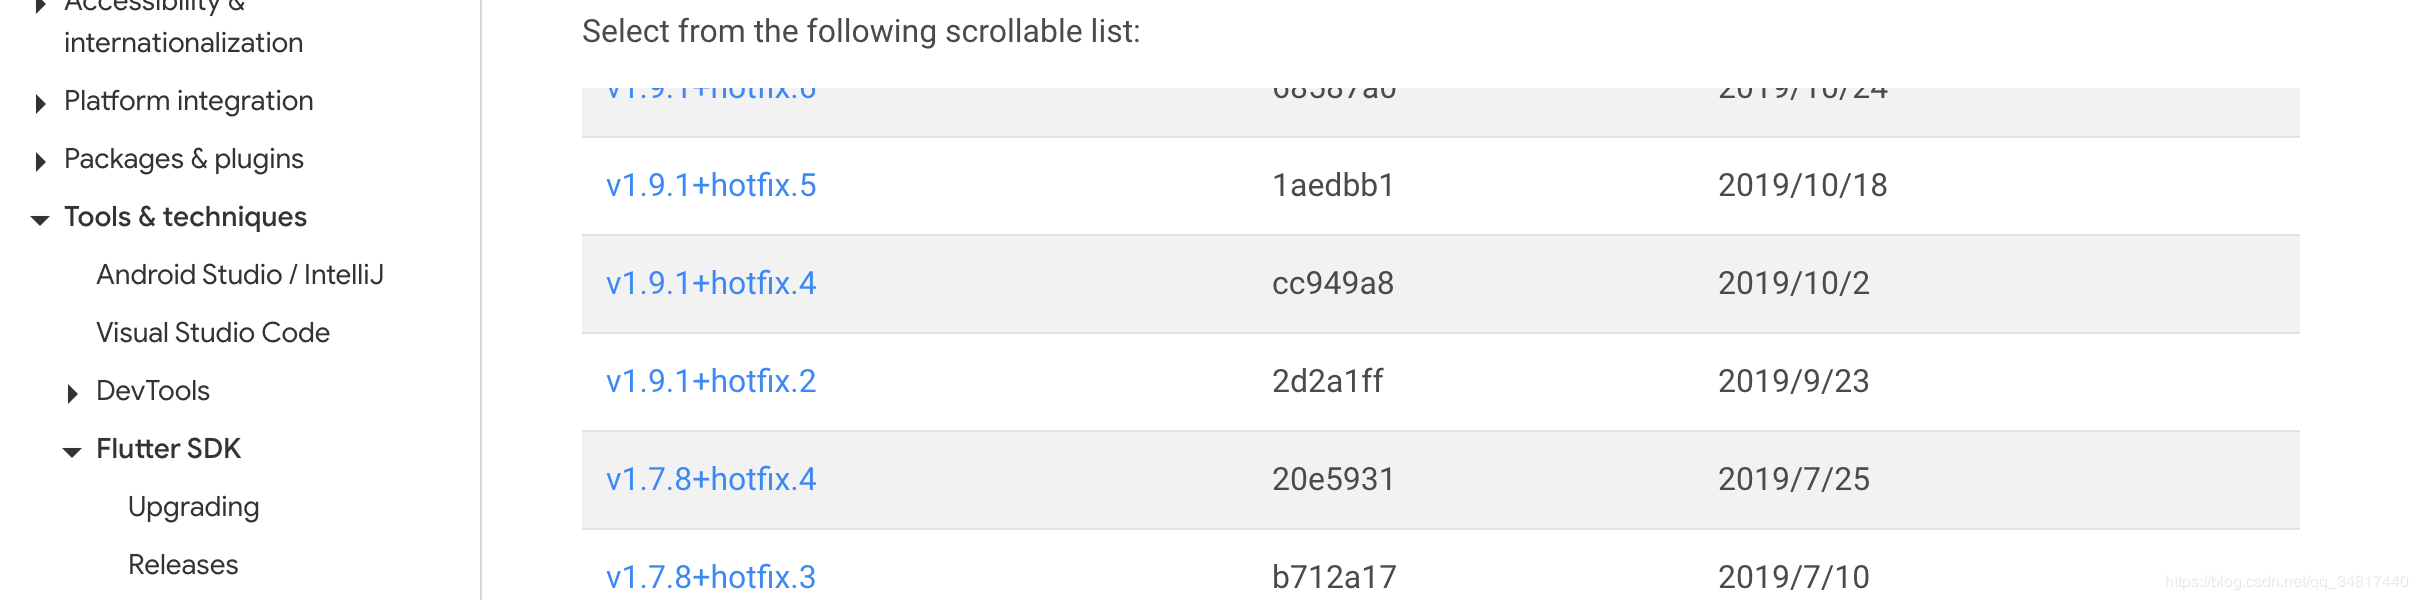
flutter官网获取对应得flutter sdk https://flutter.dev/docs/development/tools/sdk/releases?tab=macos
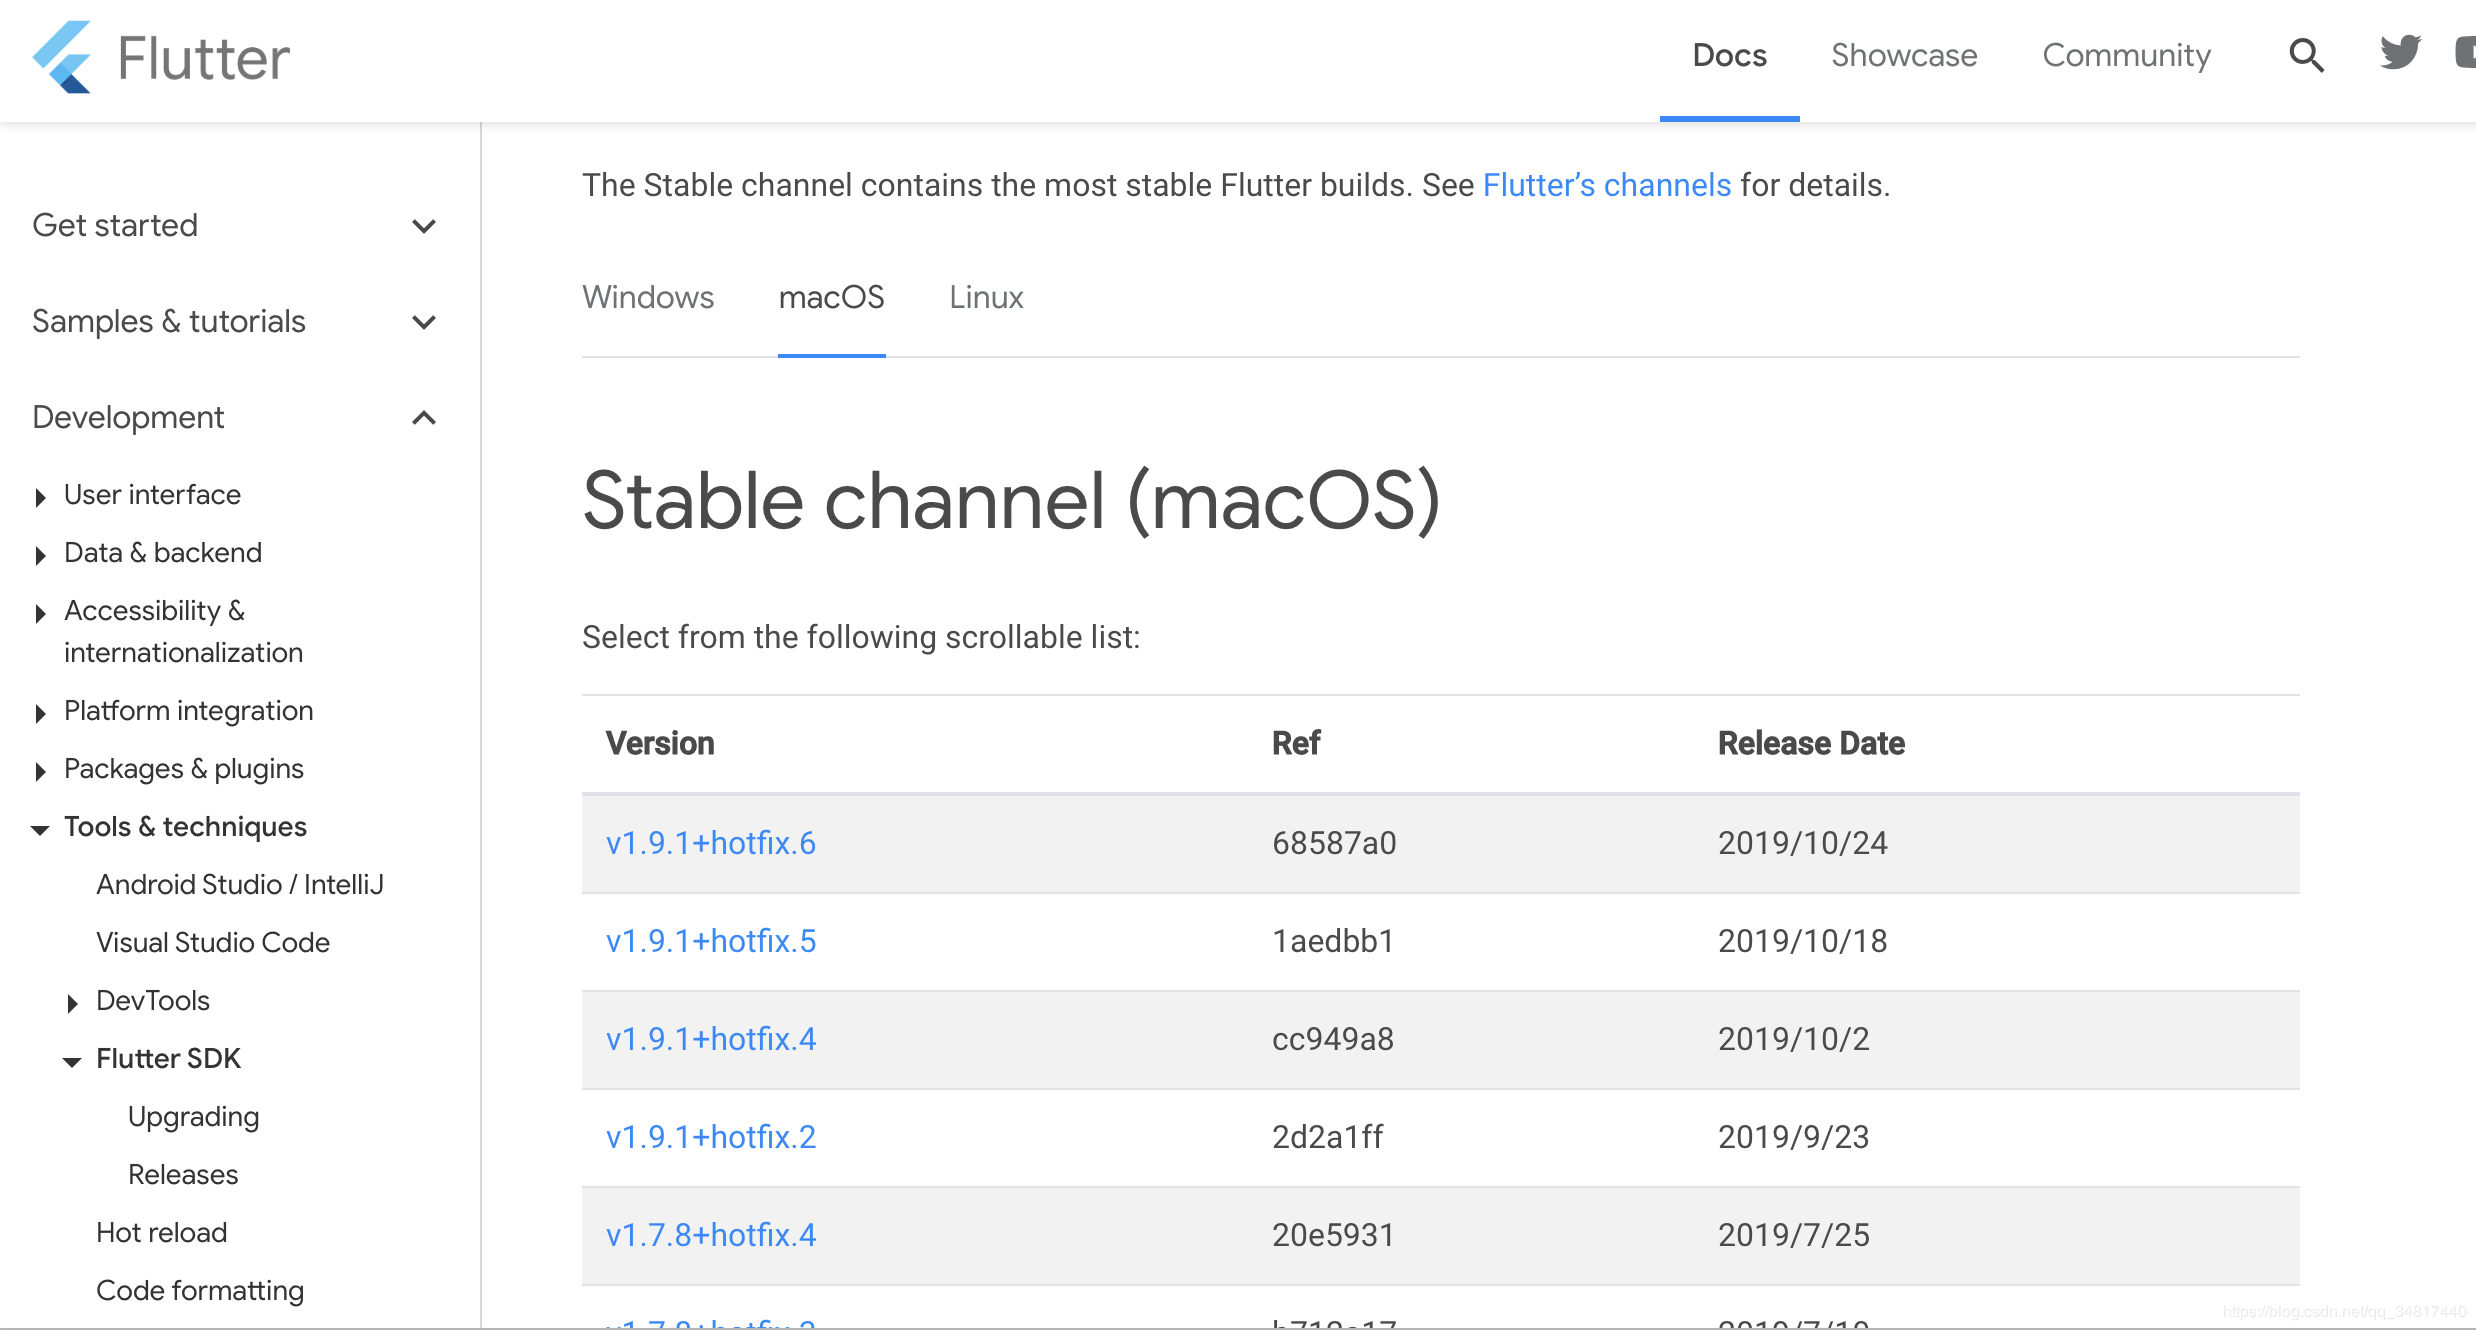
推荐最好下载 stable channel这个稳定版本

2.2 解压
## development 这个根据自己实际得目录更改
$ cd ~/development
## 下面~/ 后得目录和下载得flutter版本根据自己实际名称更改
$ unzip ~/Downloads/flutter_macos_v1.2.1-stable.zip
具体操作:
taodeMacBook-Pro:~ tao$ cd ~/dev-flutter/
taodeMacBook-Pro:dev-flutter tao$ ls
android-sdk
taodeMacBook-Pro:dev-flutter tao$ unzip ~/Downloads/flutter_macos_v1.7.8+hotfix.4-stable.zip
taodeMacBook-Pro:dev-flutter tao$ ls
android-sdk	flutter
taodeMacBook-Pro:dev-flutter tao$
taodeMacBook-Pro:dev-flutter tao$ ls flutter/
AUTHORS			README.md		examples
CODE_OF_CONDUCT.md	analysis_options.yaml	flutter_console.bat
CONTRIBUTING.md		bin			flutter_root.iml
LICENSE			dartdoc_options.yaml	packages
PATENTS			dev			version
taodeMacBook-Pro:dev-flutter tao$
2.3 添加flutter相关工具到path中
export PATH="$PATH:`pwd`/flutter/bin"
该命令只是一次性的,对当前对terminal 设置里一个flutter的环境变量,等关闭里电脑下次又得重新设置,想要设置个永久性的还是要
将解压得路径配置到.bash_profile中去
输入命令打开.bash_profile
taodeMacBook-Pro:dev-flutter tao$ open ~/.bash_profile
taodeMacBook-Pro:dev-flutter tao$
在最后增加如下内容:
export PATH=/Users/tao/dev-flutter/flutter/bin:$PATH
export ANDROID_HOME="/Users/tao/Library/Android/sdk"
export PATH=${PATH}:${ANDROID_HOME}/tools
export PATH=${PATH}:${ANDROID_HOME}/platform-tools
export PUB_HOSTED_URL=https://pub.flutter-io.cn
export FLUTTER_STORAGE_BASE_URL=https://storage.flutter-io.cnexport PATH="/usr/local/opt/gettext/bin:$PATH"
其中export PATH=/Users/tao/dev-flutter/flutter/bin:$PATH 这个是配置的flutter
解压的目录(需要指定到flutter下面到bin目录下)
其中export ANDROID_HOME="/Users/tao/Library/Android/sdk"配置里Android sdk 路径
taodeMacBook-Pro:dev-flutter tao$ flutter doctor
  ╔════════════════════════════════════════════════════════════════════════════╗
  ║ A new version of Flutter is available!                                     ║
  ║                                                                            ║
  ║ To update to the latest version, run "flutter upgrade".                    ║
  ╚════════════════════════════════════════════════════════════════════════════╝


Doctor summary (to see all details, run flutter doctor -v):
[!] Flutter (Channel stable, v1.7.8+hotfix.4, on Mac OS X 10.15 19A602, locale
    zh-Hans-CN)
    ✗ Downloaded executables cannot execute on host.
      See https://github.com/flutter/flutter/issues/6207 for more information


[✓] Android toolchain - develop for Android devices (Android SDK version 29.0.2)
[!] Xcode - develop for iOS and macOS (Xcode 11.1)
    ✗ CocoaPods not installed.
        CocoaPods is used to retrieve the iOS and macOS platform side''s plugin
        code that responds to your plugin usage on the Dart side.
        Without CocoaPods, plugins will not work on iOS or macOS.
        For more info, see https://flutter.dev/platform-plugins
      To install:
        brew install cocoapods
        pod setup
[✓] iOS tools - develop for iOS devices
[✓] Android Studio (version 3.5)
[✓] IntelliJ IDEA Ultimate Edition (version 2018.3.4)
[!] Connected device
    ! No devices available

! Doctor found issues in 3 categories.
taodeMacBook-Pro:dev-flutter tao$
运行flutter doctor 进行环境检测,会发现用很多依赖缺失,根据提示一一安装
但是还有一个提示我的mac和我下载的flutter好像不兼容
Doctor summary (to see all details, run flutter doctor -v):
[!] Flutter (Channel stable, v1.7.8+hotfix.4, on Mac OS X 10.15 19A602, locale
    zh-Hans-CN)
    ✗ Downloaded executables cannot execute on host.
      See https://github.com/flutter/flutter/issues/6207 for more information
直接运行flutter upgrade 安装个最新版本的就好了
taodeMacBook-Pro:dev-flutter tao$ flutter upgrade
Upgrading Flutter from /Users/tao/dev-flutter/flutter...
../../third_party/dart/runtime/bin/snapshot_utils.cc: 149: error: Failed to memory map snapshot: /Users/tao/dev-flutter/flutter/bin/cache/dart-sdk/bin/snapshots/kernel-service.dart.snapshot

version=2.4.0 (Wed Jun 19 11:53:45 2019 +0200) on "macos_x64"
thread=5891, isolate=(null)(0x0)
注意⚠️命令中请使用 sudo 否则有些会提示错误
像这个 执行个flutter doctor都报错
taodeMacBook-Pro:repos tao$ flutter doctor
Failed to write the version file to the artifact cache: "FileSystemException:
Cannot open file, path = ''/Users/tao/dev-flutter/flutter/version'' (OS Error:
Permission denied, errno = 13)".
Please ensure you have permissions in the artifact cache directory.
Failed to write the version file
废话少说继续吧…
## 在执行一次
taodeMacBook-Pro:dev-flutter tao$ sudo flutter doctor -v
   Woah! You appear to be trying to run flutter as root.
   We strongly recommend running the flutter tool without superuser privileges.
  /

Downloading Dart SDK from Flutter engine d004bcd4d619fc3574761d63d7cf7b7291332c79...
  % Total    % Received % Xferd  Average Speed   Time    Time     Time  Current
                                 Dload  Upload   Total   Spent    Left  Speed
100  121M  100  121M    0     0  4763k      0  0:00:26  0:00:26 --:--:-- 3986k
## 这里还会有很多下载,就不贴了
## 最后会显示flutter及dart 版本信息和缺失的依赖
taodeMacBook-Pro:dev-flutter tao$ sudo flutter doctor
Password:
   Woah! You appear to be trying to run flutter as root.
   We strongly recommend running the flutter tool without superuser privileges.
  /

Downloading Dart SDK from Flutter engine b863200c37df4ed378042de11c4e9ff34e4e58c9...
  % Total    % Received % Xferd  Average Speed   Time    Time     Time  Current
                                 Dload  Upload   Total   Spent    Left  Speed
100  263M  100  263M    0     0  5236k      0  0:00:51  0:00:51 --:--:-- 5379k
Building flutter tool...
Doctor summary (to see all details, run flutter doctor -v):
[✓] Flutter (Channel stable, v1.9.1+hotfix.6, on Mac OS X 10.15 19A602, locale
    zh-Hans-CN)

[✓] Android toolchain - develop for Android devices (Android SDK version 29.0.2)
[!] Xcode - develop for iOS and macOS (Xcode 11.1)
    ✗ CocoaPods installed but not working.
        You appear to have CocoaPods installed but it is not working.
        This can happen if the version of Ruby that CocoaPods was installed with
        is different from the one being used to invoke it.
        This can usually be fixed by re-installing CocoaPods. For more info, see
        https://github.com/flutter/flutter/issues/14293.
      To re-install CocoaPods, run:
        sudo gem install cocoapods
[✓] Android Studio (version 3.5)
[✓] IntelliJ IDEA Ultimate Edition (version 2018.3.4)
[!] Connected device
    ! No devices available

! Doctor found issues in 2 categories.
看提示好像还差一个cocoapods 再手工装一个
注意⚠️Mac 中文件查找使用 which directoryName 而不建议使用 find ~/ -name ''directoryName''
sudo gem install cocoapods
但是会发现执行了如上命令几次依然提示通用错误,解决方法是
taodeMacBook-Pro:dev-flutter tao$ cd ~/.cocoapods/repos
taodeMacBook-Pro:repos tao$ git clone https://mirrors.tuna.tsinghua.edu.cn/git/CocoaPods/Specs.git master
fatal: 目标路径 ''master'' 已经存在,并且不是一个空目录。
taodeMacBook-Pro:repos tao$ ls
master
taodeMacBook-Pro:repos tao$ rm -rf master/


taodeMacBook-Pro:repos tao$
taodeMacBook-Pro:repos tao$
taodeMacBook-Pro:repos tao$ git clone https://mirrors.tuna.tsinghua.edu.cn/git/CocoaPods/Specs.git master
正克隆到 ''master''...
手动删除老版本,克隆新版本
这个方法最后证实是失败的…
 brew reinstall libimobiledevice
 brew install --HEAD libimobiledevice
 brew upgrade cocoapods
全部都又执行了一次,最后依然报错麻麻但,不晓得咋搞,ruby我东重新装过了
最后我去官网从新下载了个flutter_macos_v1.9.1+hotfix.5-stable.zip
然后解压测试了妈蛋垃圾问题(推测是Mac版本兼容问题,出错都版本是10.14.1 而目前最新都版本为10.15.1)
taodeMacBook-Pro:dev-flutter tao$ unzip ~/Downloads/flutter_macos_v1.9.1+hotfix.5-stable.zip
taodeMacBook-Pro:dev-flutter tao$ flutter doctor
Doctor summary (to see all details, run flutter doctor -v):
[✓] Flutter (Channel stable, v1.9.1+hotfix.5, on Mac OS X 10.15.1 19B88, locale zh-Hans-CN)

[✓] Android toolchain - develop for Android devices (Android SDK version 29.0.2)
[✓] Xcode - develop for iOS and macOS (Xcode 11.1)
[✓] Android Studio (version 3.5)
[✓] IntelliJ IDEA Ultimate Edition (version 2018.3.4)
[!] Connected device
    ! No devices available

! Doctor found issues in 1 category.
还有输入flutter doctor 会提示
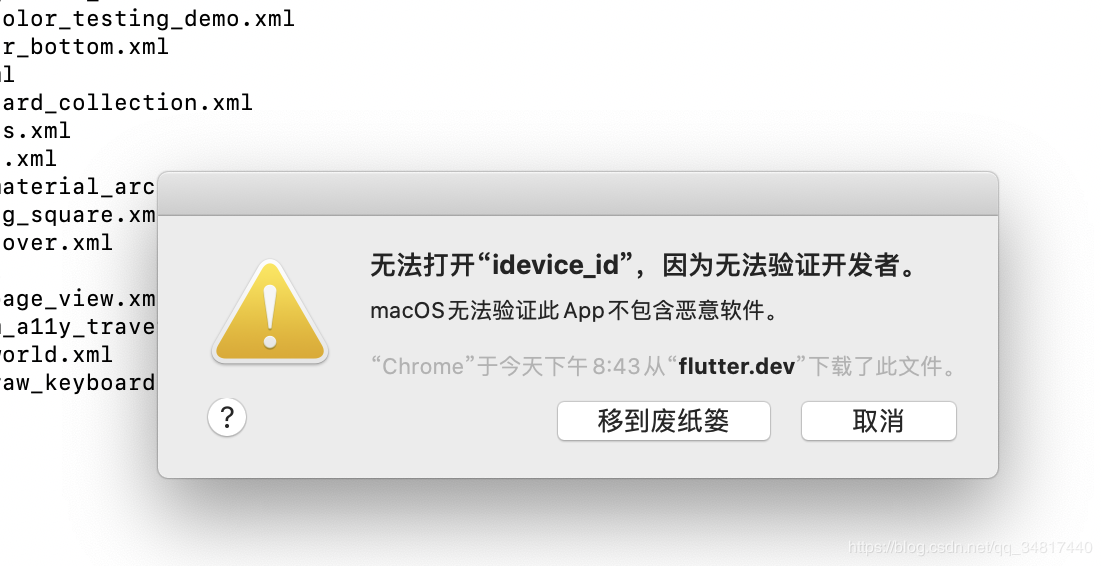
这个千万别点击 移到废纸篓;那样flutter运行就会出问题了
三、IOS开发环境设置
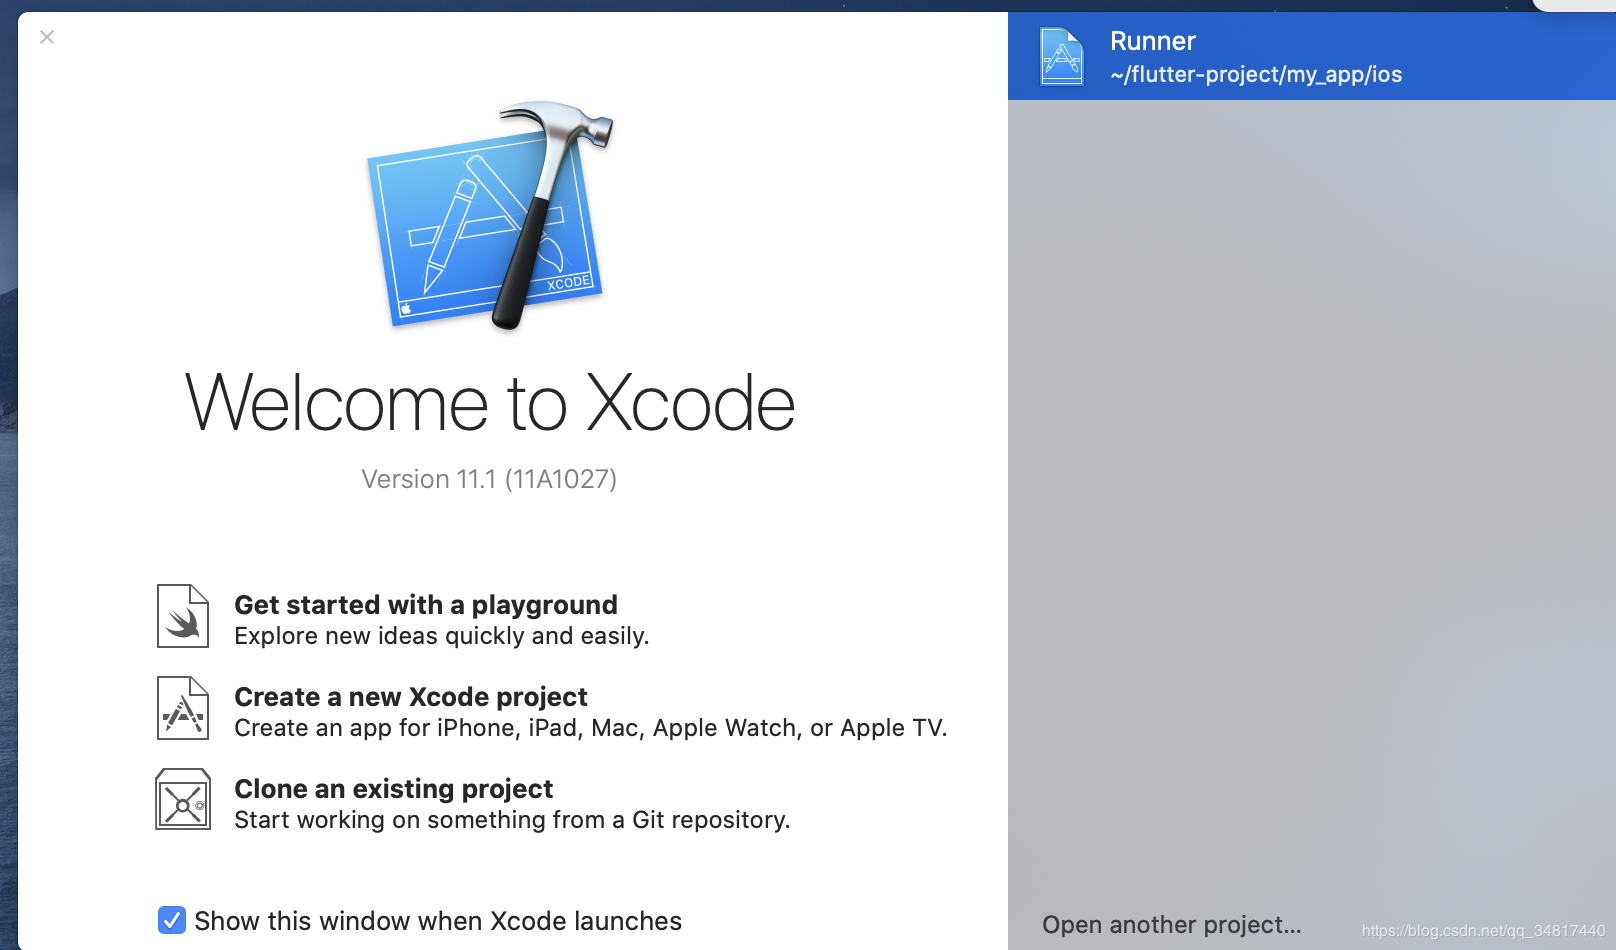
3.1 Xcode 安装
1、直接去Apple store 下载 对应得Xcode 然后安装这个没有什么说的
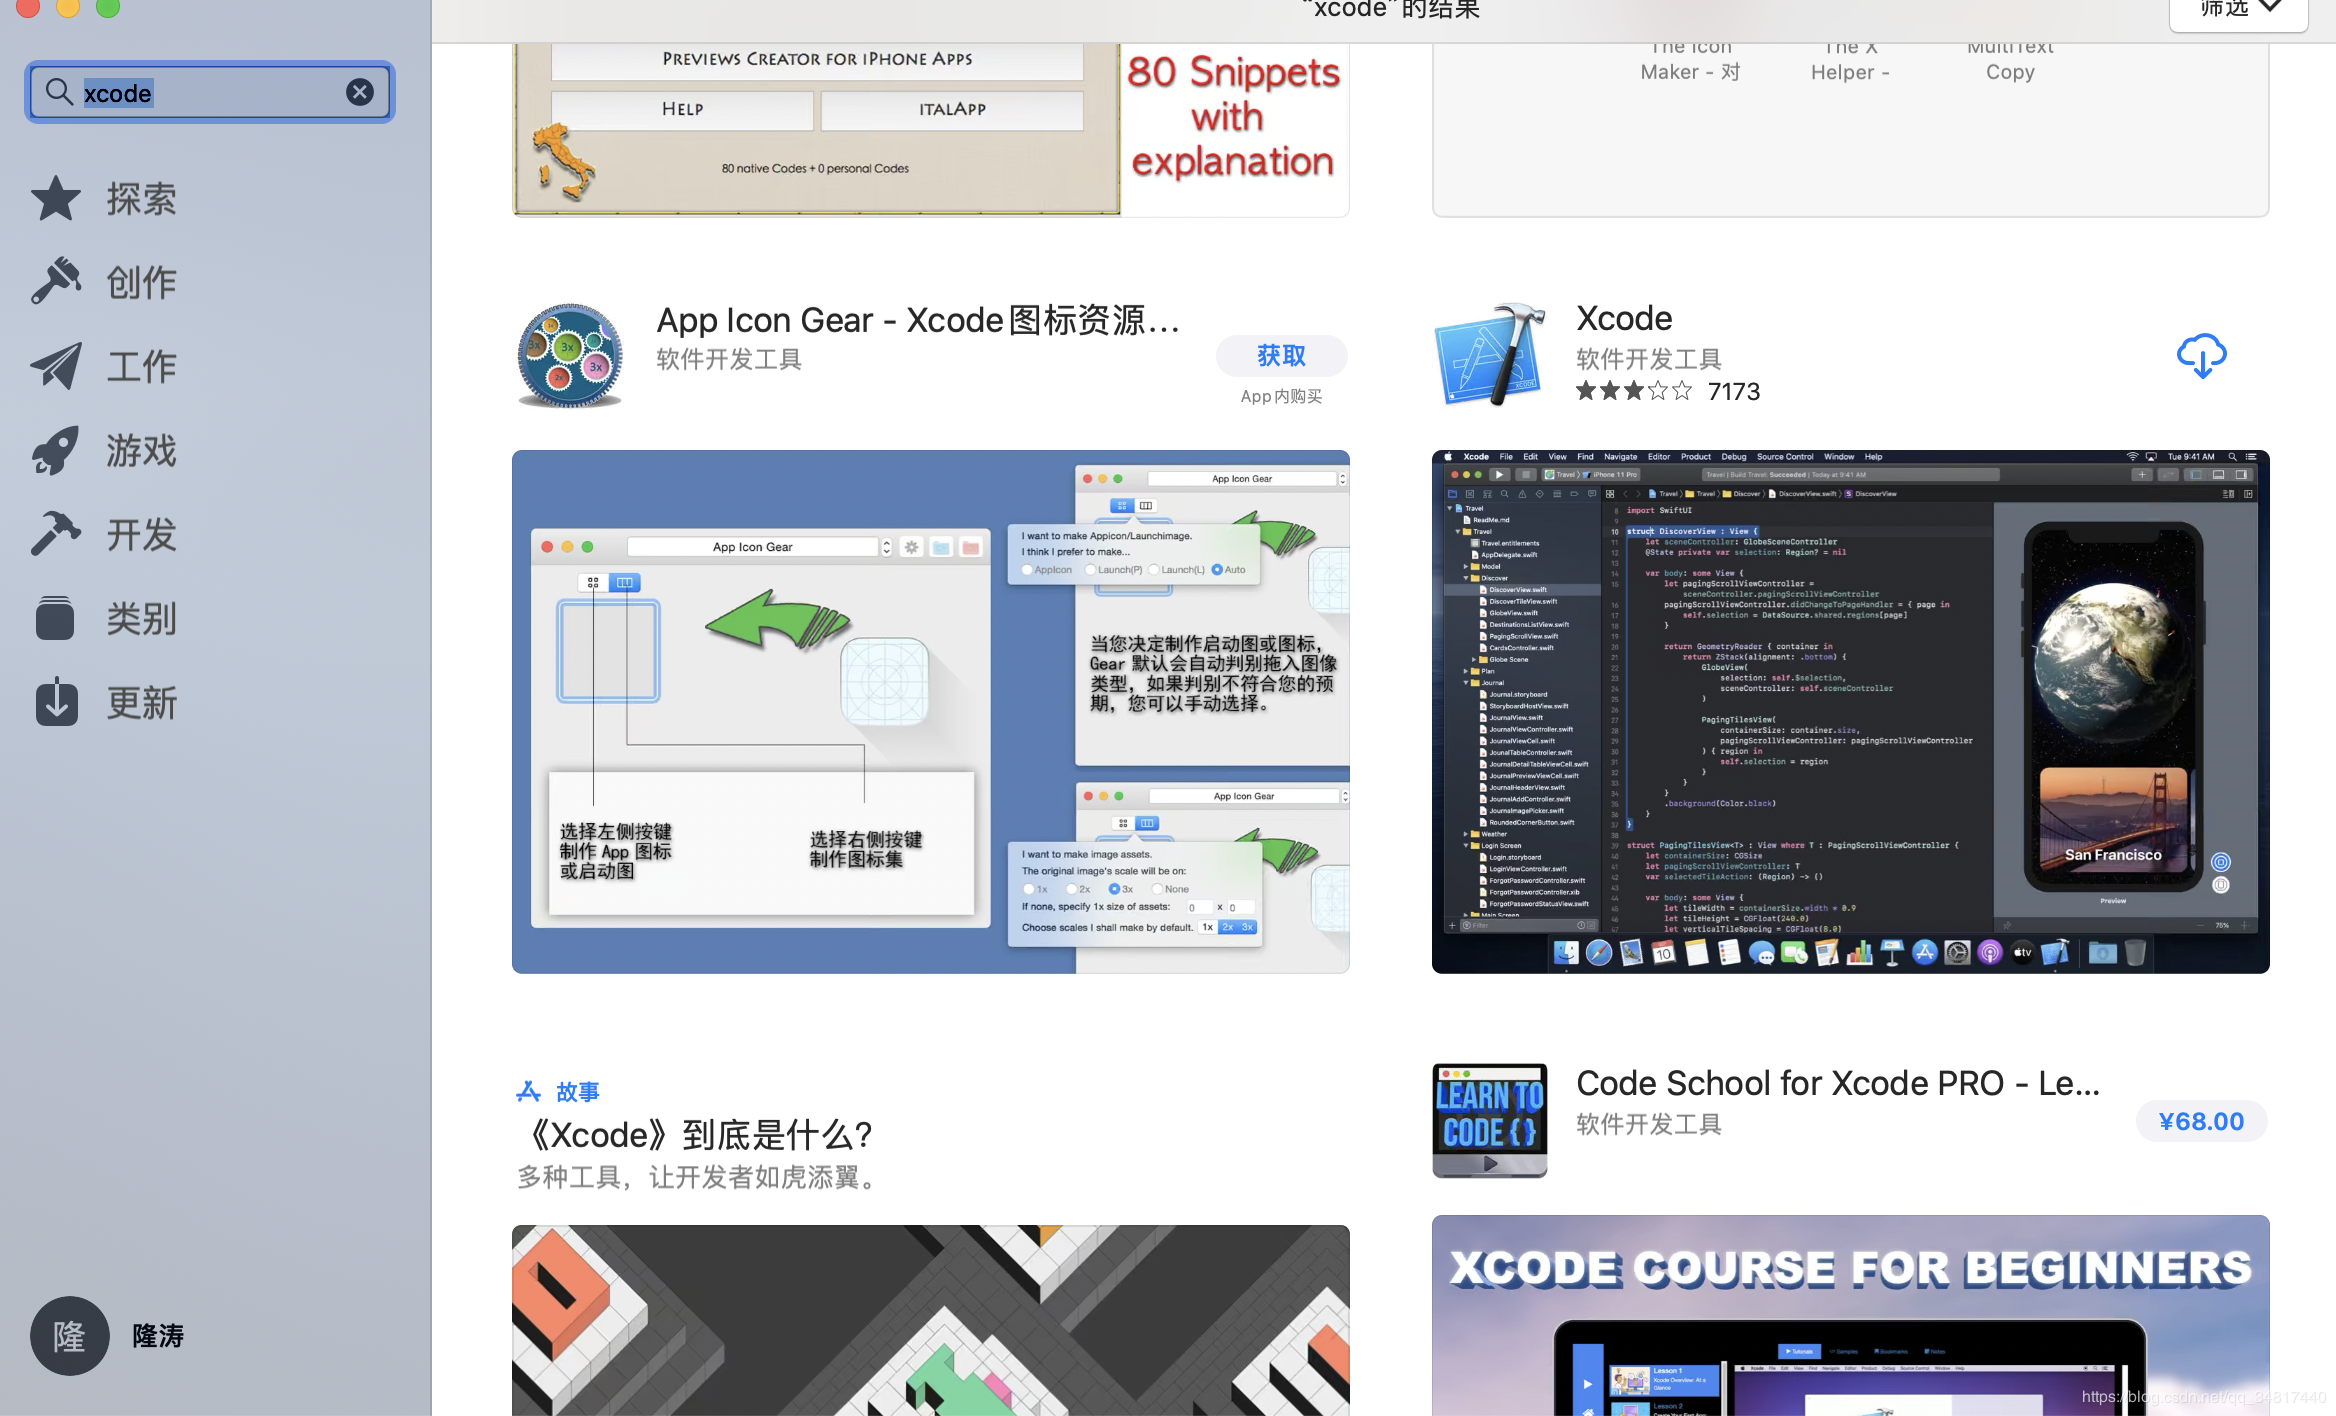
点击下载得图标
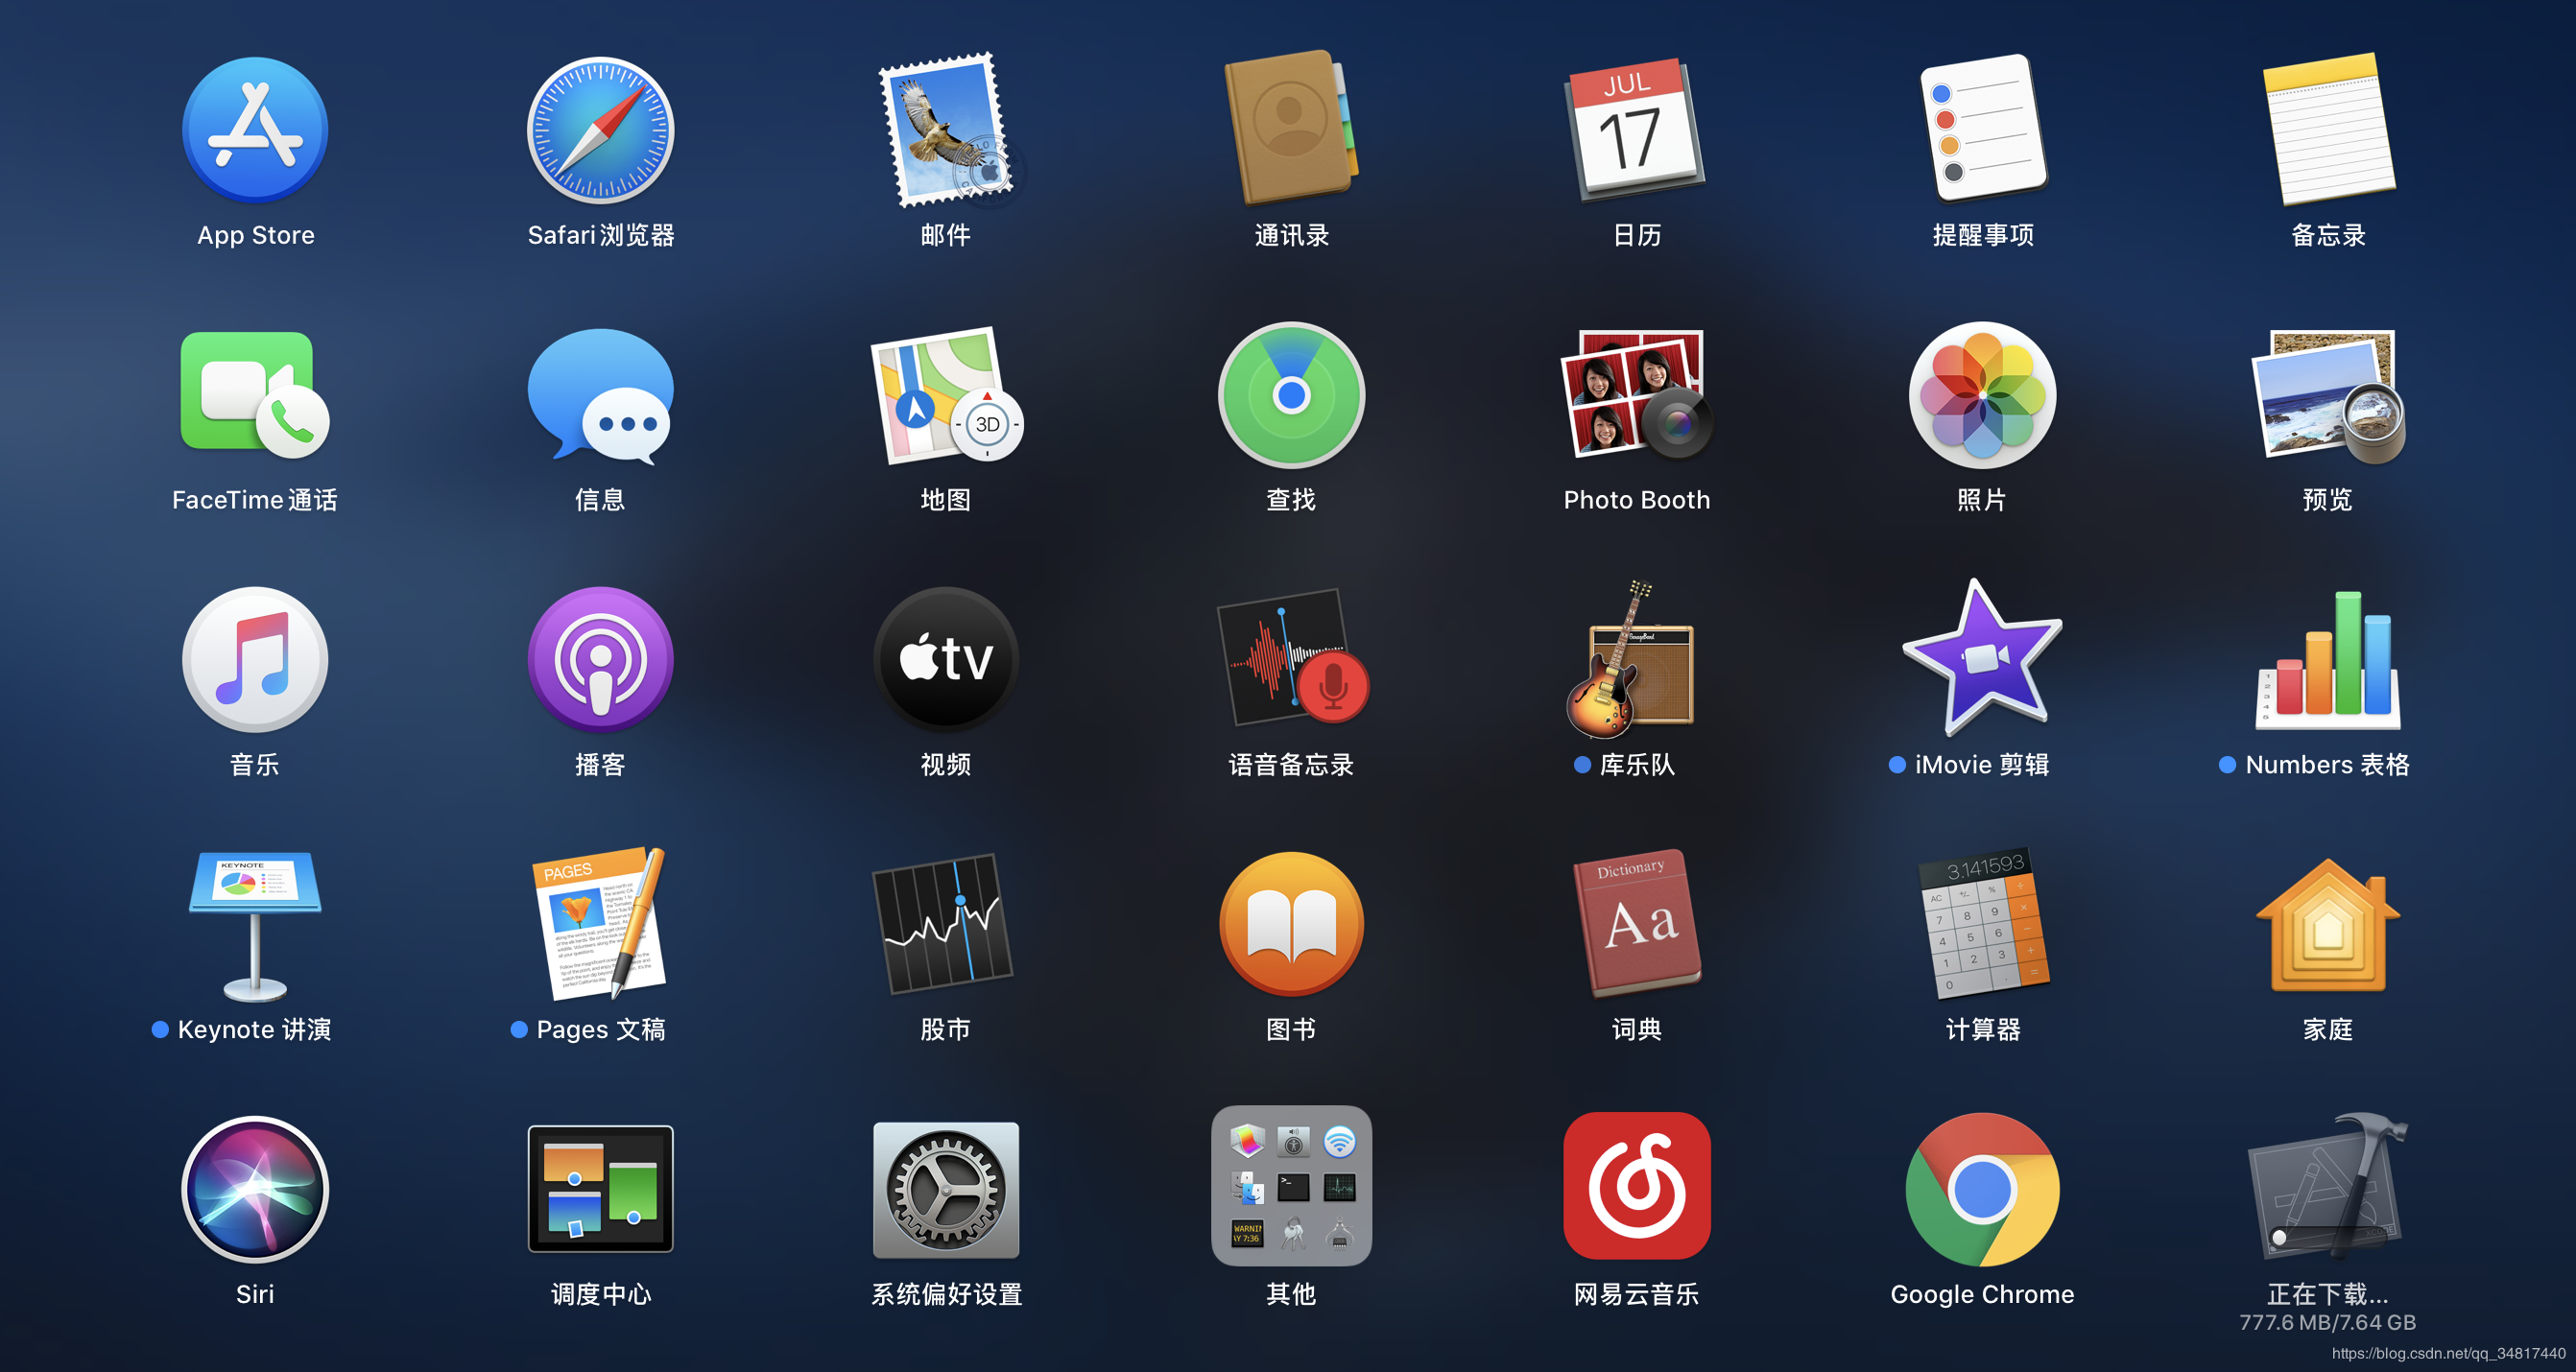
在启动台里得右下角你会看见一个正在下载得xcode
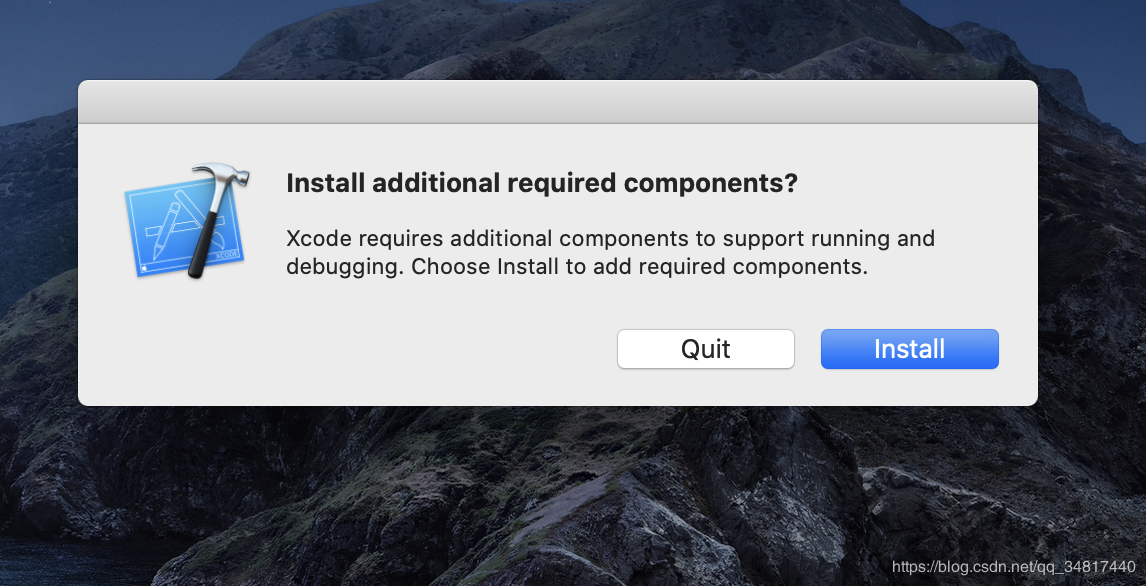
安装完成再安装些必须的组件
2、配置Xcode 命令行工具以使用新安装得Xcode版本
$ sudo xcode-select --switch /Applications/Xcode.app/Contents/Developer
注意/Applications/Xcode.app/Contents/Developer 对应得是自己得Xcode 得安装路径
3、 打开Xcode 许可协议,执行如下命令
$ sudo xcodebuild -license
3.2 设置iOS 模拟器
使用命令开启iOS模拟器
$ sudo open -a Simulator
四、Android开发环境设置
官网下载 android studio :https://developer.android.google.cn/studio)
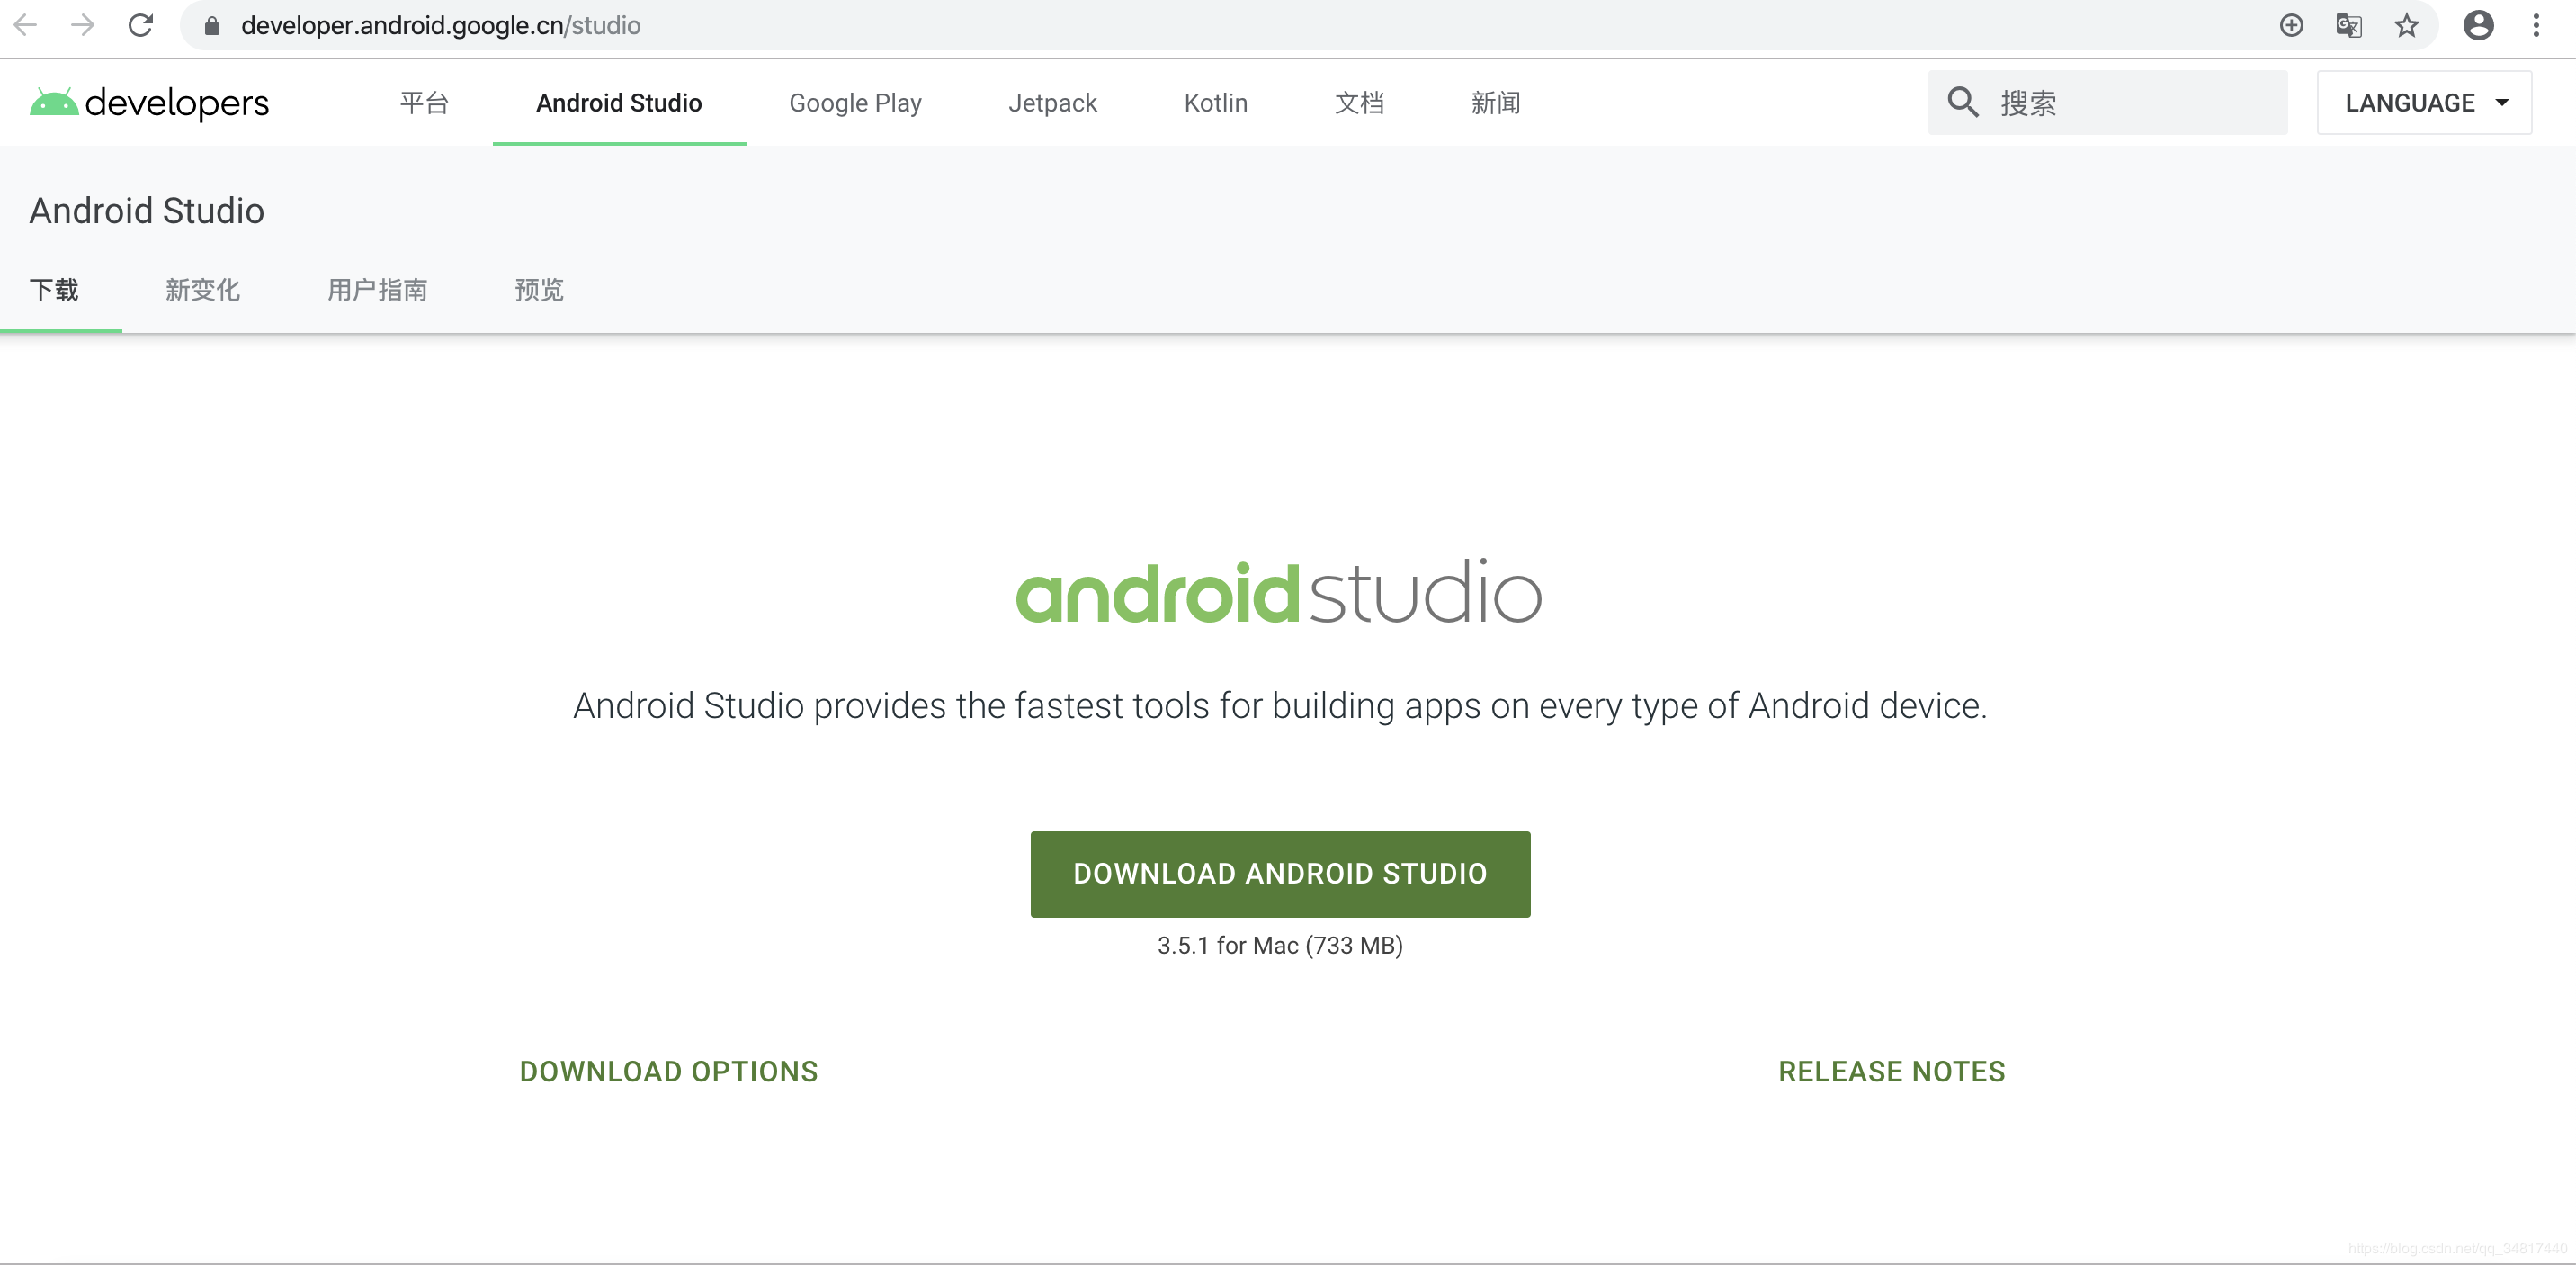
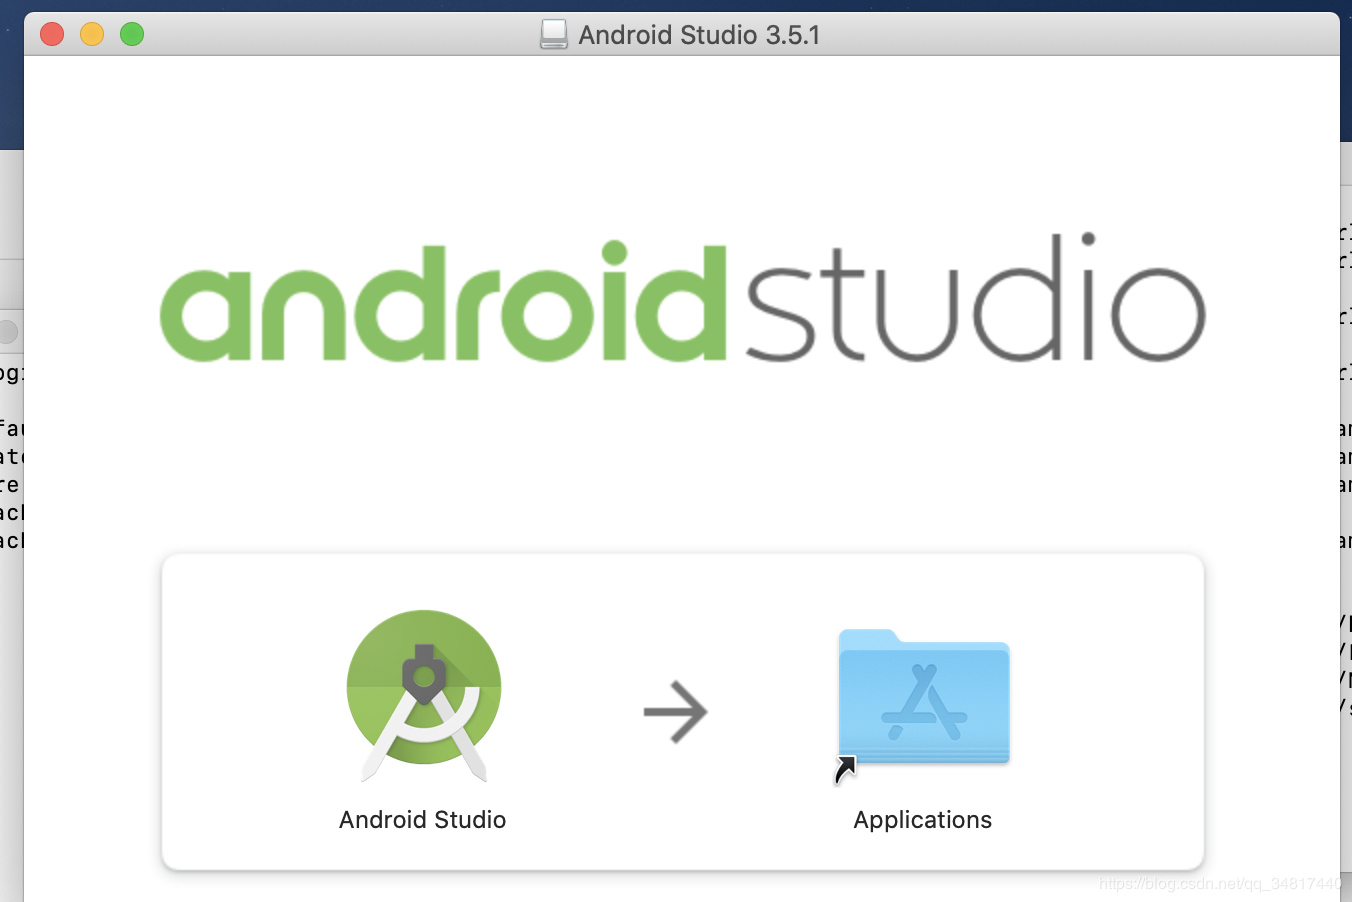
下载完成直接点着左边得Android Studio 拖到右边得Applications文件里去,他就会提示你安装了
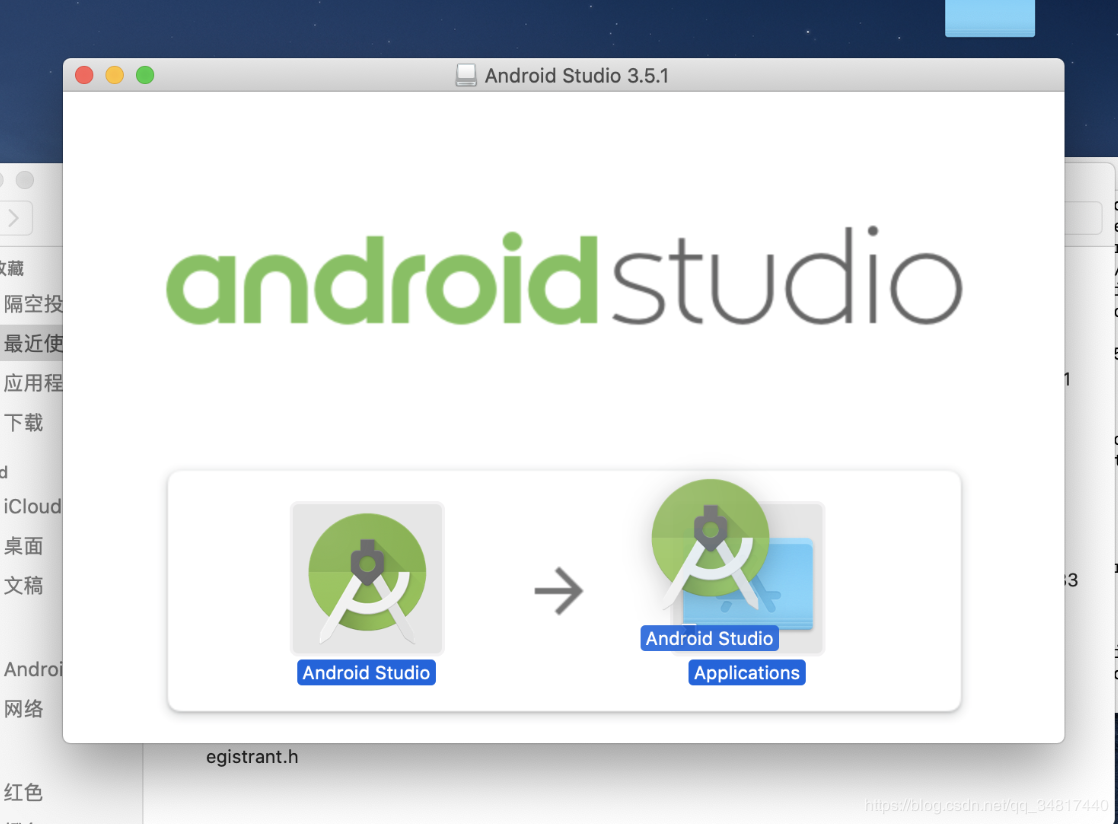
接下来就是下一步下一步直到安装结束
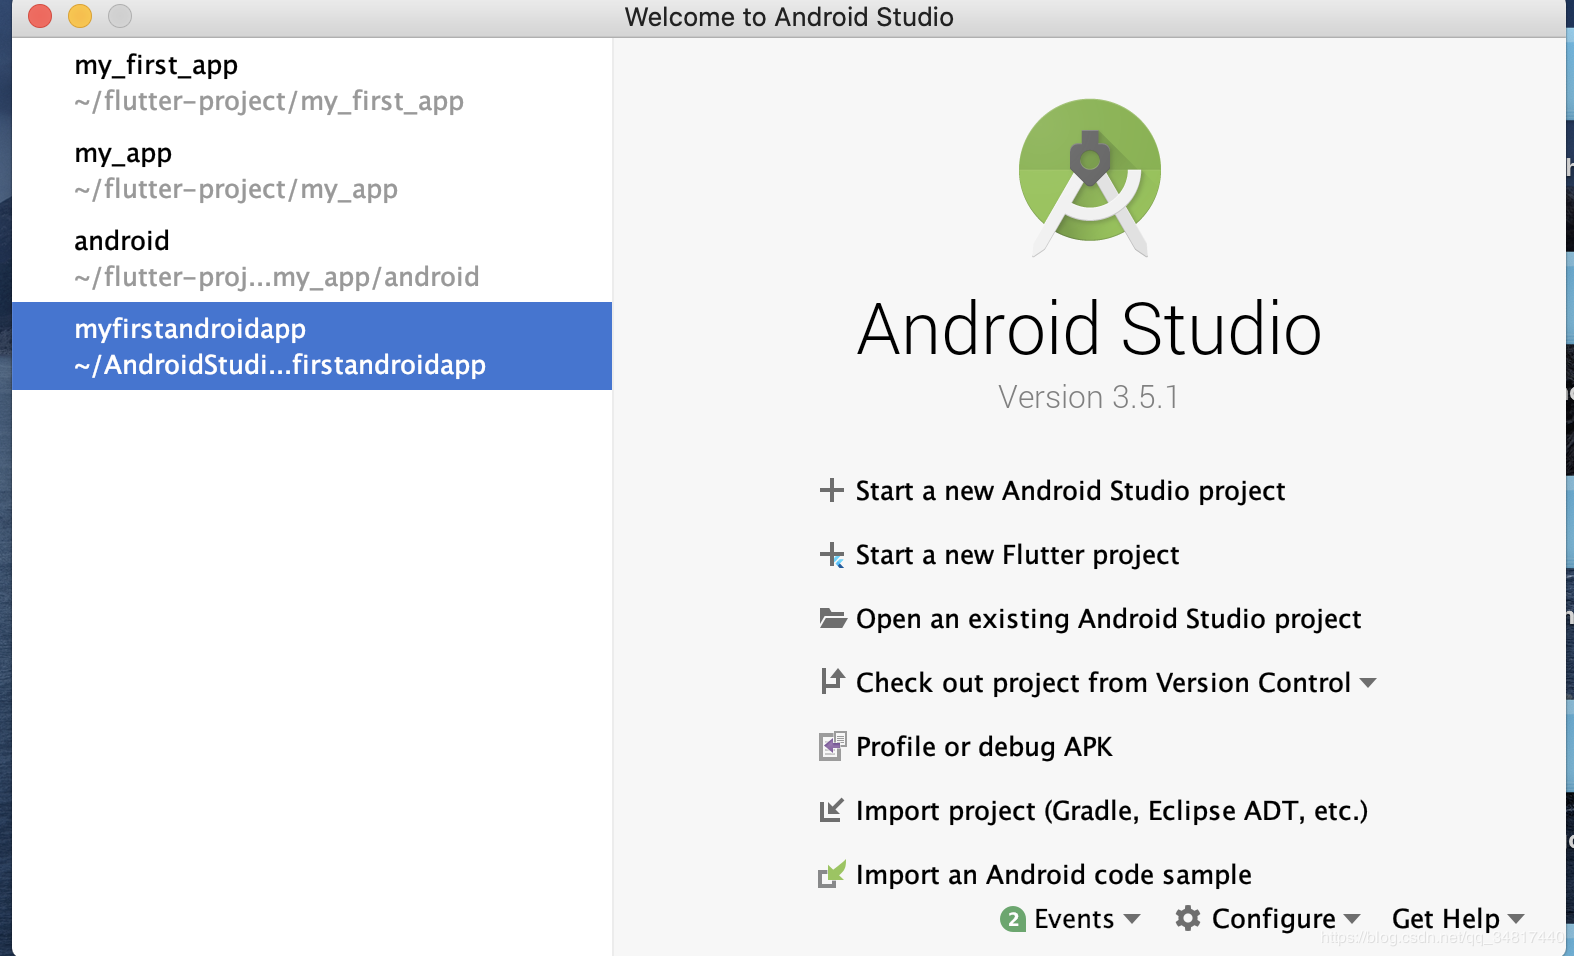
安装完成后记得配置安装dart和flutter 插件
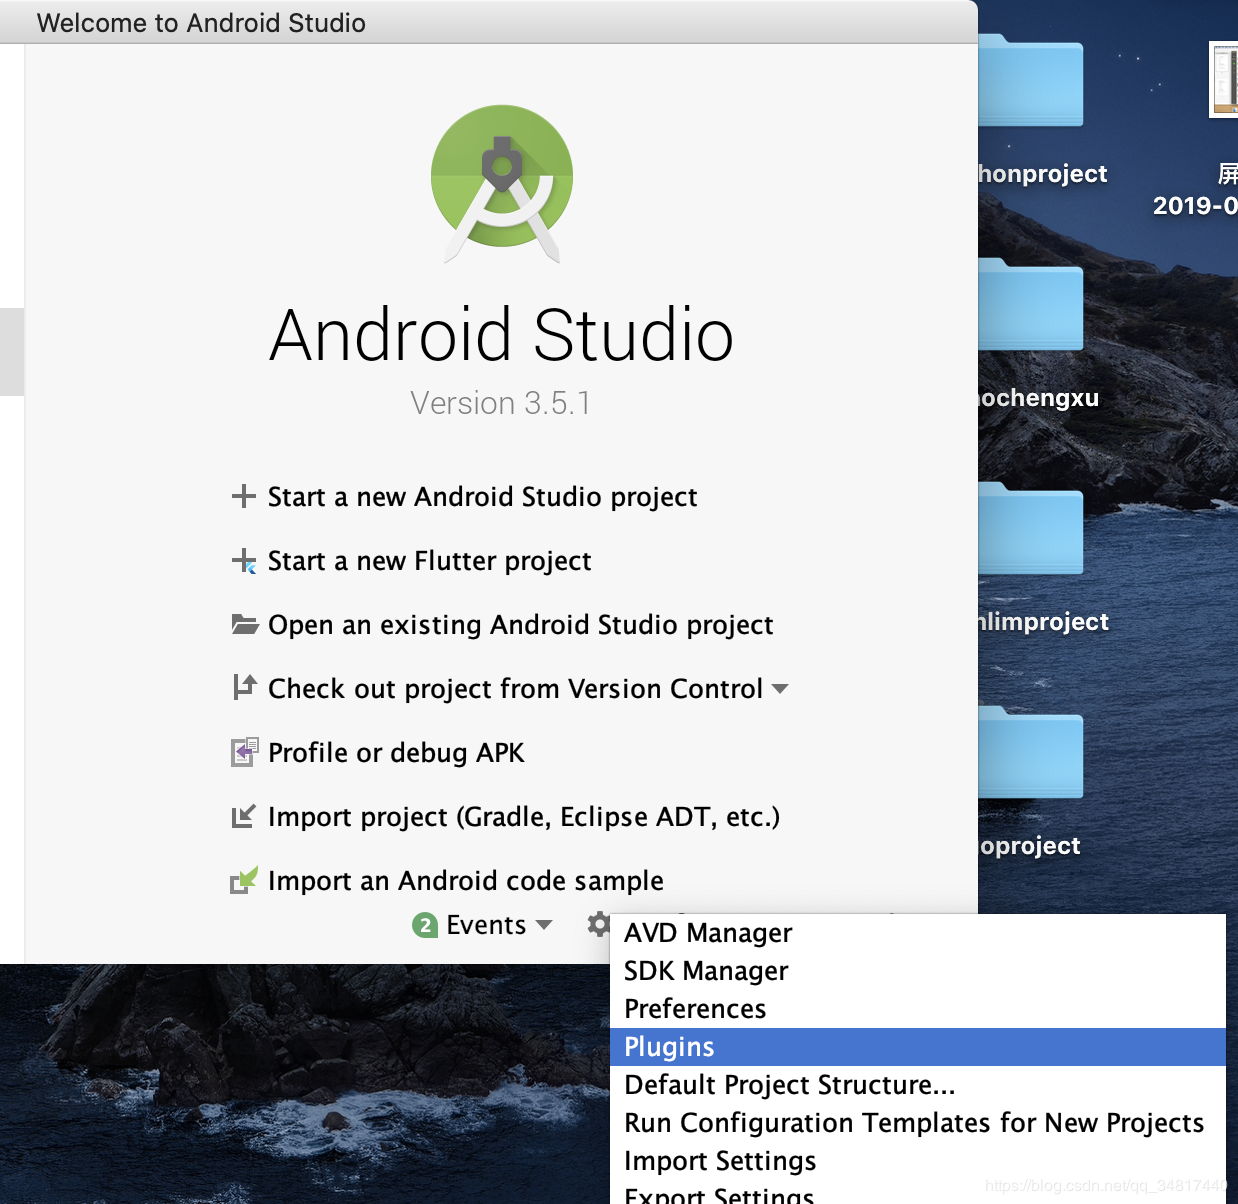 配置dart 配置dart |
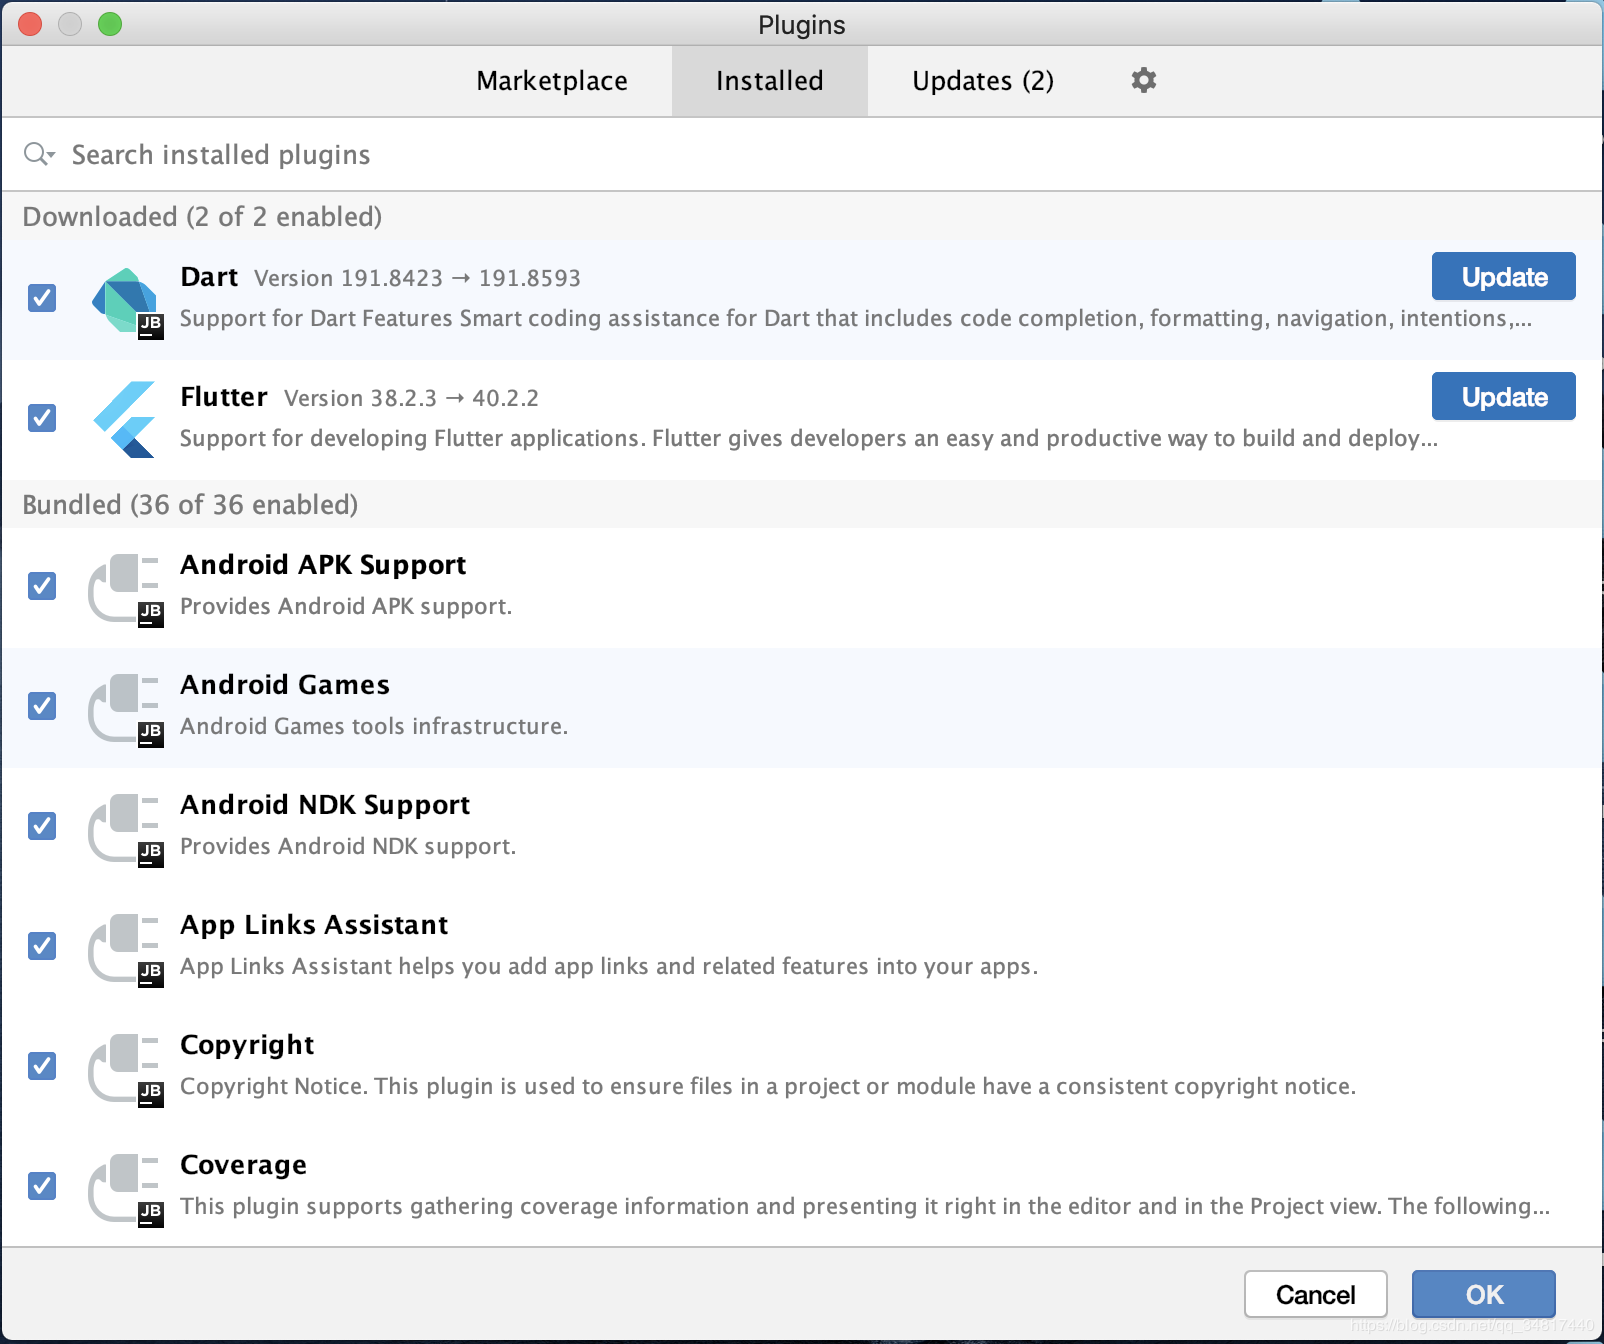 配置dart 配置dart |
五、新建项目
控制台执行 flutter create proj_name
taodeMacBook-Pro:flutter-project tao$ flutter create my_first_app_test
  my_first_app_test/.idea/workspace.xml (created)
Running "flutter pub get" in my_first_app_test...                   3.1s
Wrote 65 files.

All done!
[✓] Flutter is fully installed. (Channel stable, v1.9.1+hotfix.5, on Mac OS X
    10.15.1 19B88, locale zh-Hans-CN)
[✓] Android toolchain - develop for Android devices is fully installed. (Android
    SDK version 29.0.2)
[✓] Xcode - develop for iOS and macOS is fully installed. (Xcode 11.1)
[✓] Android Studio is fully installed. (version 3.5)
[✓] IntelliJ IDEA Ultimate Edition is fully installed. (version 2018.3.4)
[!] Connected device is not available.

Run "flutter doctor" for information about installing additional components.

In order to run your application, type:

  $ cd my_first_app_test
  $ flutter run

Your application code is in my_first_app_test/lib/main.dart.
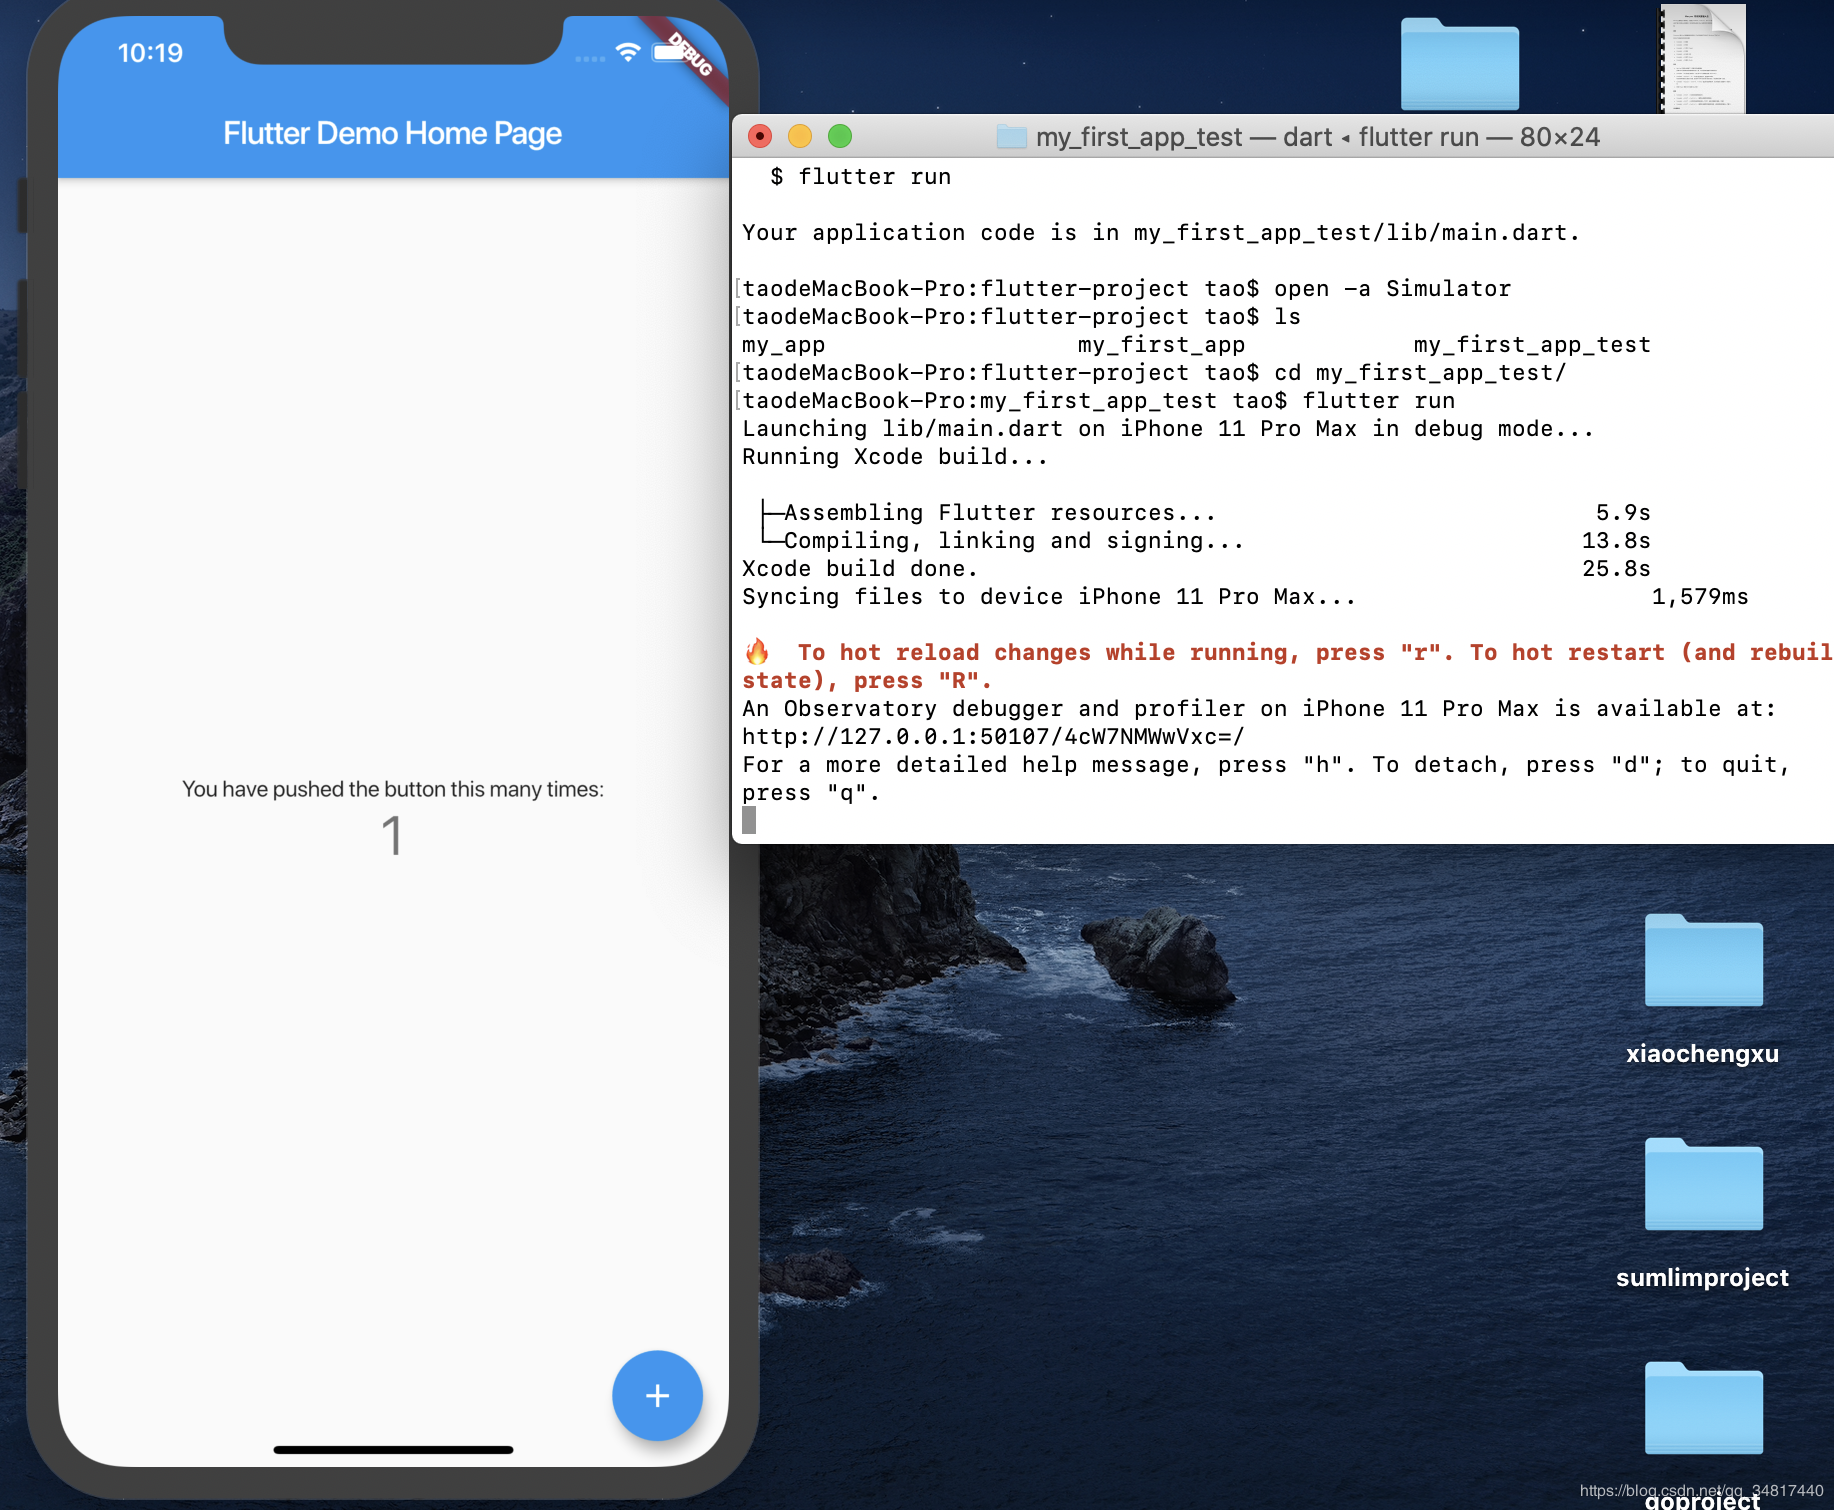
然后flutter run直接来跑一哈
## 启动iOS模拟器
taodeMacBook-Pro:flutter-project tao$ open -a Simulator
taodeMacBook-Pro:flutter-project tao$ ls
my_app			my_first_app		my_first_app_test
taodeMacBook-Pro:flutter-project tao$ cd my_first_app_test/
taodeMacBook-Pro:my_first_app_test tao$ flutter run

iOS8企业项目实战---windows系统下安装虚拟机-mac系统
windows系统下安装虚拟机-mac系统-视频教程-安装件全套下载:http://dwz.cn/yAAX3
1.下载虚拟机软件及系统镜像
Mac OS X Lion V 10.7.4光盘镜像:http://www.verycd.com/topics/2923391/ (下载VMware的文件即可,4.1G 和 4M的文件)
[Mac.OSX.Lion操作系统].TLF-SOFT-Mac.OSX.Lion.v10.7.4-HOTiSO.dmg 详情 3.9GB
[Mac.OSX.Lion操作系统].TLF-SOFT-Mac.OSX.Lion.v10.7.4-HOTiSO.nfo 详情 2.8KB
With Vmware file Mac OSX 10.7.4 (French)
[Mac.OSX.Lion操作系统].Mac.OS.X.Lion.10.7.4.VMWare.Image.zip 详情 4.1GB
[Mac.OSX.Lion操作系统].Mac.OS.X.Unlocker.v1.10.for.VMware.zip 详情 4MB
Vmware我选择的是8.0.1的版本(可以根据需要,不用非得最新版的虚拟机,安装程序及破解)
2.安装WMware
在安装VM的时候,安装路径最好选择默认C盘的路径,不然后面的配置需要有一点麻烦。

3.配置WMware(如果不做此步,则无法进入Mac系统,对VM进行Mac解锁)
解压[Mac.OSX.Lion操作系统].Mac.OS.X.Unlocker.v1.10.for.VMware.zip,以管理员身份运行里面的E:\[Mac.OSX.Lion操作系统].Mac.OS.X.Unlocker.v1.10.for.VMware\unlock-all-v110\windows\\install.cmd, 运行完毕之后提示替换文件成功,然后重启电脑。(如果你的WM不是默认安装路径,则在你安装的目录下,比如E:\VMware\VMware Workstation下,找到以下4个文件:

并把他们复制到C:\Program Files\VMware\VMware Workstation下(如果VMware Workstation文件夹不存在,就自己创建),接着运行install.cmd(以管理员身份运行),会出现如下画面(最后一个不会出现successfully)。
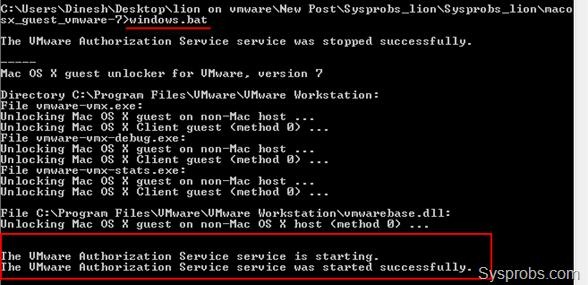
OK了,接下来把那四个文件拷回原来的目录(E盘那个)吧,重启电脑。一切准备已经OK了。
4.安装Mac X
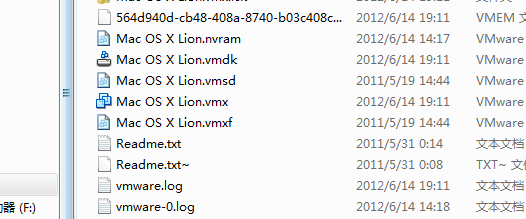
因为我们下载的是人家安装好的虚拟机版,直接将下载的解压,然后将Mac OS X Lion.vmx,直接拖动到虚拟机的左侧。
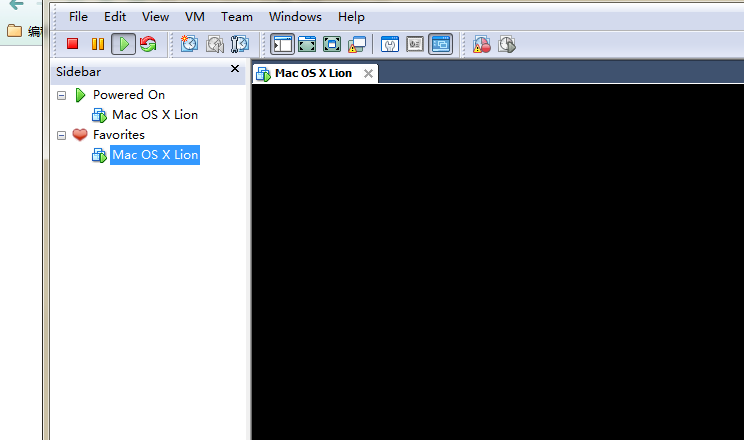
5. 设置虚拟机
根据自己的机器设置虚拟机,我的机器是T410,处理器是i7,4G内存,软盘一般不用,可以remove删除掉。设置如下:

6.启动虚拟Mac系统
在启动之前,一定要在BOIS里面设置cpu支持虚拟功能,启动之后修改French语言为简体中文。

7.优化Mac
这时开Mac,可能会感觉有点卡,屏幕也会不流畅。解决办法:安装vmtools。开机后,在桌面上就可以找到darwin.iso,点击进行安装。

Mac系统 - 升级node版本
前言
本文主要记录下 Mac 系统如何升级 node 版本 。
一、查看当前版本
node -v
二、清除 Node.js 的 cache
sudo npm cache clean -f
三、使用 npm 安装 n 模块,在这里我用的 Node.js 的多版本管理器 n 来升级的
sudo npm install -g n
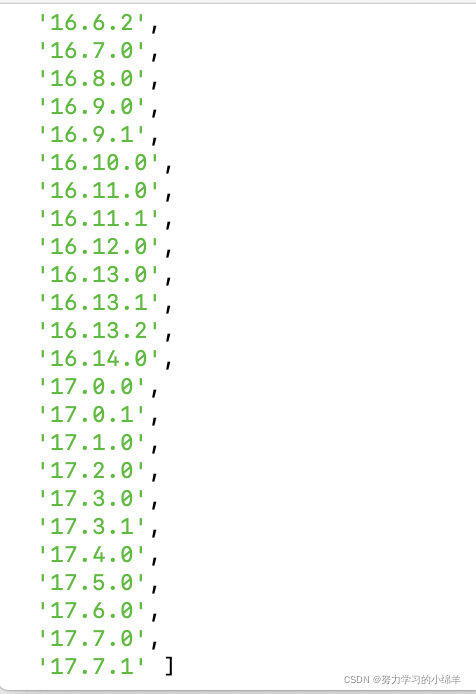
四、查看 node 的所有版本
npm view node versions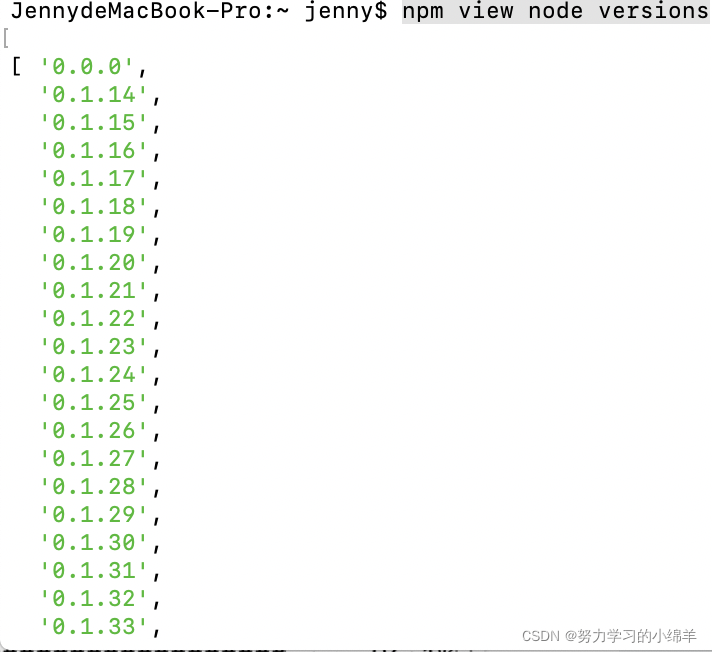
五、升级版本,这里我选择了升级到稳定版本
// 升级到最新版本
sudo n latest

// 升级到稳定版本
sudo n stable

// 升级到具体版本号
sudo n xx.xx
等待安装。。。

安装完成。
六、查看版本


MAC系统 -java开发环境搭建
MAC - java开发环境搭建
软件:
jdk
Intellij IDEA:java开发工具
maven:jar包管理
git :源码管理
sourceTree :源码管理GUI客户端
Studio 3T :mongo数据库GUI客户端
Navicat Premium : mysql ,oracle 等数据库的 GUI客户端
软件包:
精品MAC应用分享
苹果软件盒子
零、基础重要工具使用
mac 终端 (命令行工具):程序坞 --》启动台(小火箭图标)--》其他 --》终端
sudo 命令(管理员权限分配命令):编辑文件时授权命令
vim : 编辑具体文件
一、安装JDK
注意:环境变量mac在安装jdk的时候自动配置好了,所以省略了配置环境的步骤。如果没有配置成功,可以手动找到JDK的本地安装目录,然后进行配置。
Mac安装JDK1.8及配置环境变量
MAC中JAVA环境变量配置以及Intellij IDEA如何配置JDK
MAC 设置环境变量PATH 和 查看PATH
二、git
可使用sourceTree中自带的git。
sourceTree自带Git的目录为下:(基本是固定目录)
C:\Users\你的用户名\AppData\Local\Atlassian\SourceTree\git_local\mingw32\libexec\git-core
mac下解决开机需要每次ssh-add的问题
1、自动机器人(Automator)-》创建一个Automator 应用程序类型文件 -》实用工具 -》选择运行shell脚本 -》创建shell脚本并保存
shell脚本如: ssh-add -K priviateKeyFile
2、打开系统偏好设置-》用户与群组,选择登录项,选择保存的.app文件为开机启动
如何将我的SSH私钥永久添加到Keychain,以便ssh自动可用?
1、将密钥存储在钥匙串中
ssh-add -K ~/.ssh/[your-private-key]
2、配置SSH以始终使用钥匙串
似乎OSX Sierra删除了在登录之间保持密钥的方便行为,并且默认情况下对ssh的更新不再使用密钥链.因此,升级后会提示您输入密钥的密码,并在每次重新启动后再次输入密码.
解决方案非常简单,并在this github thread comment中概述.以下是您如何设置它:
>确保您已完成上述步骤1,将密钥存储在钥匙串中.
>如果还没有,请创建~/ .ssh / config文件.换句话说,在home目录的.ssh目录中,创建一个名为config的文件.
>在.ssh / config文件中,添加以下行:
Host *
  UseKeychain yes
  AddKeysToAgent yes
  IdentityFile ~/.ssh/id_rsa
三、maven
可使用 Intellij IDEA 中自带 mave。
四、安装Intellij IDEA(自带maven)
注意:
1、第一次启动注意配置 maven,要覆盖默认的maven settings 和 maven local repository。之后新建或者open的项目全部使用此设置。
Configure --> Preferences --> Build --> Maven
2、安装lombok插件
Configure --> Preferences --> Plugins
3、配置git
IDEA配置GIT
4、配置typescript
先检查是否安装typescript,如没有则先安装typescript
Last login: Wed Dec  4 14:55:46 on ttys000
wwwfei@wwwfeideMacBook-Pro ~ % tsc -version
zsh: command not found: tsc
wwwfei@wwwfeideMacBook-Pro ~ % npm install -g typescript
/usr/local/bin/tsserver -> /usr/local/lib/node_modules/typescript/bin/tsserver
/usr/local/bin/tsc -> /usr/local/lib/node_modules/typescript/bin/tsc
+ typescript@3.7.3
added 1 package from 1 contributor in 6.987s


   ╭────────────────────────────────────────────────────────────────╮
   │                                                                │
   │      New patch version of npm available! 6.13.1 → 6.13.2       │
   │   Changelog: https://github.com/npm/cli/releases/tag/v6.13.2   │
   │               Run npm install -g npm to update!                │
   │                                                                │
   ╰────────────────────────────────────────────────────────────────╯

wwwfei@wwwfeideMacBook-Pro ~ % tsc -version
Version 3.7.3
wwwfei@wwwfeideMacBook-Pro ~ %
配置
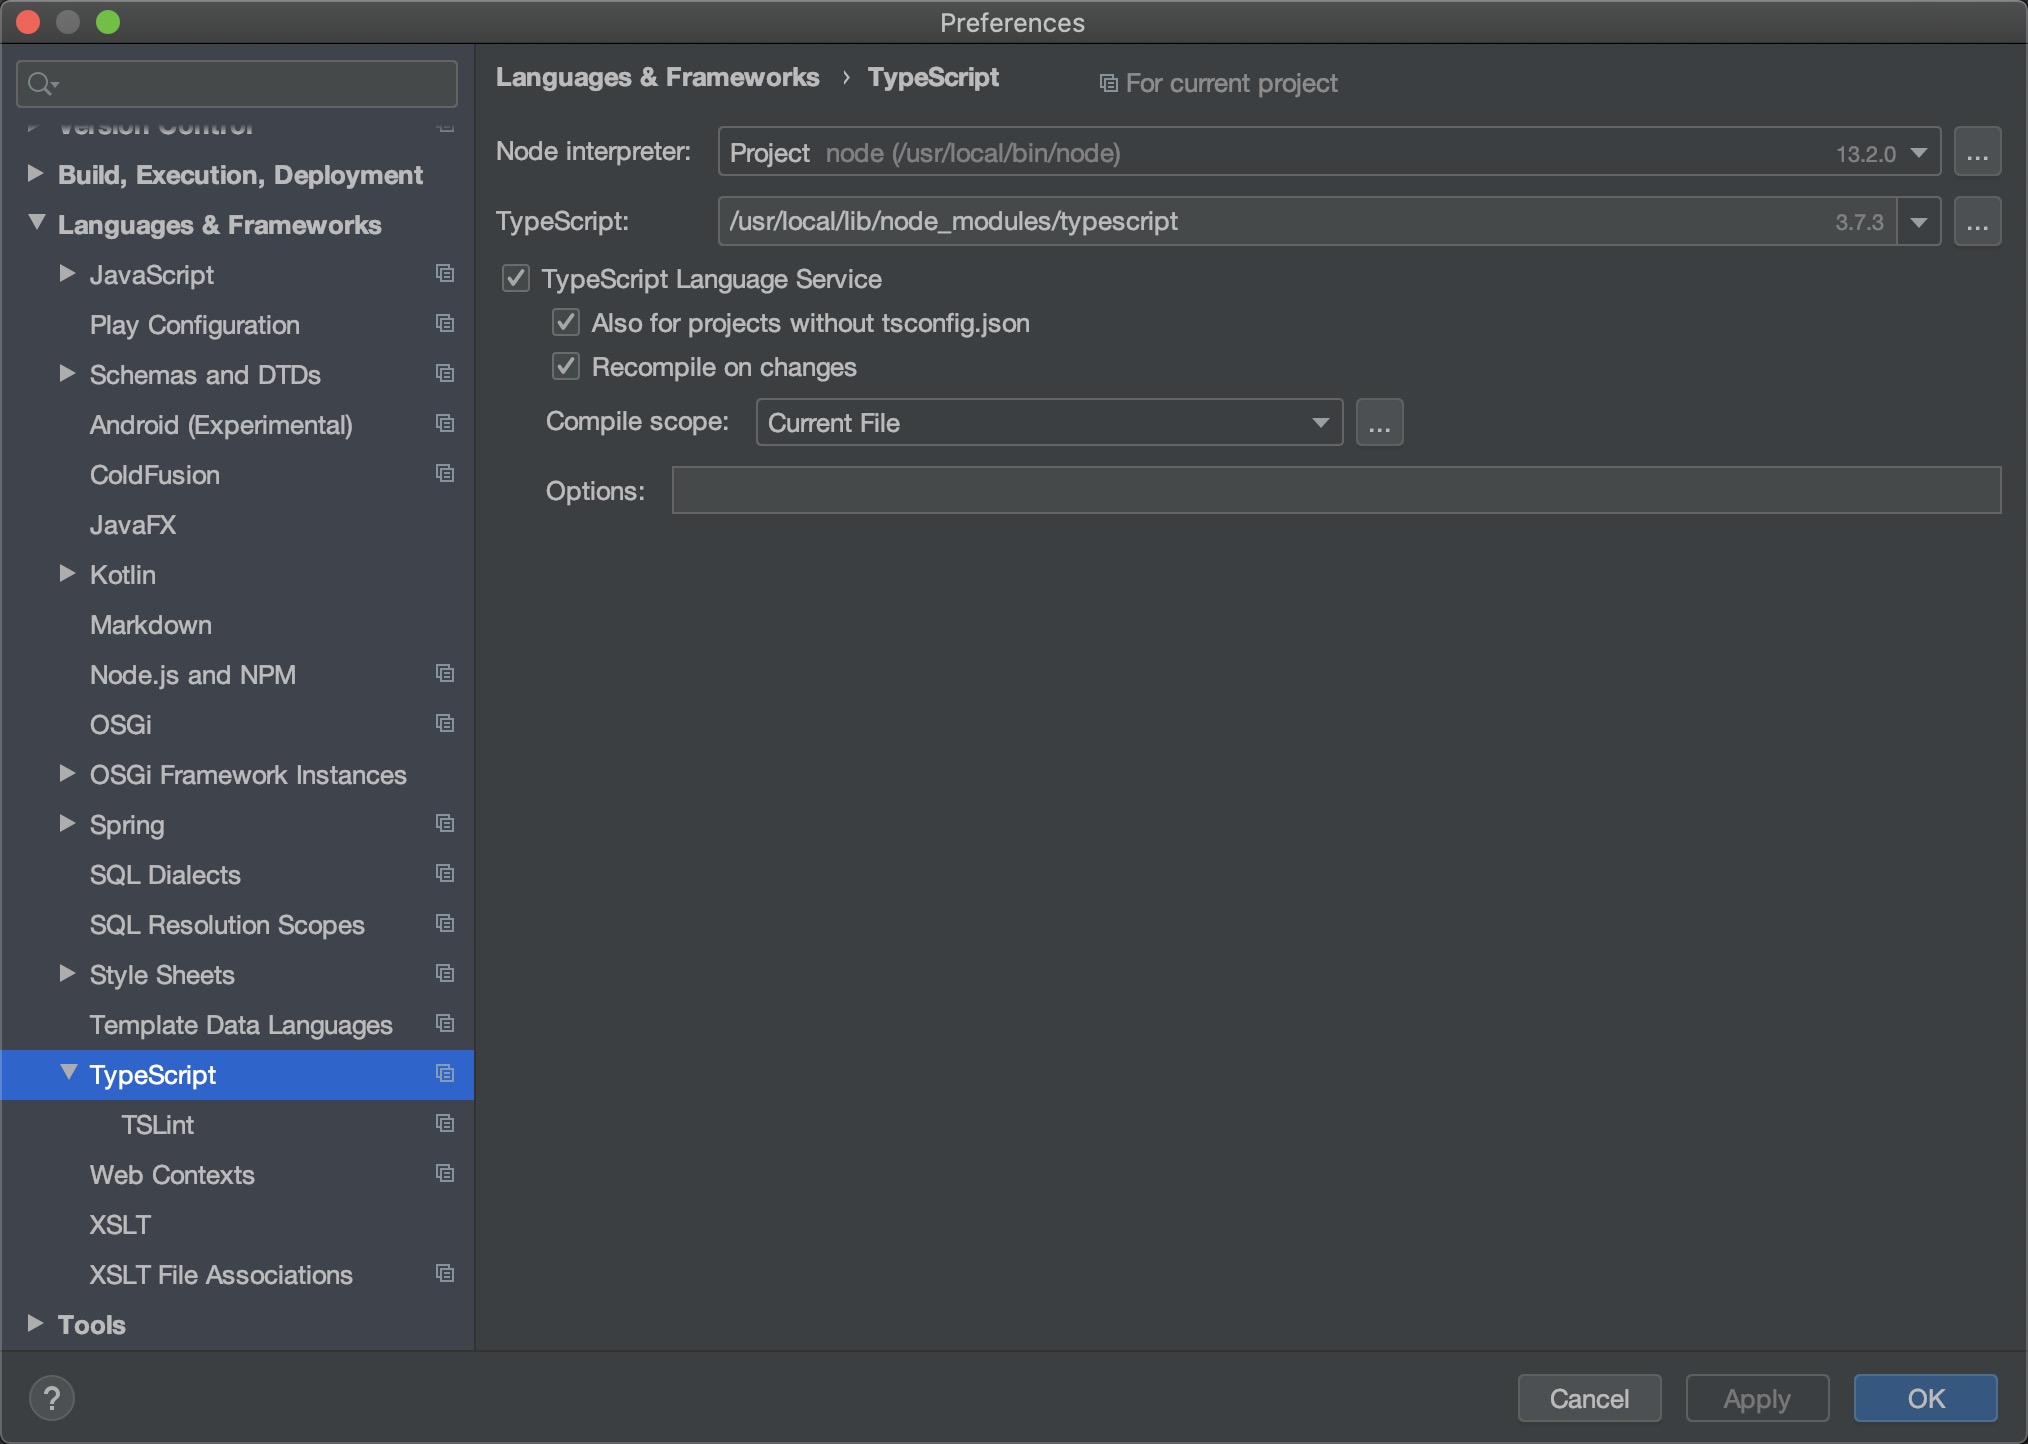
配置外部工具
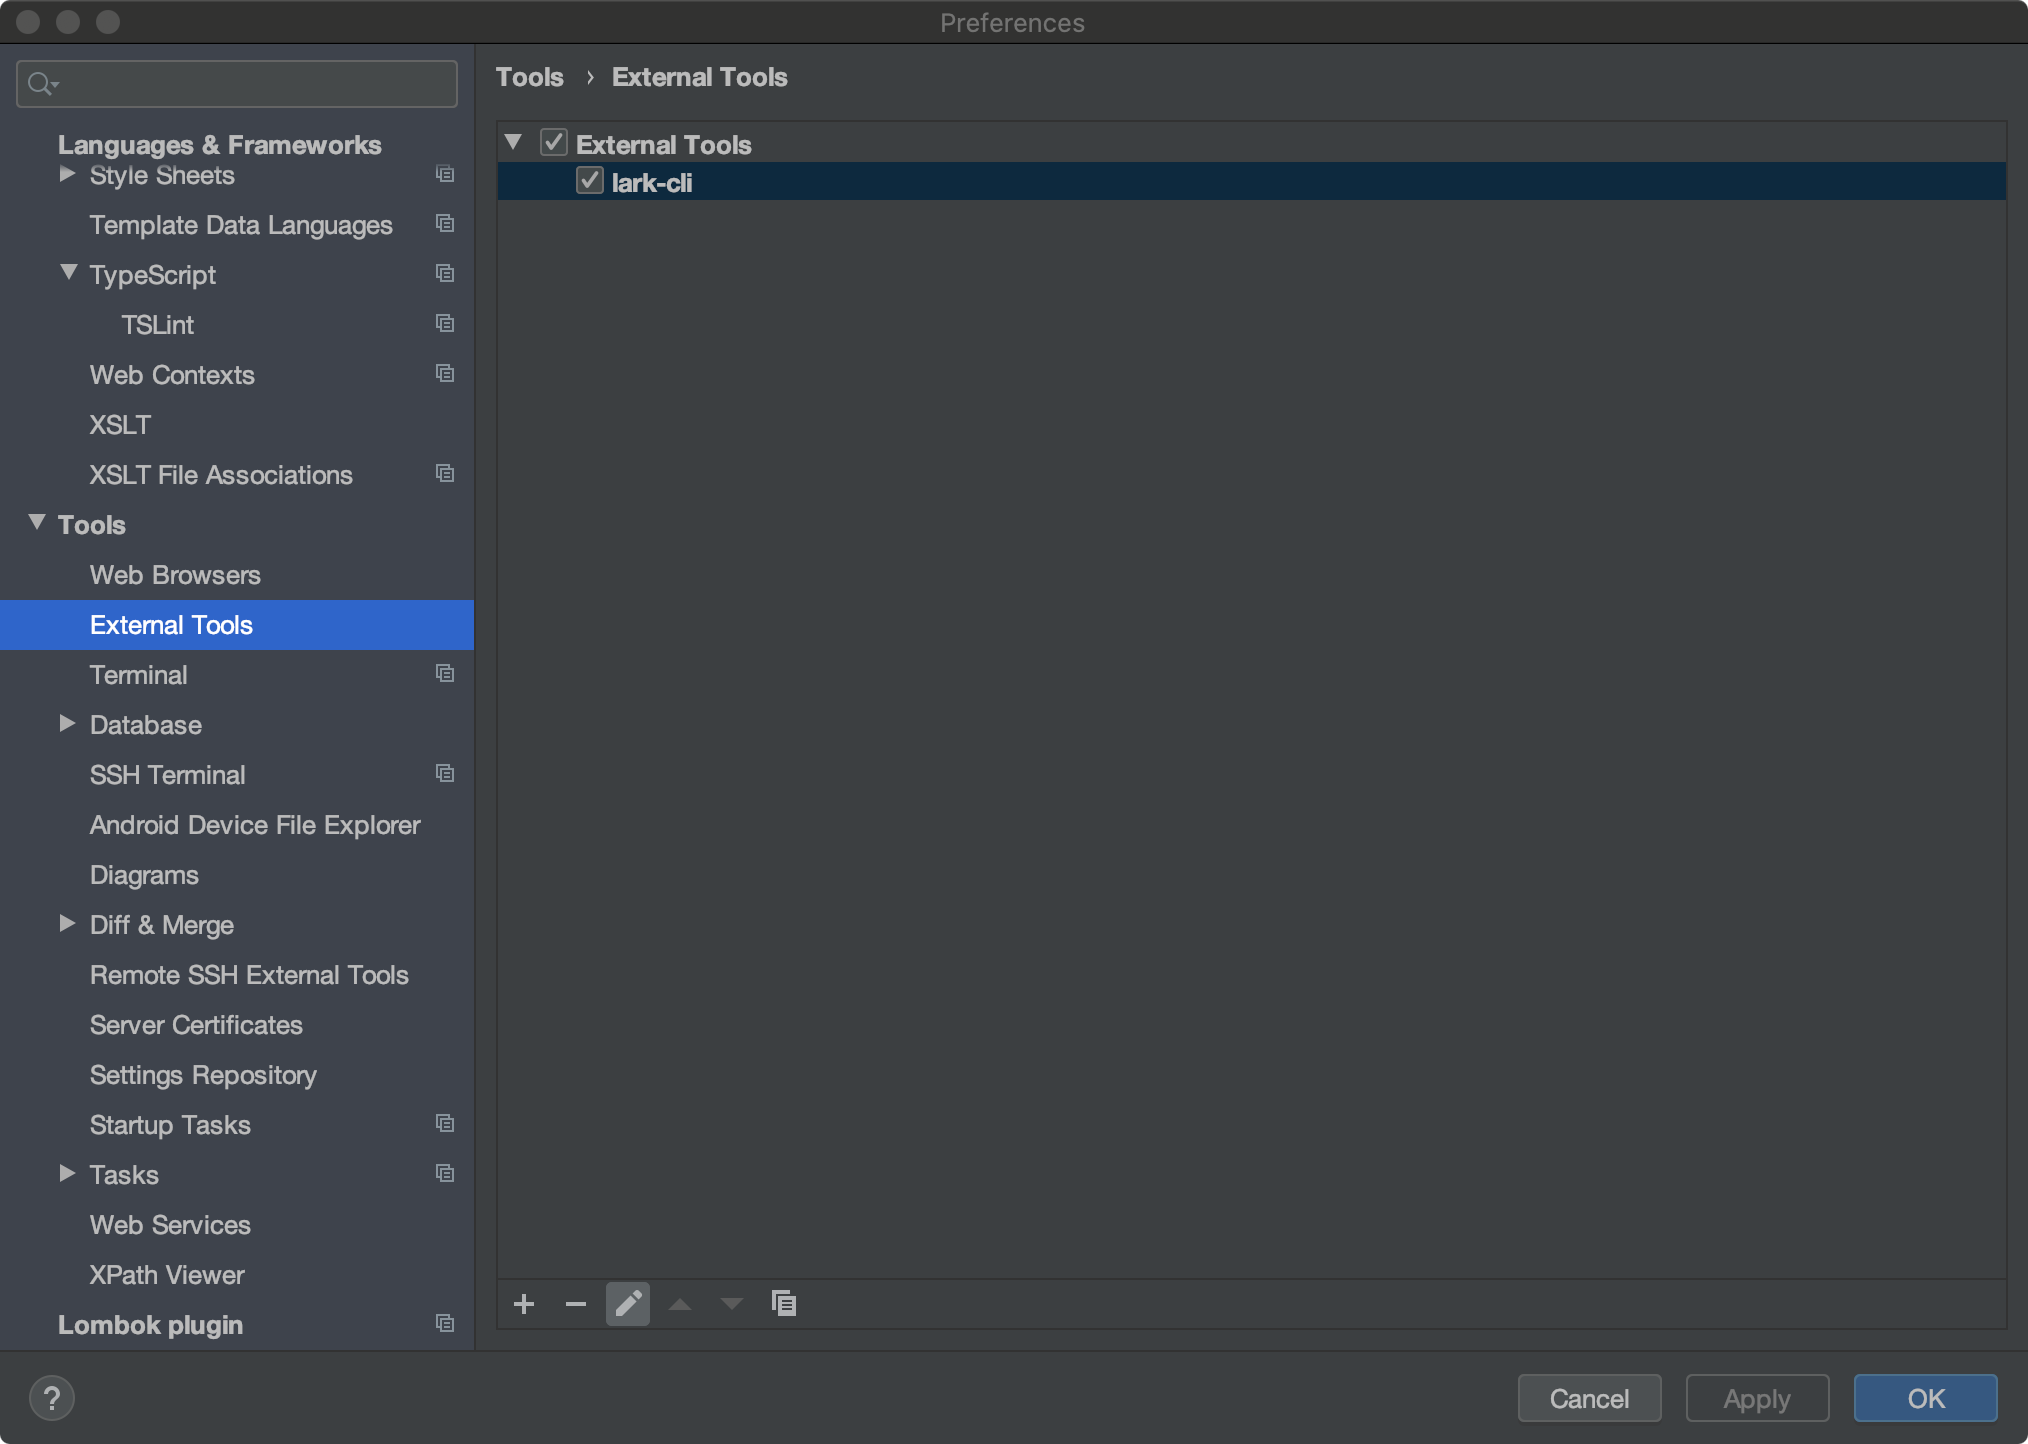
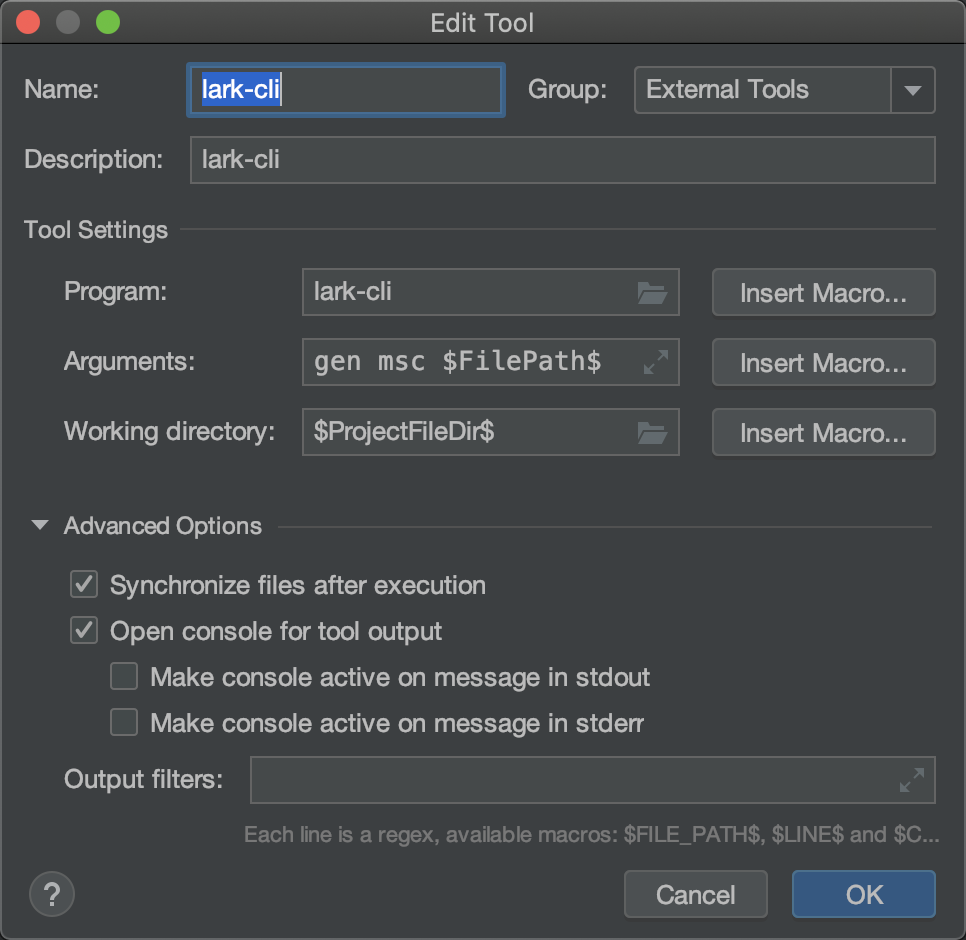
具体配置
参考资料:
Intellij idea设置支持TypeScript
Mac 终端提示 Permission denied
今天关于mac系统,php-fpm加入开机启动项和php-fpm 启动的分享就到这里,希望大家有所收获,若想了解更多关于flutter填坑之旅(环境搭建篇--mac系统)、iOS8企业项目实战---windows系统下安装虚拟机-mac系统、Mac系统 - 升级node版本、MAC系统 -java开发环境搭建等相关知识,可以在本站进行查询。
本文标签:


