本文将为您提供关于已安装nginx支持https配置the"ssl"parameterrequiresngx_http_ssl_module的详细介绍,我们还将为您解释nginx安装成功的相关知识,同
本文将为您提供关于已安装 nginx 支持 https 配置 the "ssl" parameter requires ngx_http_ssl_module的详细介绍,我们还将为您解释nginx安装成功的相关知识,同时,我们还将为您提供关于20、nginx 之 ngx_http_upstream_module 模块、Nginx 1.13.4 发布,新增 ngx_http_mirror_module 模块、nginx ngx_http_image_filter_module 简单试用、nginx ngx_http_limit_req_module 简单防下CC攻击的实用信息。
本文目录一览:- 已安装 nginx 支持 https 配置 the "ssl" parameter requires ngx_http_ssl_module(nginx安装成功)
- 20、nginx 之 ngx_http_upstream_module 模块
- Nginx 1.13.4 发布,新增 ngx_http_mirror_module 模块
- nginx ngx_http_image_filter_module 简单试用
- nginx ngx_http_limit_req_module 简单防下CC攻击

已安装 nginx 支持 https 配置 the "ssl" parameter requires ngx_http_ssl_module(nginx安装成功)
原文链接:https://blog.seosiwei.com/detail/28
nginx 已安装,ssl 模块未安装的解决方法:
如果需要在 linux 中编译自己的 nginx 服务器,请参照:https://www.cnblogs.com/zkfopen/p/10118627.html
一:开始 Nginx 的 SSL 模块
Nginx 如果未开启 SSL 模块,配置 Https 时提示如下错误:
nginx: [emerg] the "ssl" parameter requires ngx_http_ssl_module in /usr/local/nginx/conf/nginx.conf解释:nginx 缺少 http_ssl_module 模块,需要在已安装的 nginx 中添加 ssl 模块。
说明:我的 nginx 安装目录为:/usr/local/nginx , 源码包在 /usr/src/nginx-1.5.9 目录
Nginx 开启 SSL 模块:
切换到源码包:
cd /usr/src/nginx-1.5.9

查看nginx原有的模块
/usr/local/nginx/sbin/nginx -V

在configure arguments:后面显示的原有的configure参数如下:
--prefix=/usr/local/nginx --with-http_stub_status_module
二:从新配置 SSL 模块:
进入nginx源码包目录,运行:
./configure --prefix=/usr/local/nginx --with-http_stub_status_module --with-http_ssl_module
配置完成后,运行命令 make 命令:
make注意:此处不能进行 make install,否则就是覆盖安装
三:替换已安装好的 nginx 包
替换之前先备份:
cp /usr/local/nginx/sbin/nginx /usr/local/nginx/sbin/nginx.bak先停止 nginx 服务:
//查询nginx主进程号
$ ps -ef | grep nginx

//从容停止Nginx:
$kill -QUIT 主进程号

//快速停止Nginx:
kill -TERM 主进程号

//强制停止Nginx:
pkill -9 nginx
将刚刚编译好的 nginx 覆盖掉原有的 nginx
cp ./objs/nginx /usr/local/nginx/sbin/然后启动 nginx,仍可以通过命令查看是否已经加入成功
/usr/local/nginx/sbin/nginx -V

此时应该显示为即配置成功:

configure arguments: --prefix=/usr/local/nginx --with-http_stub_status_module --with-http_ssl_module
20、nginx 之 ngx_http_upstream_module 模块
nginx 的 ngx_http_upstream_module 模块是用于 nginx 反向代理的,默认在安装 nginx 时已经被安装,ngx_http_upstream_module 模块
的内容应放于 nginx.conf 配置的 http {} 标签内。
20.1、ngx_http_upstream_module 模块内部 server 标签说明:
server 192.168.3.101:80 weight=1 max_fails=3 fail_timeout=60 [backup] [down]
健康检查需要使用 nginx_upstream_check_module 模块。
20.2、ngx_http_upstream_module 模块的调度算法:
1、调度算法分类:
调度算法一般分为两类:
第一类为静态调度算法,即负载均衡器根据自身设定的规则进行分配,不需要考虑后端节点服务器的情。例如:rr、wrr、ip_hash 等都属于静态调度算法。
第二类为动态调度算法,即负载均衡器会根据后端节点的当前状态来决定是否分发请求,例如:连接数少的有限获得请求,响应时间短的优先获得请求,
例如:least_conn、fair 等都属于动态调度算法。
2、常见的调度算法:
(1)rr 轮循 (round robin 默认调度算法,静态调度算法):
按客户端请求顺序把客户端的请求逐一分配到不同的后端节点服务器,这相当于 LVS 中的 rr 算法,如果后端节点服务器宕机 (默认情况下 nginx 只检测 80 端口)。
宕机的服务器会自动从节点服务器池中剔除,以便客户端的用户访问不受影响。新的请求会分配给正产的服务器。
upstream myapp1 {
server 192.168.3.103;
server 192.168.3.104;
}
(2)wrr (weight 权重轮循,静态调度算法):
在 rr 轮循算法的基础上加上权重,即为权重轮循算法,当使用该算法时,权重和用户访问成正比,权重值越大,被转发的请求也就越多。可以根据服务器的配
置和性能指定权重值大小,有效解决新旧服务器性能不均带来的请求分配问题。
upstream myapp1 {
server 192.168.3.103 weight=1;
server 192.168.3.104 weight=2;
}
(3)ip_hash (静态调度算法):
每个请求按客户端 IP 的 hash 结果分配,当新的请求到达时,先将其客户端 IP 通过哈希算法哈希出一个值,在随后的客户端请求中,客户 IP 的哈希值只要相同,
就会被分配至同一台服务器,该调度算法可以解决动态网页的 session 共享问题,但有时会导致请求分配不均,即无法保证 1:1 的负载均衡,因为在国内大多数
公司都是 NAT 上网模式,多个客户端会对应一个外部 IP,所以,这些客户端都会被分配到同一节点服务器,从而导致请求分配不均。LVS 负载均衡的 -P 参数、
keepalived 配置里的 persistence_timeout 50 参数都类似这个 Nginx 里的 ip_hash 参数,其功能均为解决动态网页的 session 共享问题。注意:当负载调度
算法为 ip_hash 时,后端服务器在负载均衡调度中的状态不能有 weight 和 backup ,即使有也不会生效。
upstream myapp1 {
ip_hash;
server 192.168.3.103;
server 192.168.3.104;
}
(4)fair (动态调度算法):
fair 调度算法会根据后端节点服务器的响应时间来分配请求,响应时间端的优先分配。这是更加智能的调度算法。此种算法可以依据页面大小和加载时间长短,智
能地进行负载均衡,也就是根据后端服务器的响应时间来分配请求,响应时间短的优先分配。Nginx 本身是不支持 fair 调度算法的,如果需要使用这种调度算法,
必须下载 Nginx 的相关模块 upstream_fair。
upstream myapp1 {
fair;
server 192.168.3.103;
server 192.168.3.104;
}
(5)least_conn (动态调度算法):
least_conn 调度算法会根据后端节点的连接数来决定分配情况,哪个机器连接数少就分发。
upstream myapp1 {
least_conn;
server 192.168.3.103;
server 192.168.3.104;
}
(6)url_hash 算法:
url_hash 按访问 URL 的 hash 结果来分配请求,使每个 URL 定向到同一个后端服务器,可以进一步提高后端缓存服务器的效率命中率。多用于后端服务器为缓存
时的场景下,Nginx 本身是不支持 url_hash 的,如果需要使用这种调度算法,必须安装 Nginx 的 hash 模块软件包。
upstream myapp1 {
server 192.168.3.103;
server 192.168.3.104;
hash $request_uri;
hash_method crc32;
}

Nginx 1.13.4 发布,新增 ngx_http_mirror_module 模块
Nginx 1.13.4 已发布,有以下的更新:
1.13.4 中的 ngx_http_mirror_module 模块通过创建后台镜像子请求实现了原始请求的镜像。镜像子请求的输出会被忽略。
配置示例
location / {
    mirror /mirror;
    proxy_pass http://backend;
}

location /mirror {
    internal;
    proxy_pass http://test_backend$request_uri;
}
Directives
| Syntax: | mirror |
|---|---|
| Default: | mirror off; |
| Context: | http, server, location |
1.13.4 更新内容:
Feature: the ngx_http_mirror_module.
Bugfix: client connections might be dropped during configuration testing when using the "reuseport" parameter of the "listen" directive on Linux.
Bugfix: request body might not be available in subrequests if it was saved to a file and proxying was used.
Bugfix: cleaning cache based on the "max_size" parameter did not work on Windows.
Bugfix: any shared memory allocation required 4096 bytes on Windows.
Bugfix: nginx worker might be terminated abnormally when using the "zone" directive inside the "upstream" block on Windows.
下载地址

nginx ngx_http_image_filter_module 简单试用
nginx包含了一个ngx_http_image_filter_module 模块,我们可以方便的进行图片的缩略图,平时一些简单的功能
已经够用了
环境准备
为了简单使用docker-compose 运行,因为openresty 已经默认集成了这个模块,就不用安装了
- docker-compose 文件
version: "3"
services:
    nginx:
      image: openresty/openresty:alpine-fat
      volumes:
      - "./nginx.conf:/usr/local/openresty/nginx/conf/nginx.conf"
      - "./images/:/opt/img/"
      ports:
- "8080:8080"- nginx conf
主要是加载模块以及配置模块参数,为了简单测试,直接写了固定参数
load_module "modules/ngx_http_image_filter_module.so";
worker_processes 1;
user root;
events {
    worker_connections 1024;
}
http {
    include mime.types;
    default_type application/octet-stream;
    sendfile on;
    lua_code_cache off;
    lua_need_request_body on;
    gzip on;
    resolver 127.0.0.11 ipv6=off;
    real_ip_header X-Forwarded-For;
    real_ip_recursive on;
    gzip_min_length 2k;
    gzip_buffers 4 16k;
    gzip_comp_level 4;
    gzip_types text/plain text/css image/png application/javascript image/jpeg image/gif;
    server {
        listen 8080;
        server_name app;
        charset utf-8;
        default_type text/html;
        location / {
           default_type text/plain;
           index index.html index.htm;
        }
        location = /favicon.ico {
            root /opt/app/static;
        }
        location /img/ {
            root /opt;
            image_filter resize 600 400;
            error_page 415 = /empty;
            image_filter_jpeg_quality 95;
            image_filter_buffer 20M;
        }
        location = /empty {
            empty_gif;
        }
        error_page 500 502 503 504 /50x.html;
        location = /50x.html {
            root html;
        }

    }
}
测试
为了简单,使用数据卷挂载了一个简单的图片目录
- 启动
docker-compose up -d- 效果
http://localhost:8080/img/index.png原图信息 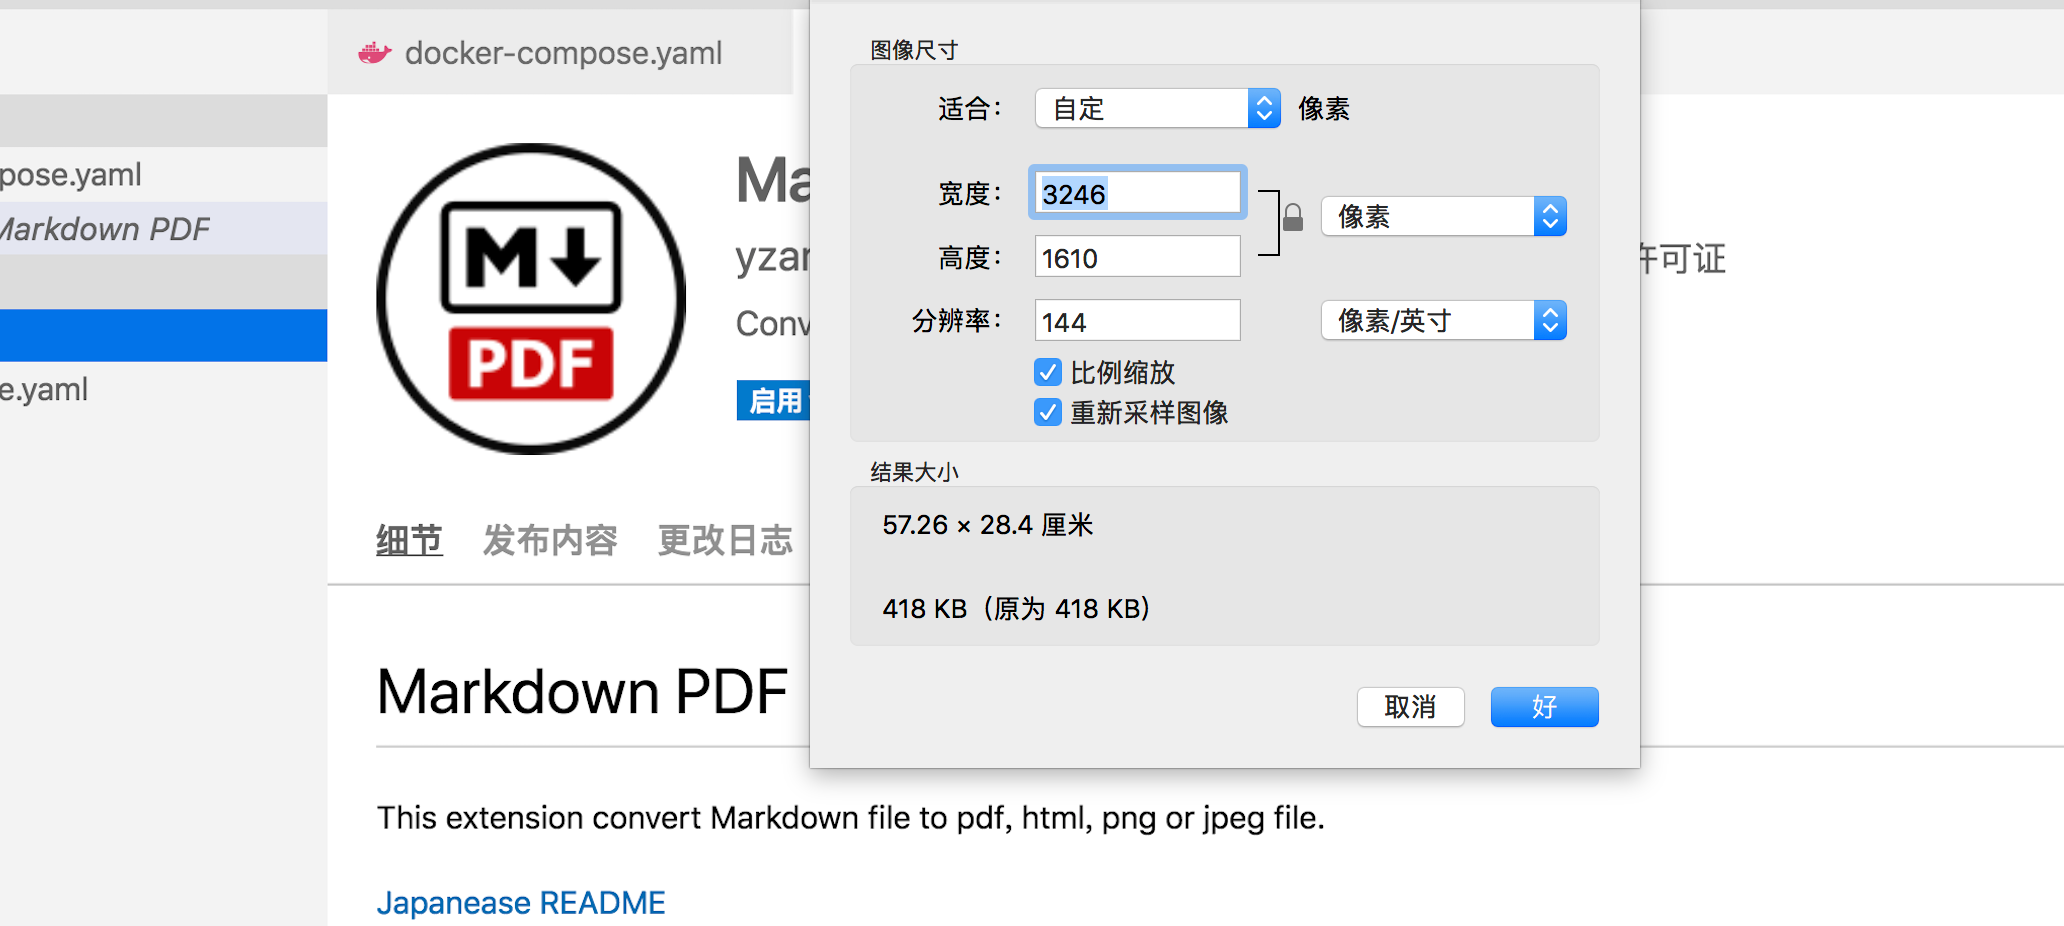
缩略图信息 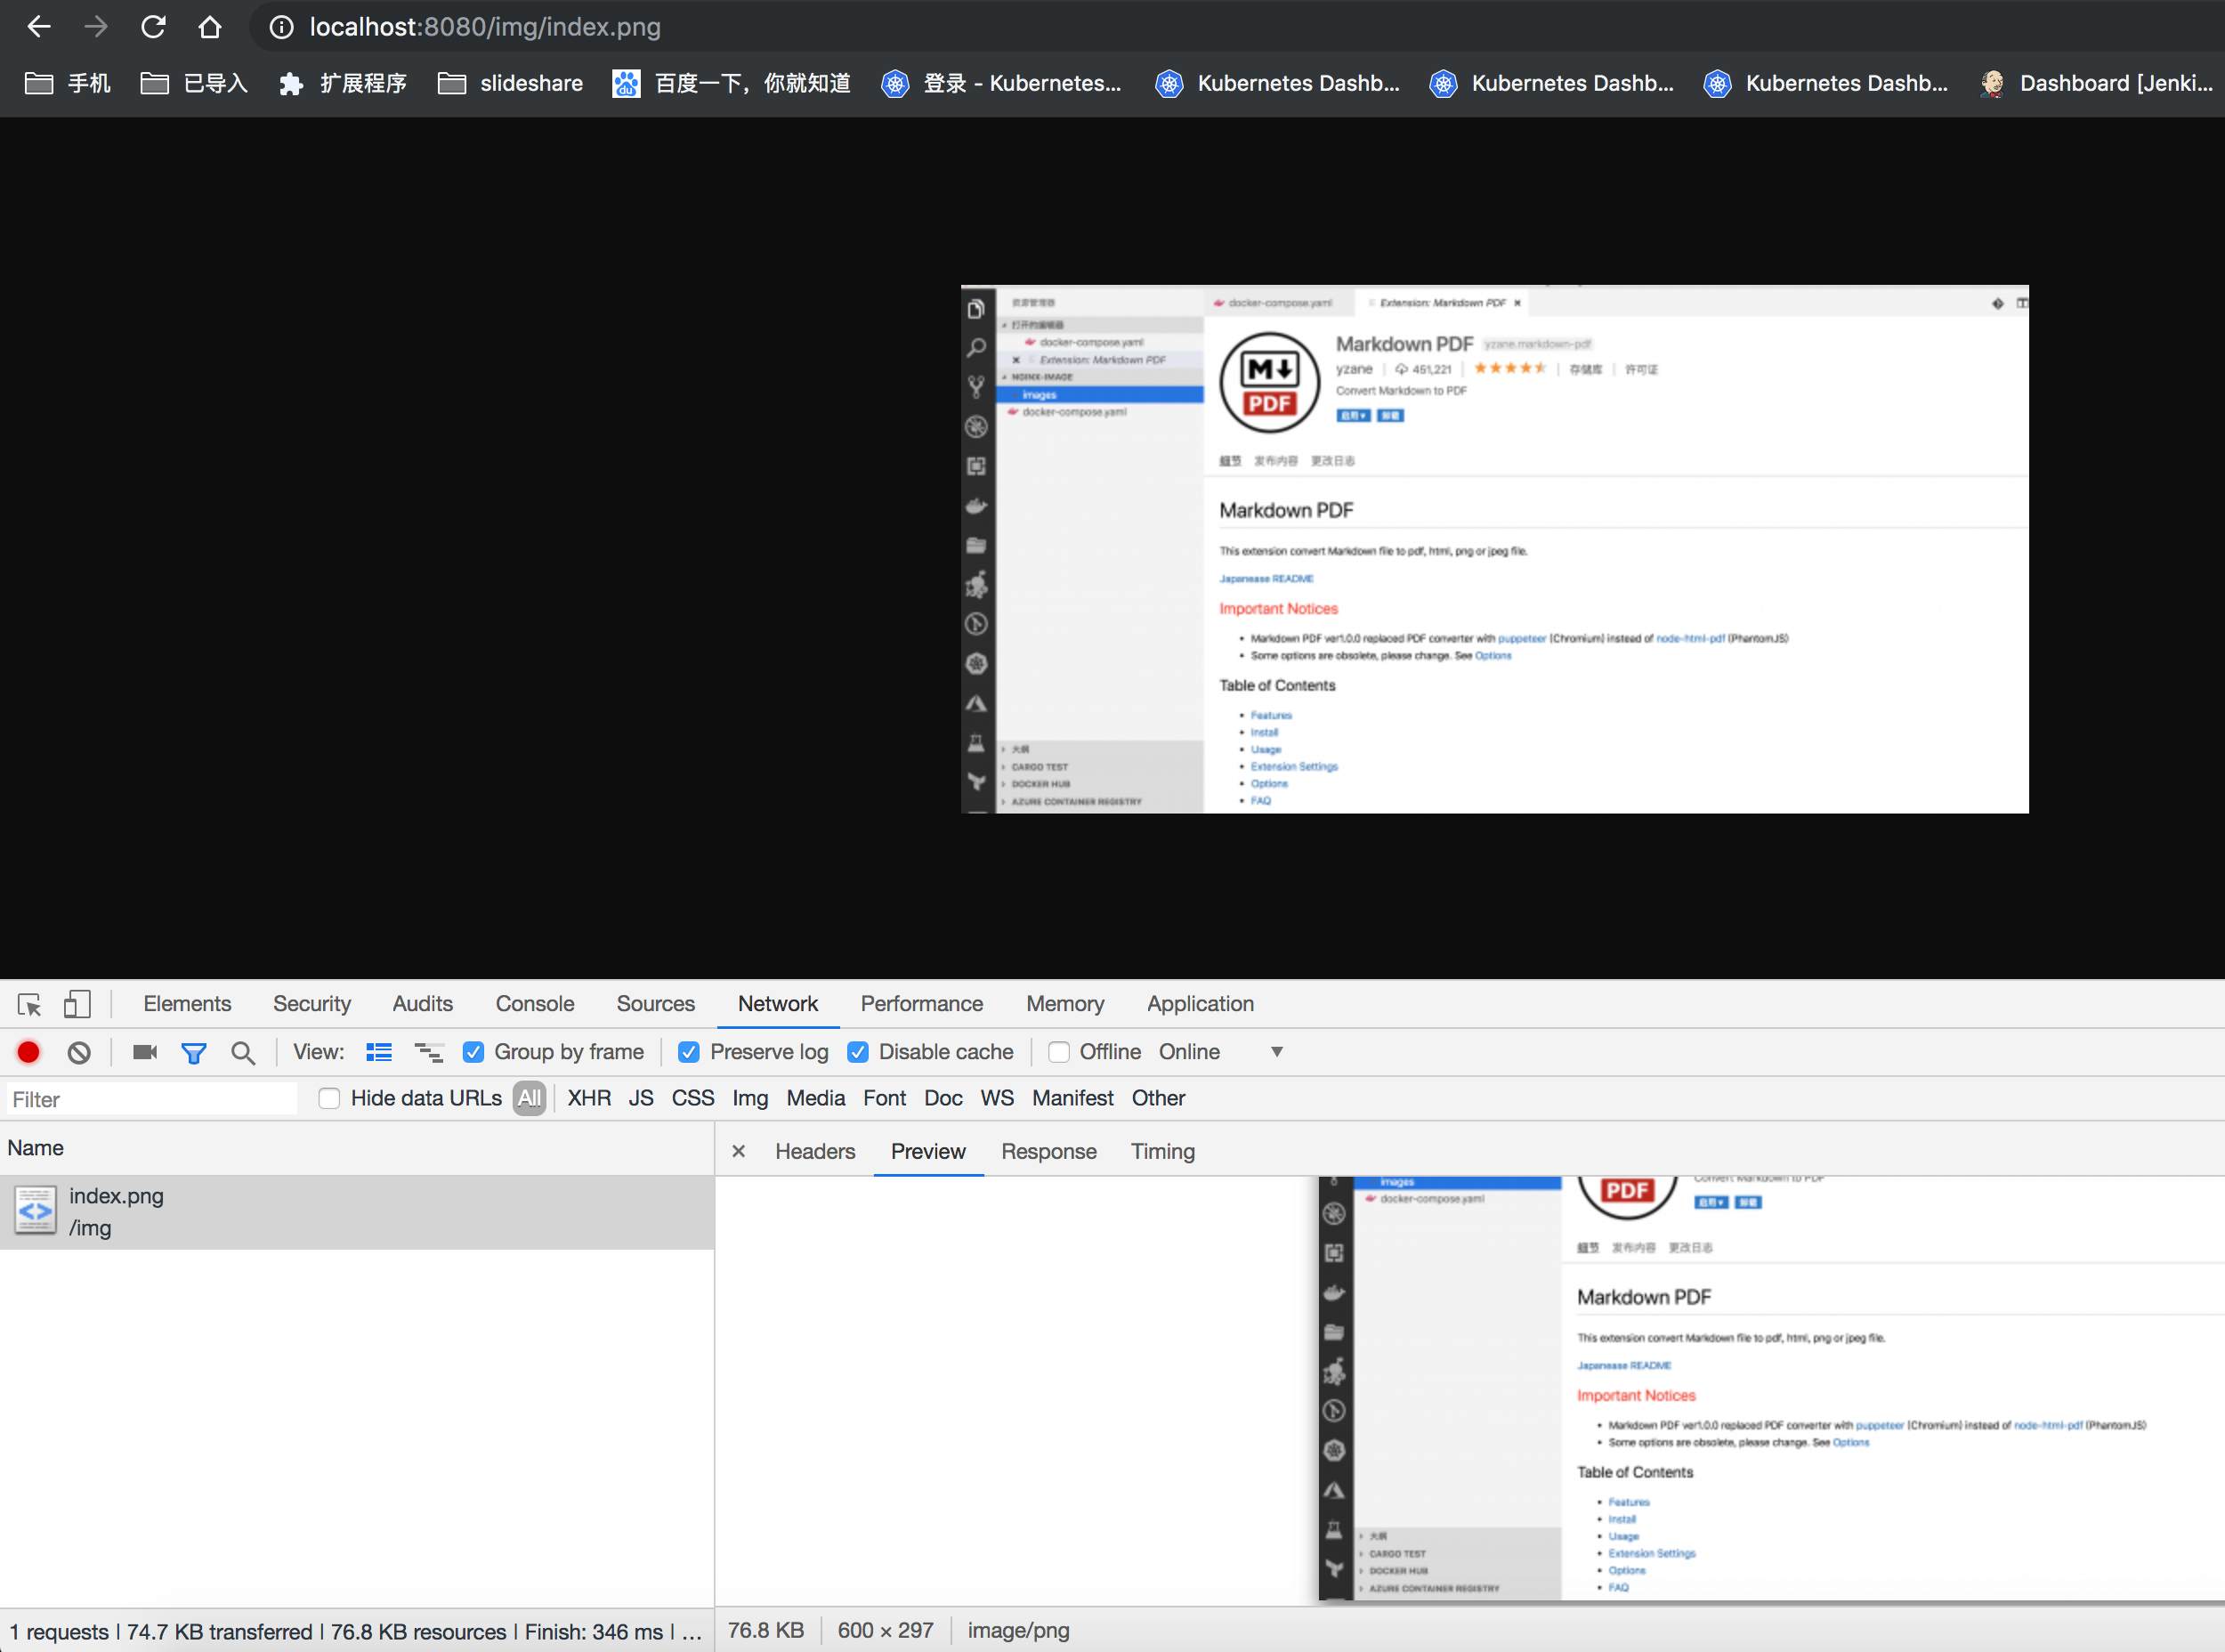
说明
测试使用了很简单的配置,实际上我们可以用这个做好多强大的功能,类似的可以集成thumbor 实现更强大的功能
参考资料
https://www.cnblogs.com/rongfengliang/p/8650784.html
https://github.com/rongfengliang/openresty-image-filter-demo
https://nginx.org/en/docs/http/ngx_http_image_filter_module.html
https://github.com/rongfengliang/mino-thumbor-openresty

nginx ngx_http_limit_req_module 简单防下CC攻击
limit_req_zone <span>$binary_remote_addr</span> z>10m rate=<span>10</span>r/m;
server {
location /api/signin {
limit_req z burst=<span>5</span> nodelay;
}
}参考
nginx限制某个ip同一时间段的访问次数
ngx_http_limt_req_module
'').addClass(''pre-numbering'').hide(); $(this).addClass(''has-numbering'').parent().append($numbering); for (i = 1; i '').text(i)); }; $numbering.fadeIn(1700); }); });以上就介绍了nginx ngx_http_limit_req_module 简单防下CC攻击,包括了方面的内容,希望对PHP教程有兴趣的朋友有所帮助。
今天的关于已安装 nginx 支持 https 配置 the "ssl" parameter requires ngx_http_ssl_module和nginx安装成功的分享已经结束,谢谢您的关注,如果想了解更多关于20、nginx 之 ngx_http_upstream_module 模块、Nginx 1.13.4 发布,新增 ngx_http_mirror_module 模块、nginx ngx_http_image_filter_module 简单试用、nginx ngx_http_limit_req_module 简单防下CC攻击的相关知识,请在本站进行查询。
本文标签:


